…and I bet your camper or RV is just itching to get out of storage. This time of the year is great to give it a little refresh before you hit the road.
Before
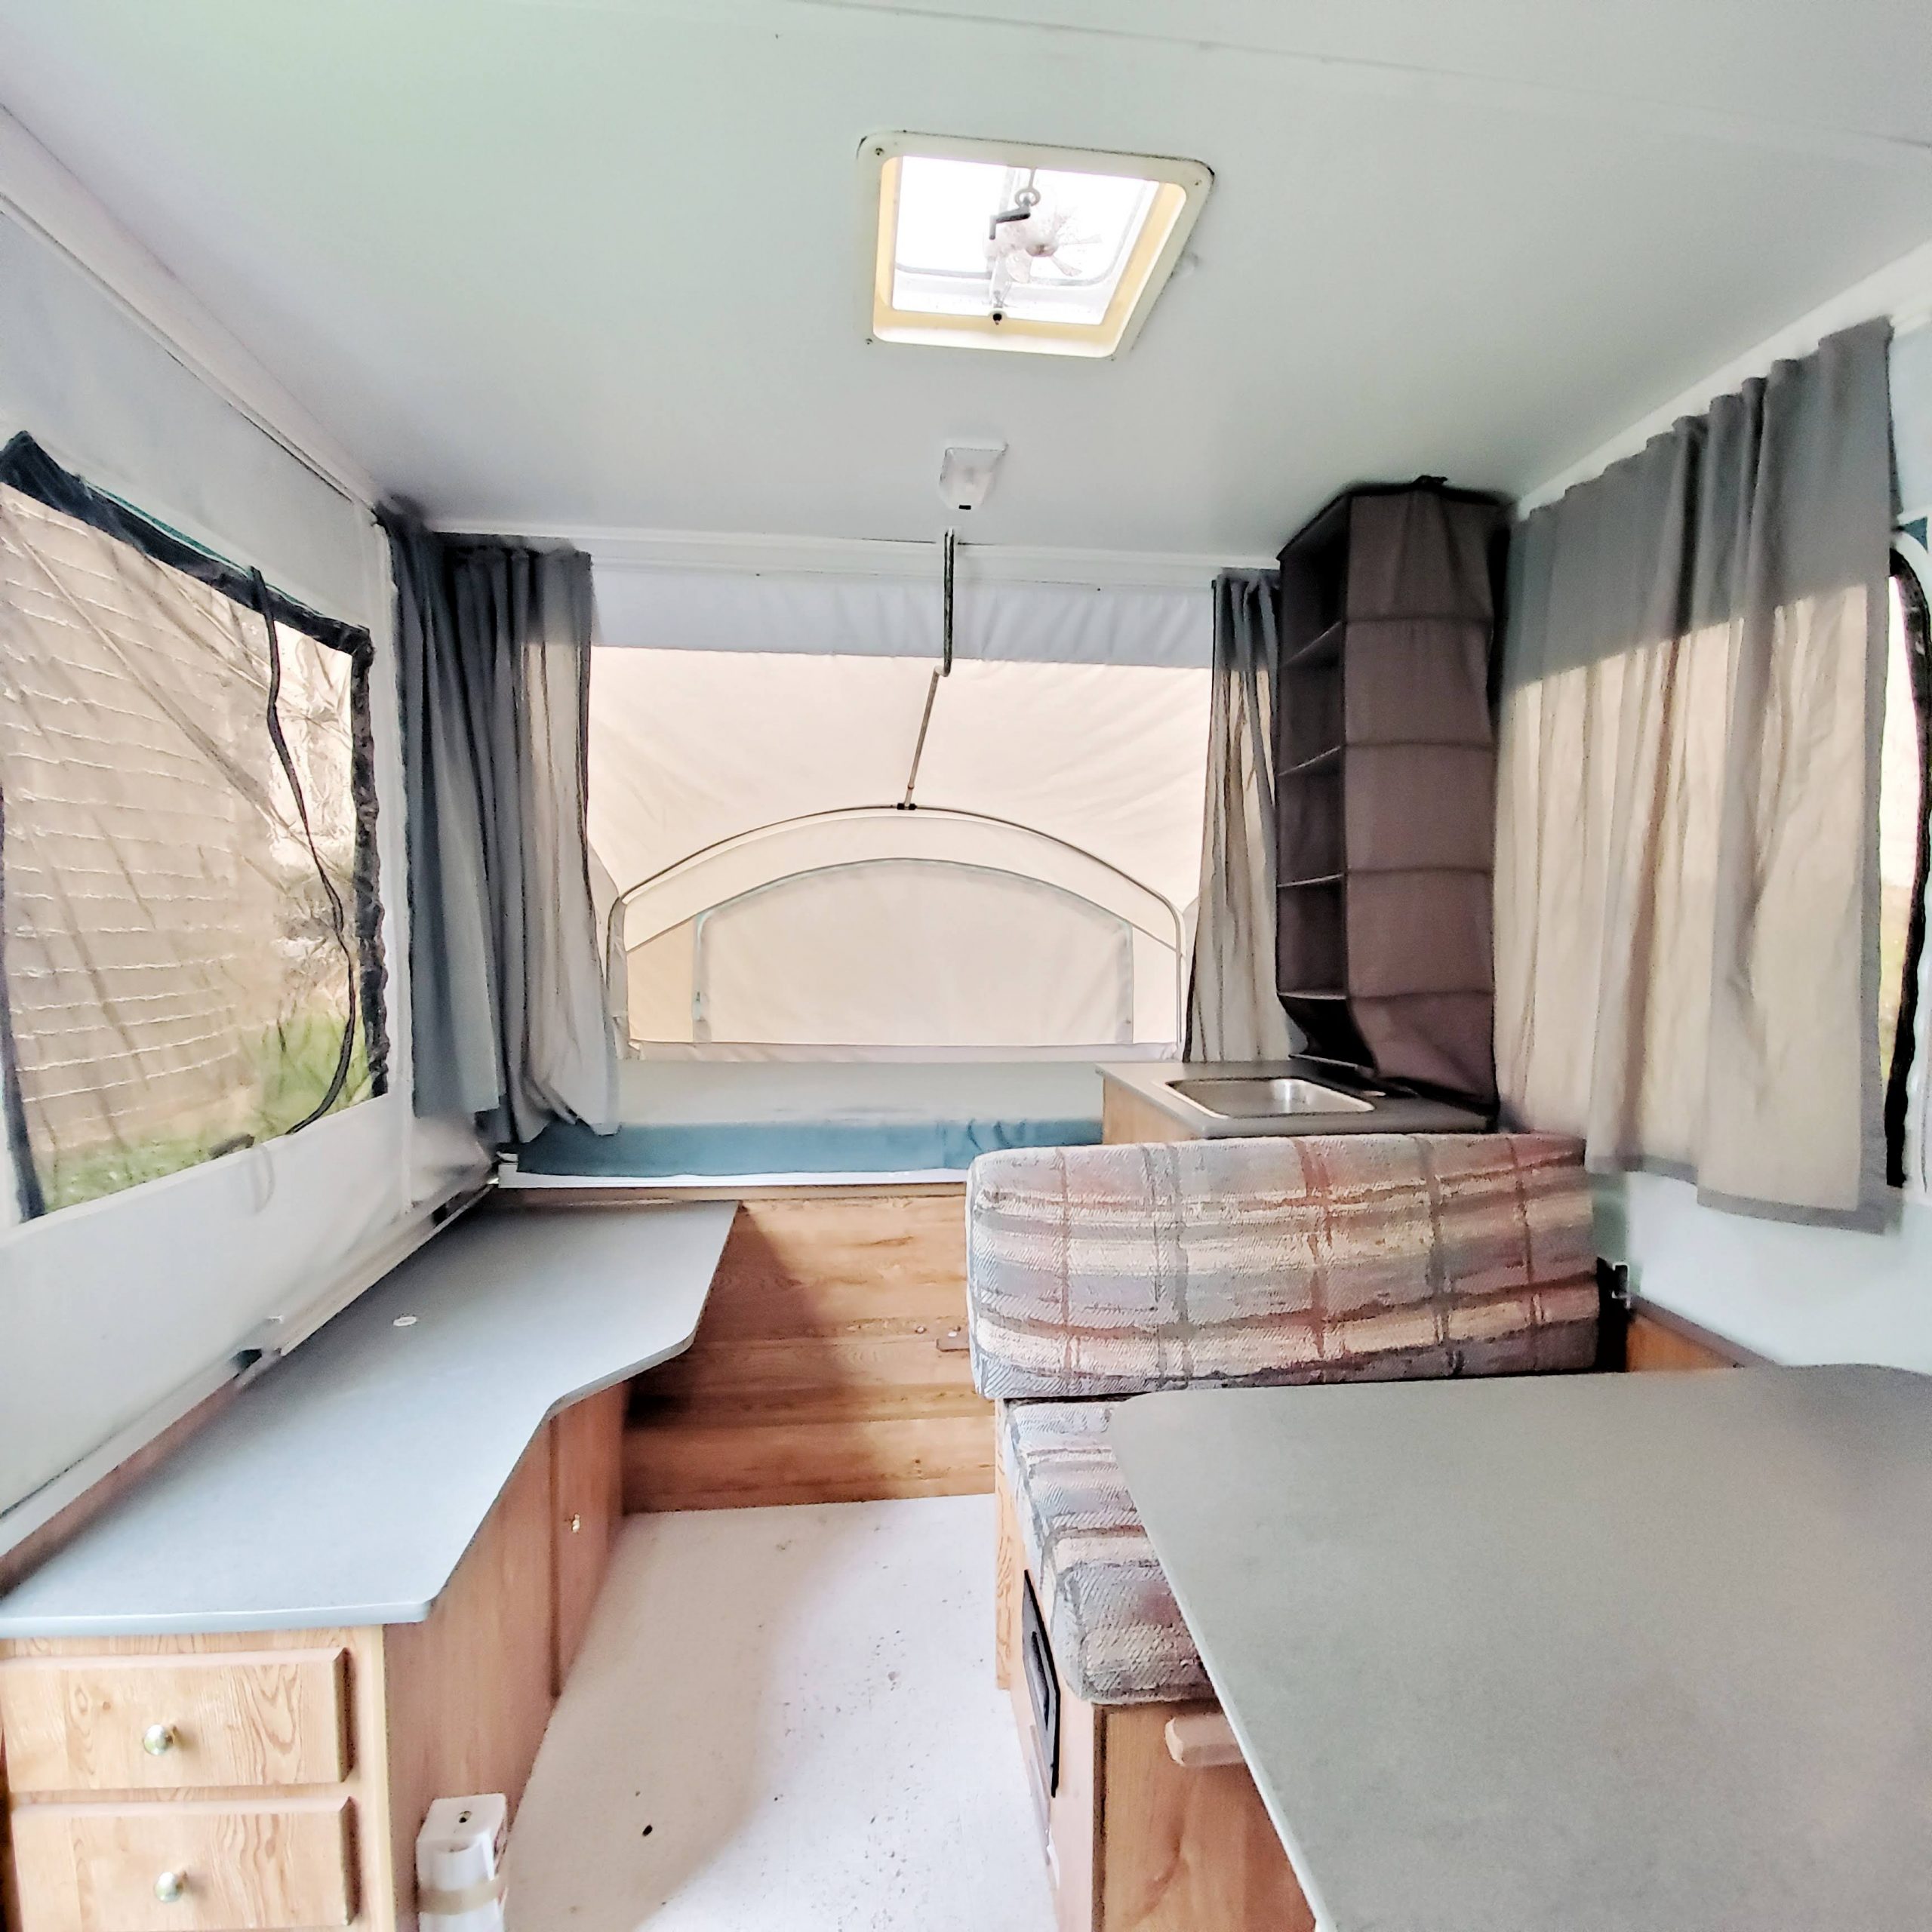
This was your typical 90's pop up camper with bluish teal counters, fake wood looking cabinets, and linoleum flooring.
It was in need of some modifications and of course a cosmetic makeover!
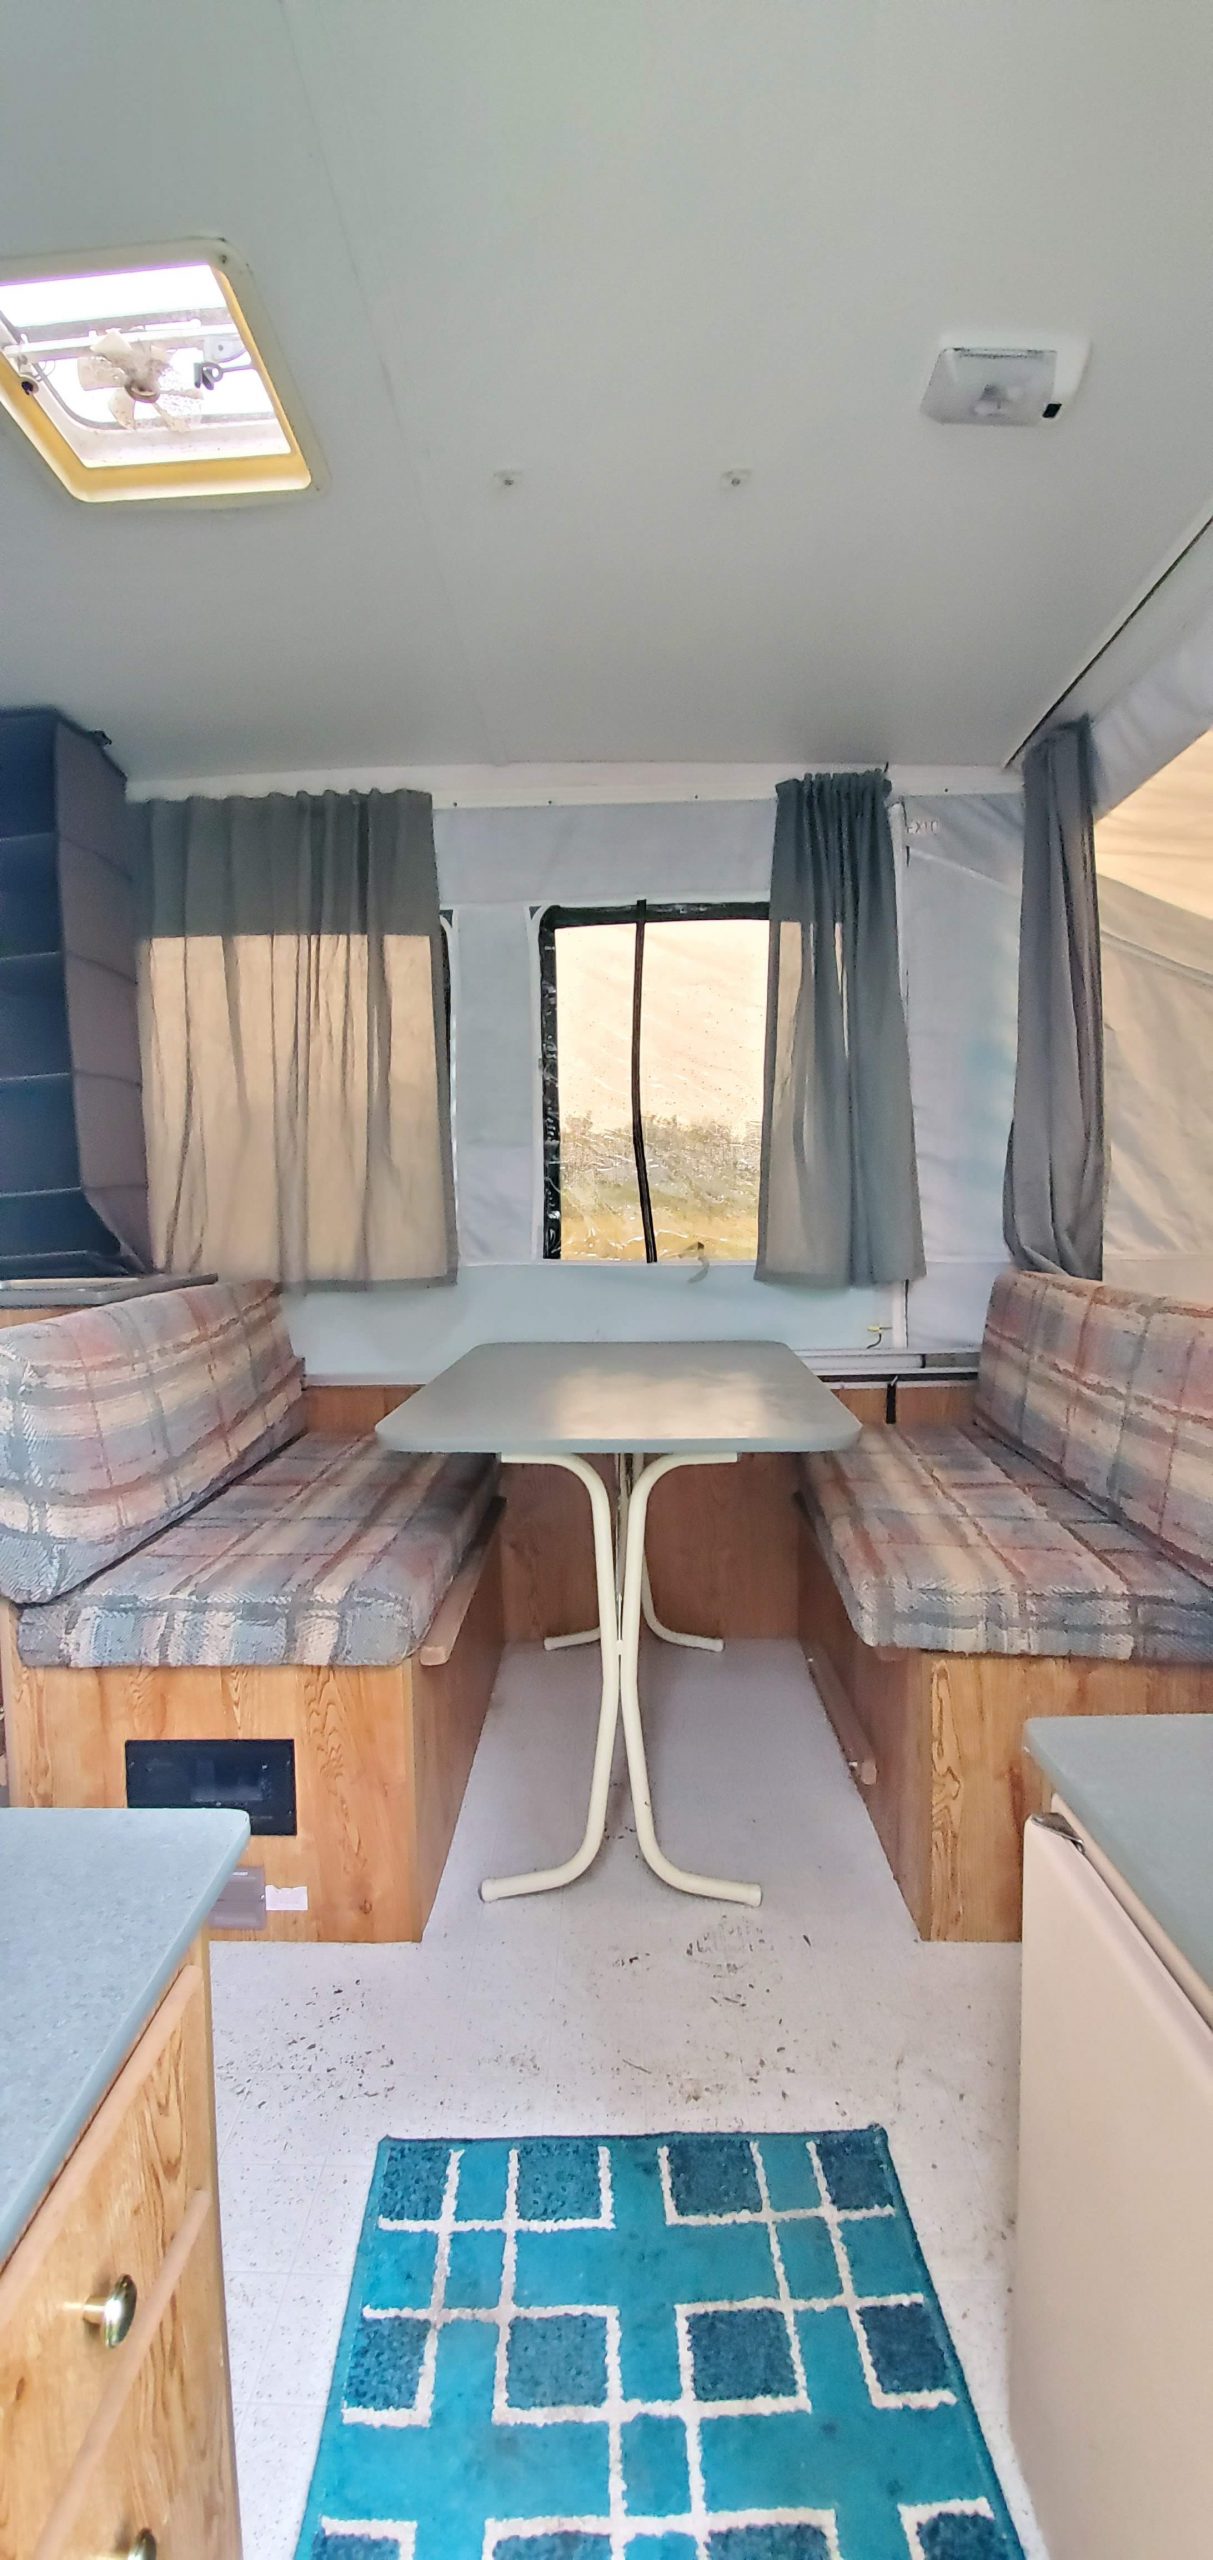
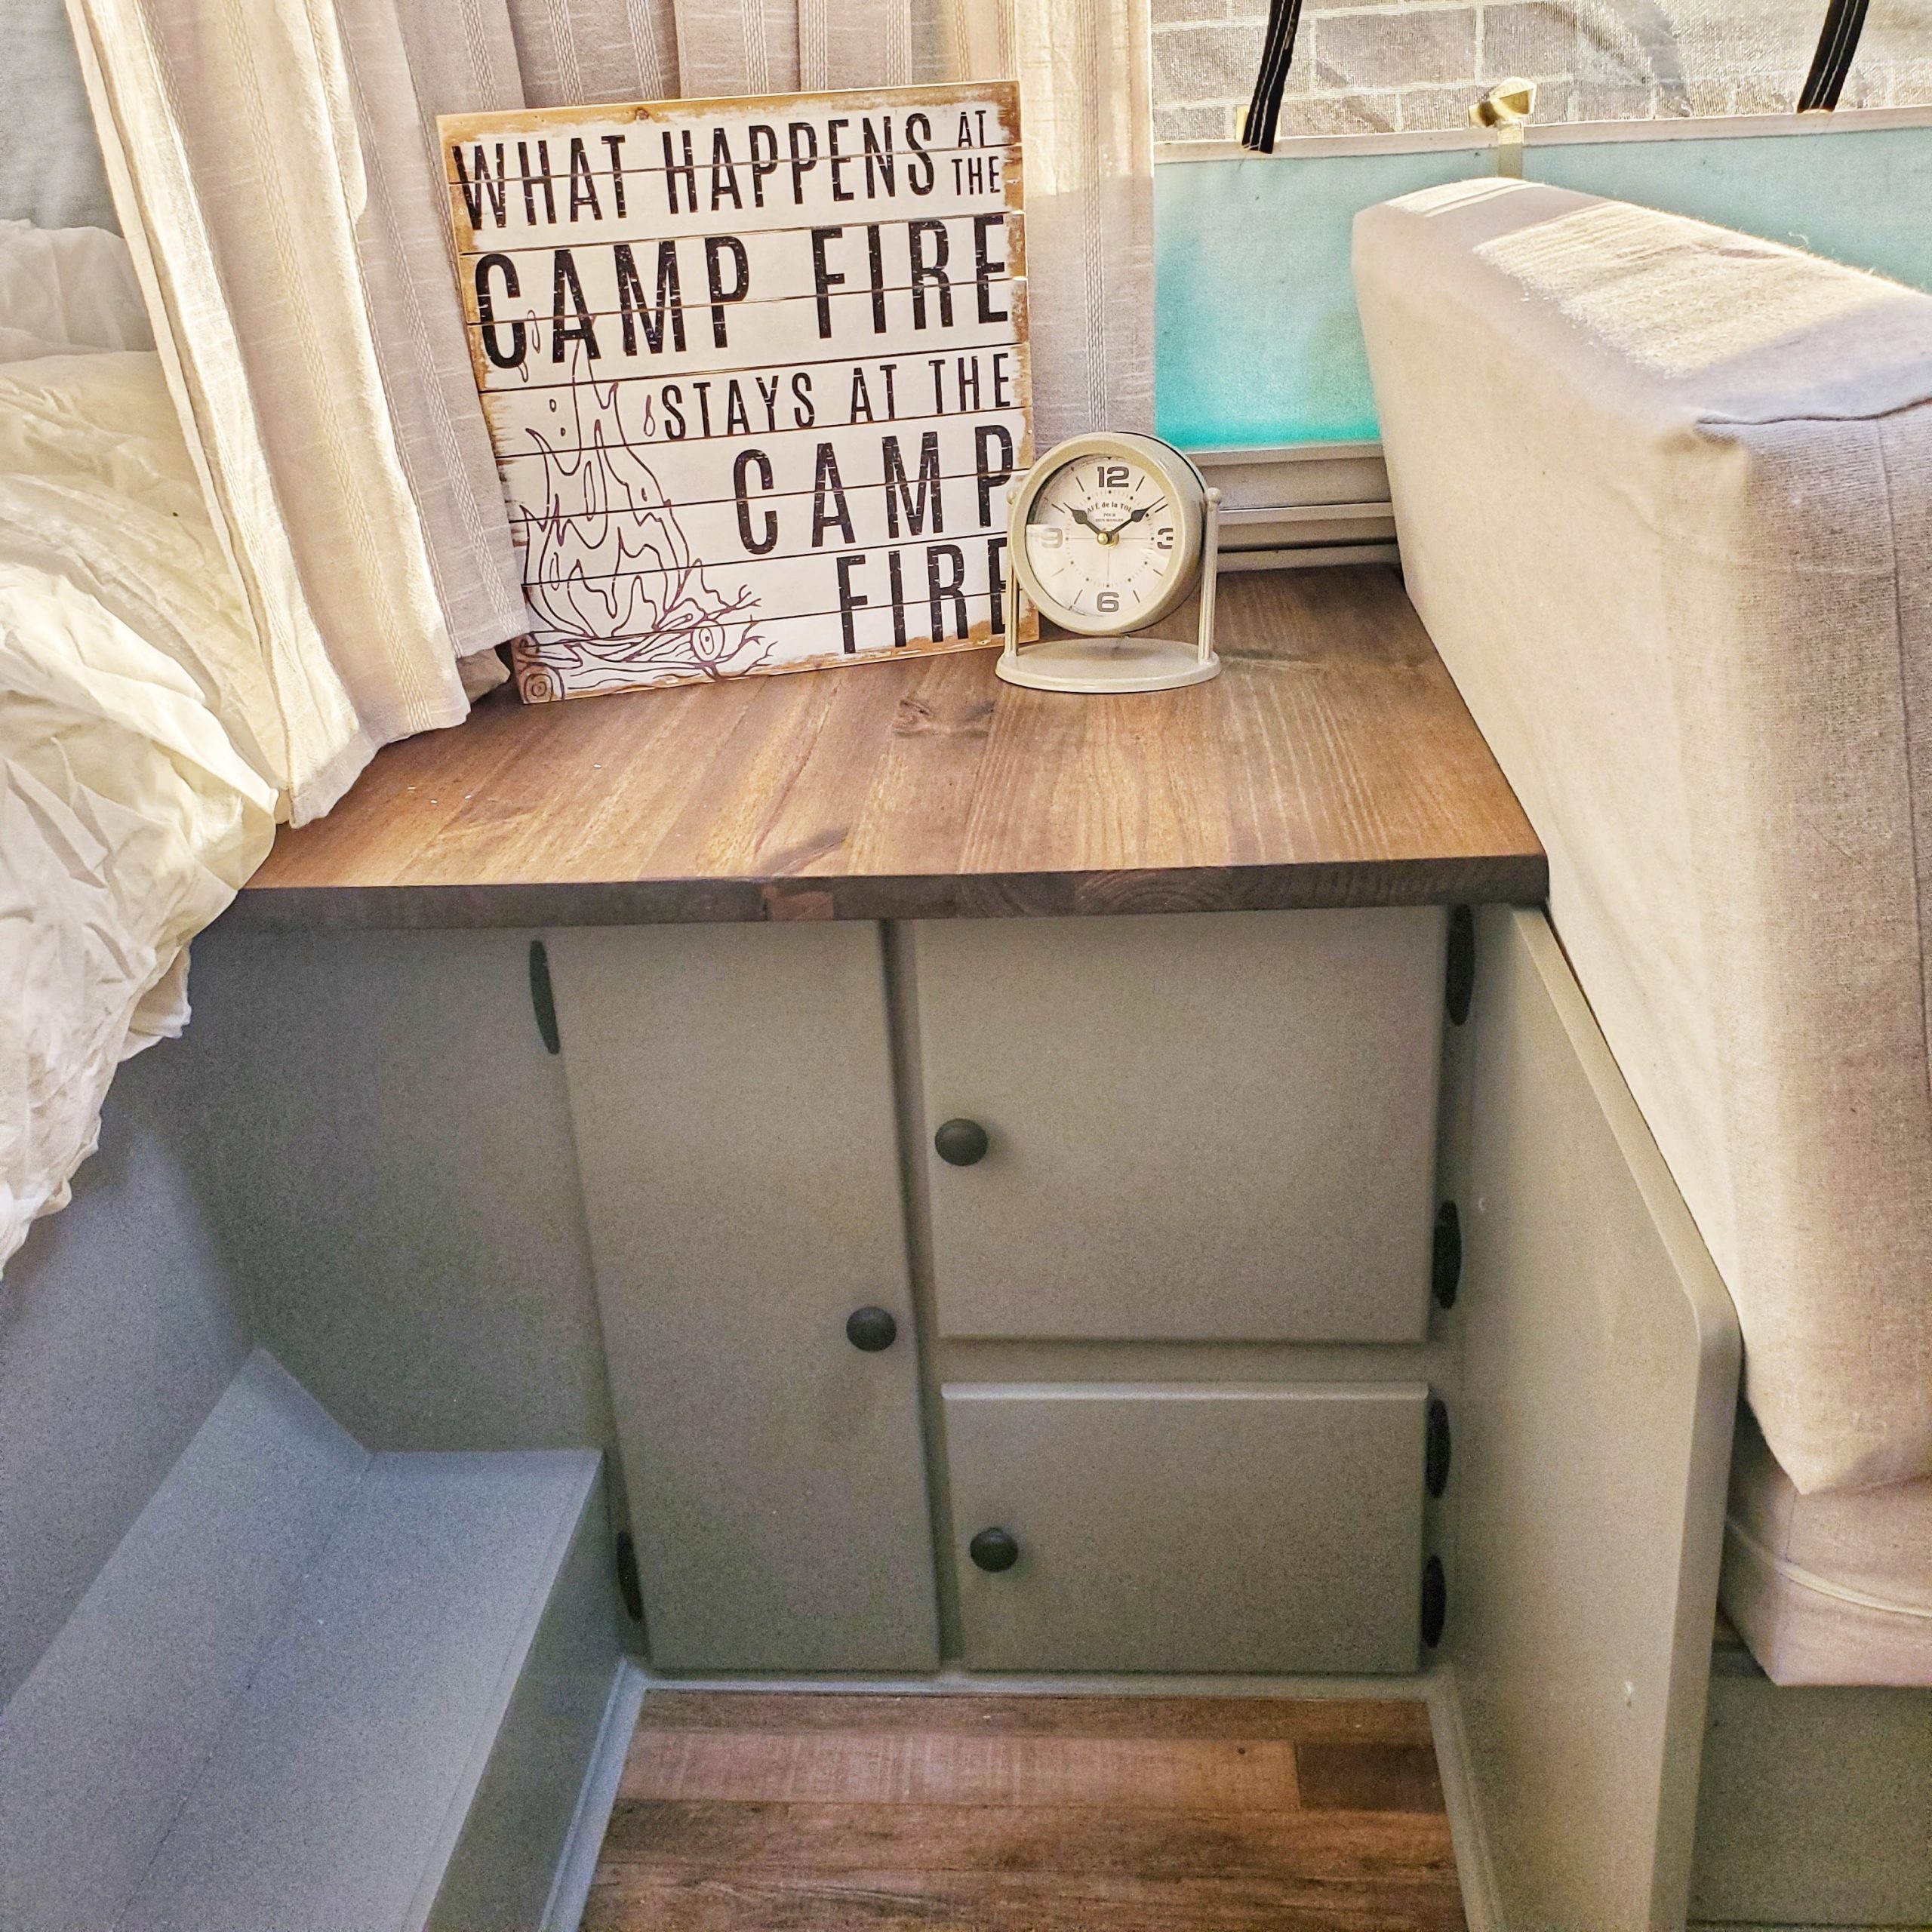
The sink was no longer functional so we removed that portion of the cabinet behind the bench. It made more sense to have a useable surface there than to keep it and with the redo it was an opportunity to change it.
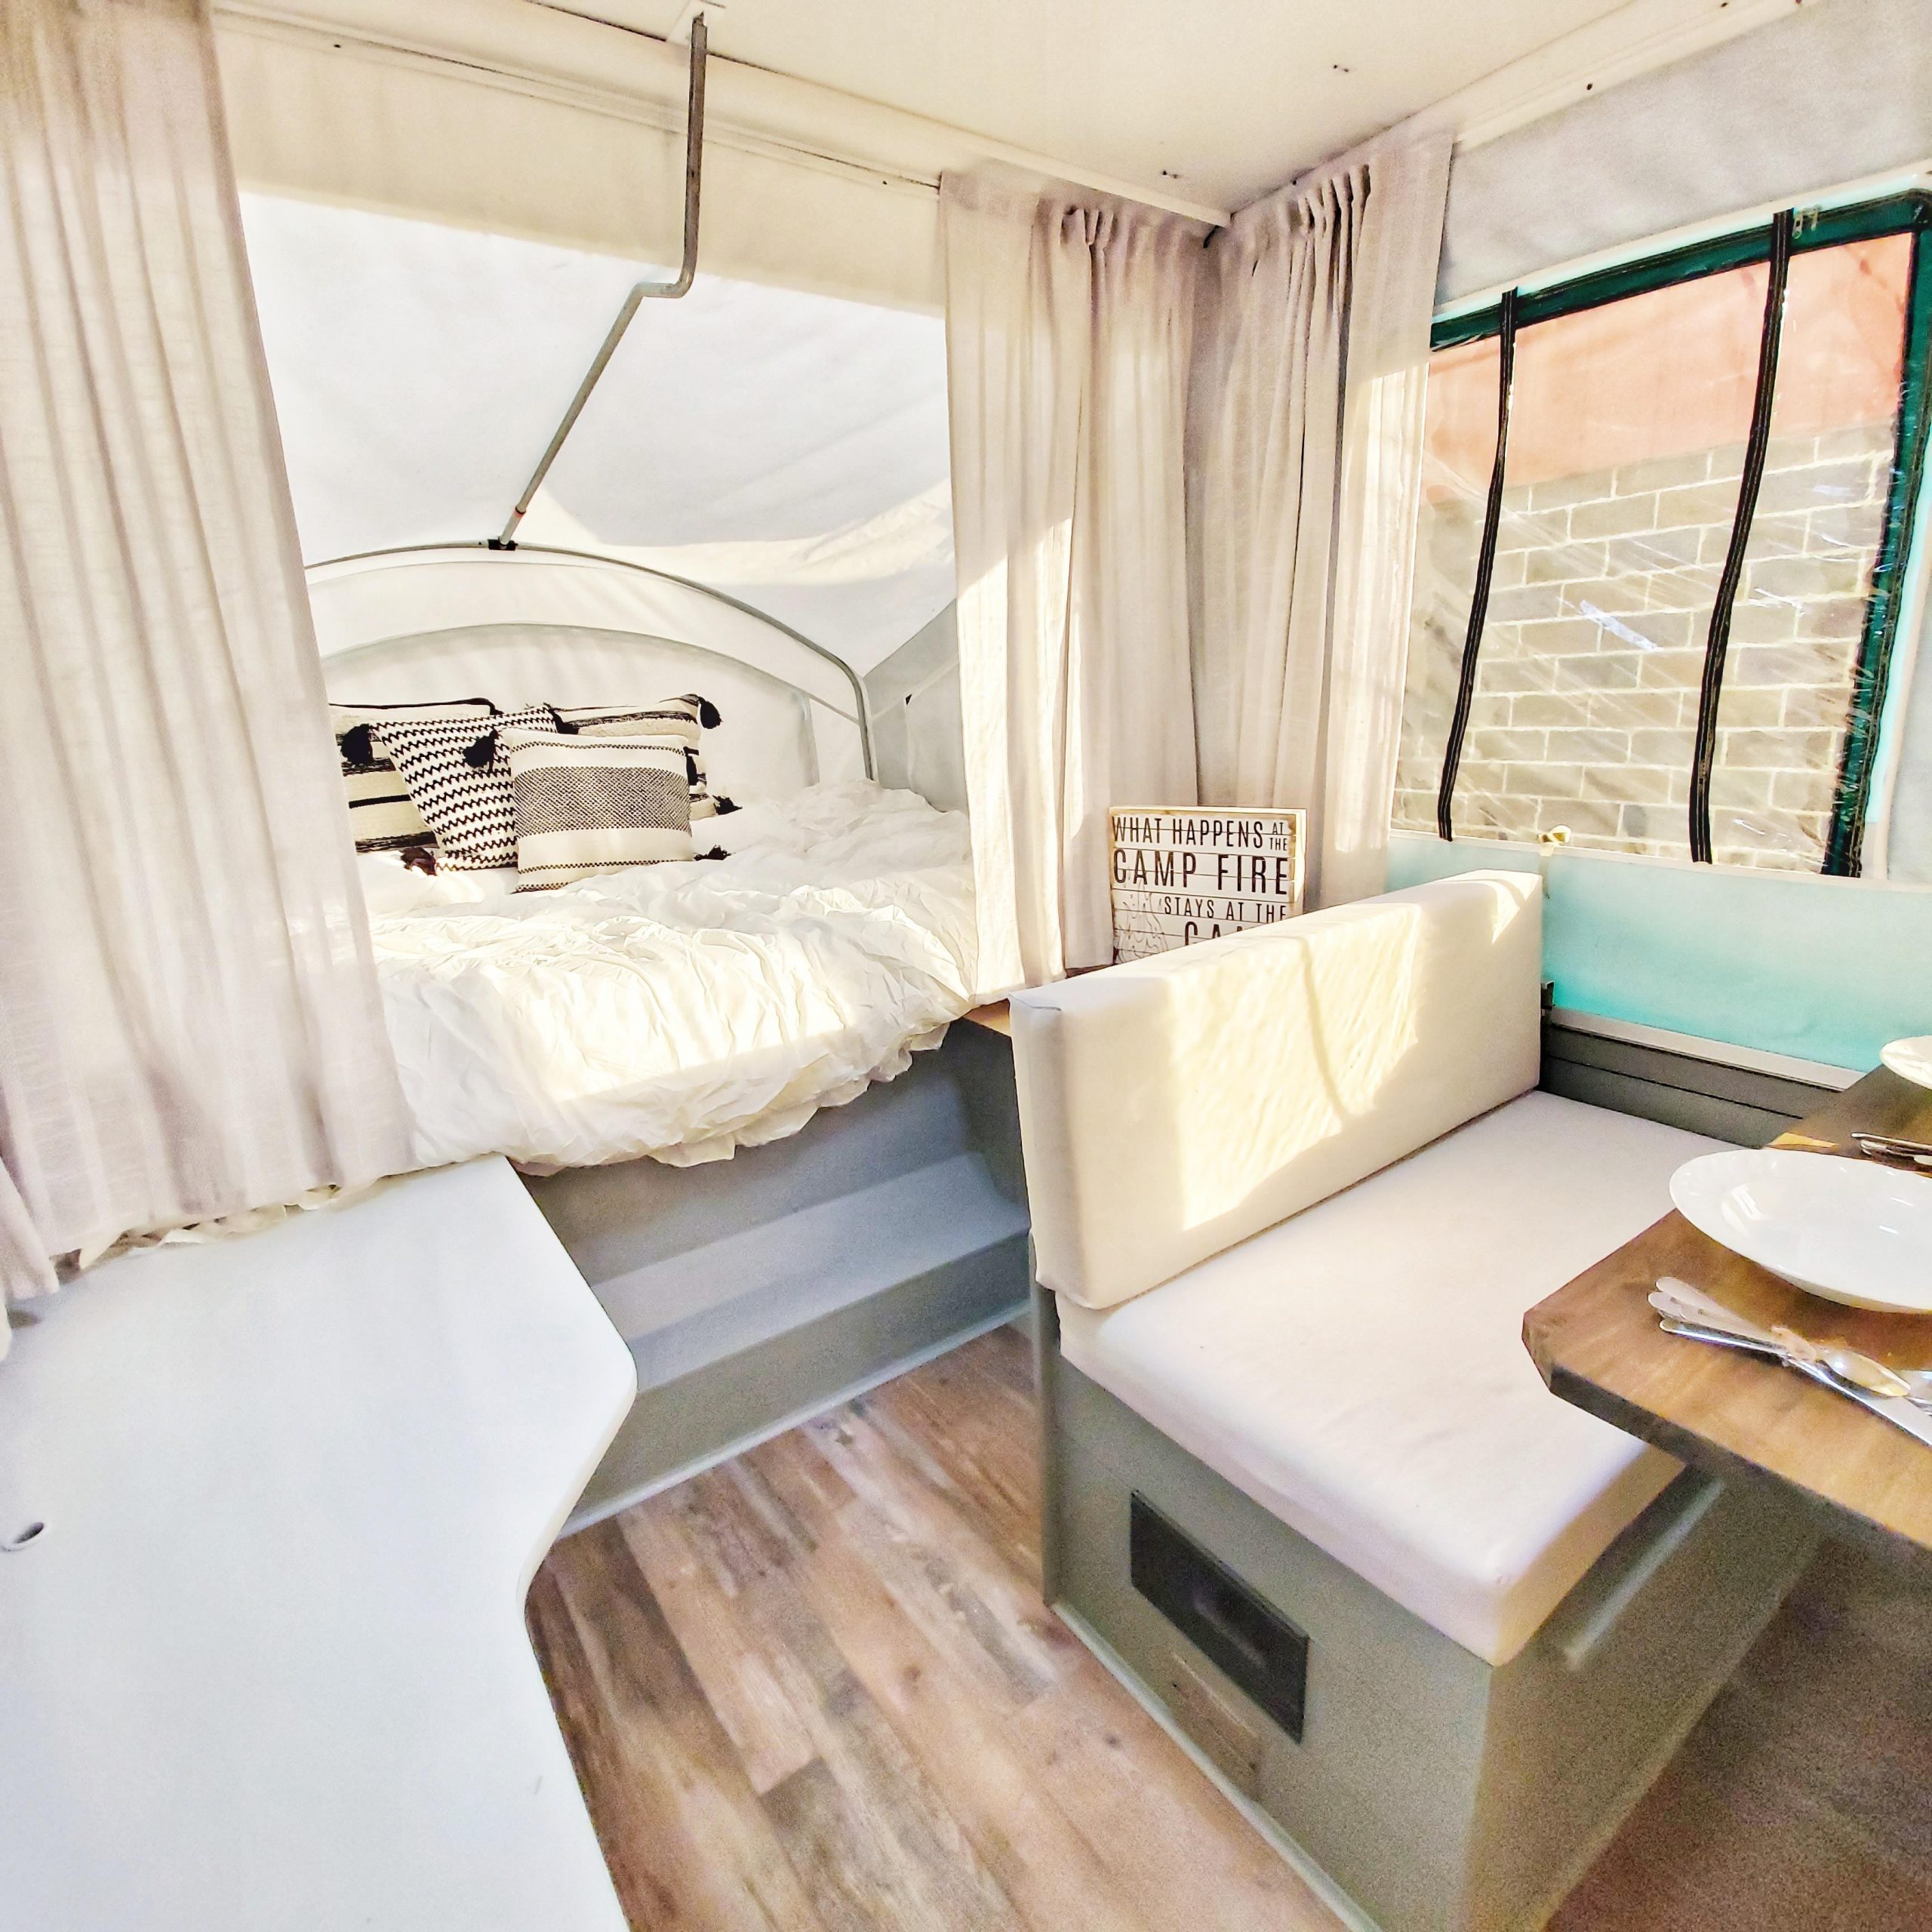
After
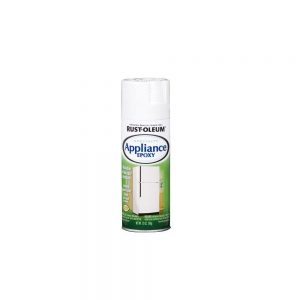
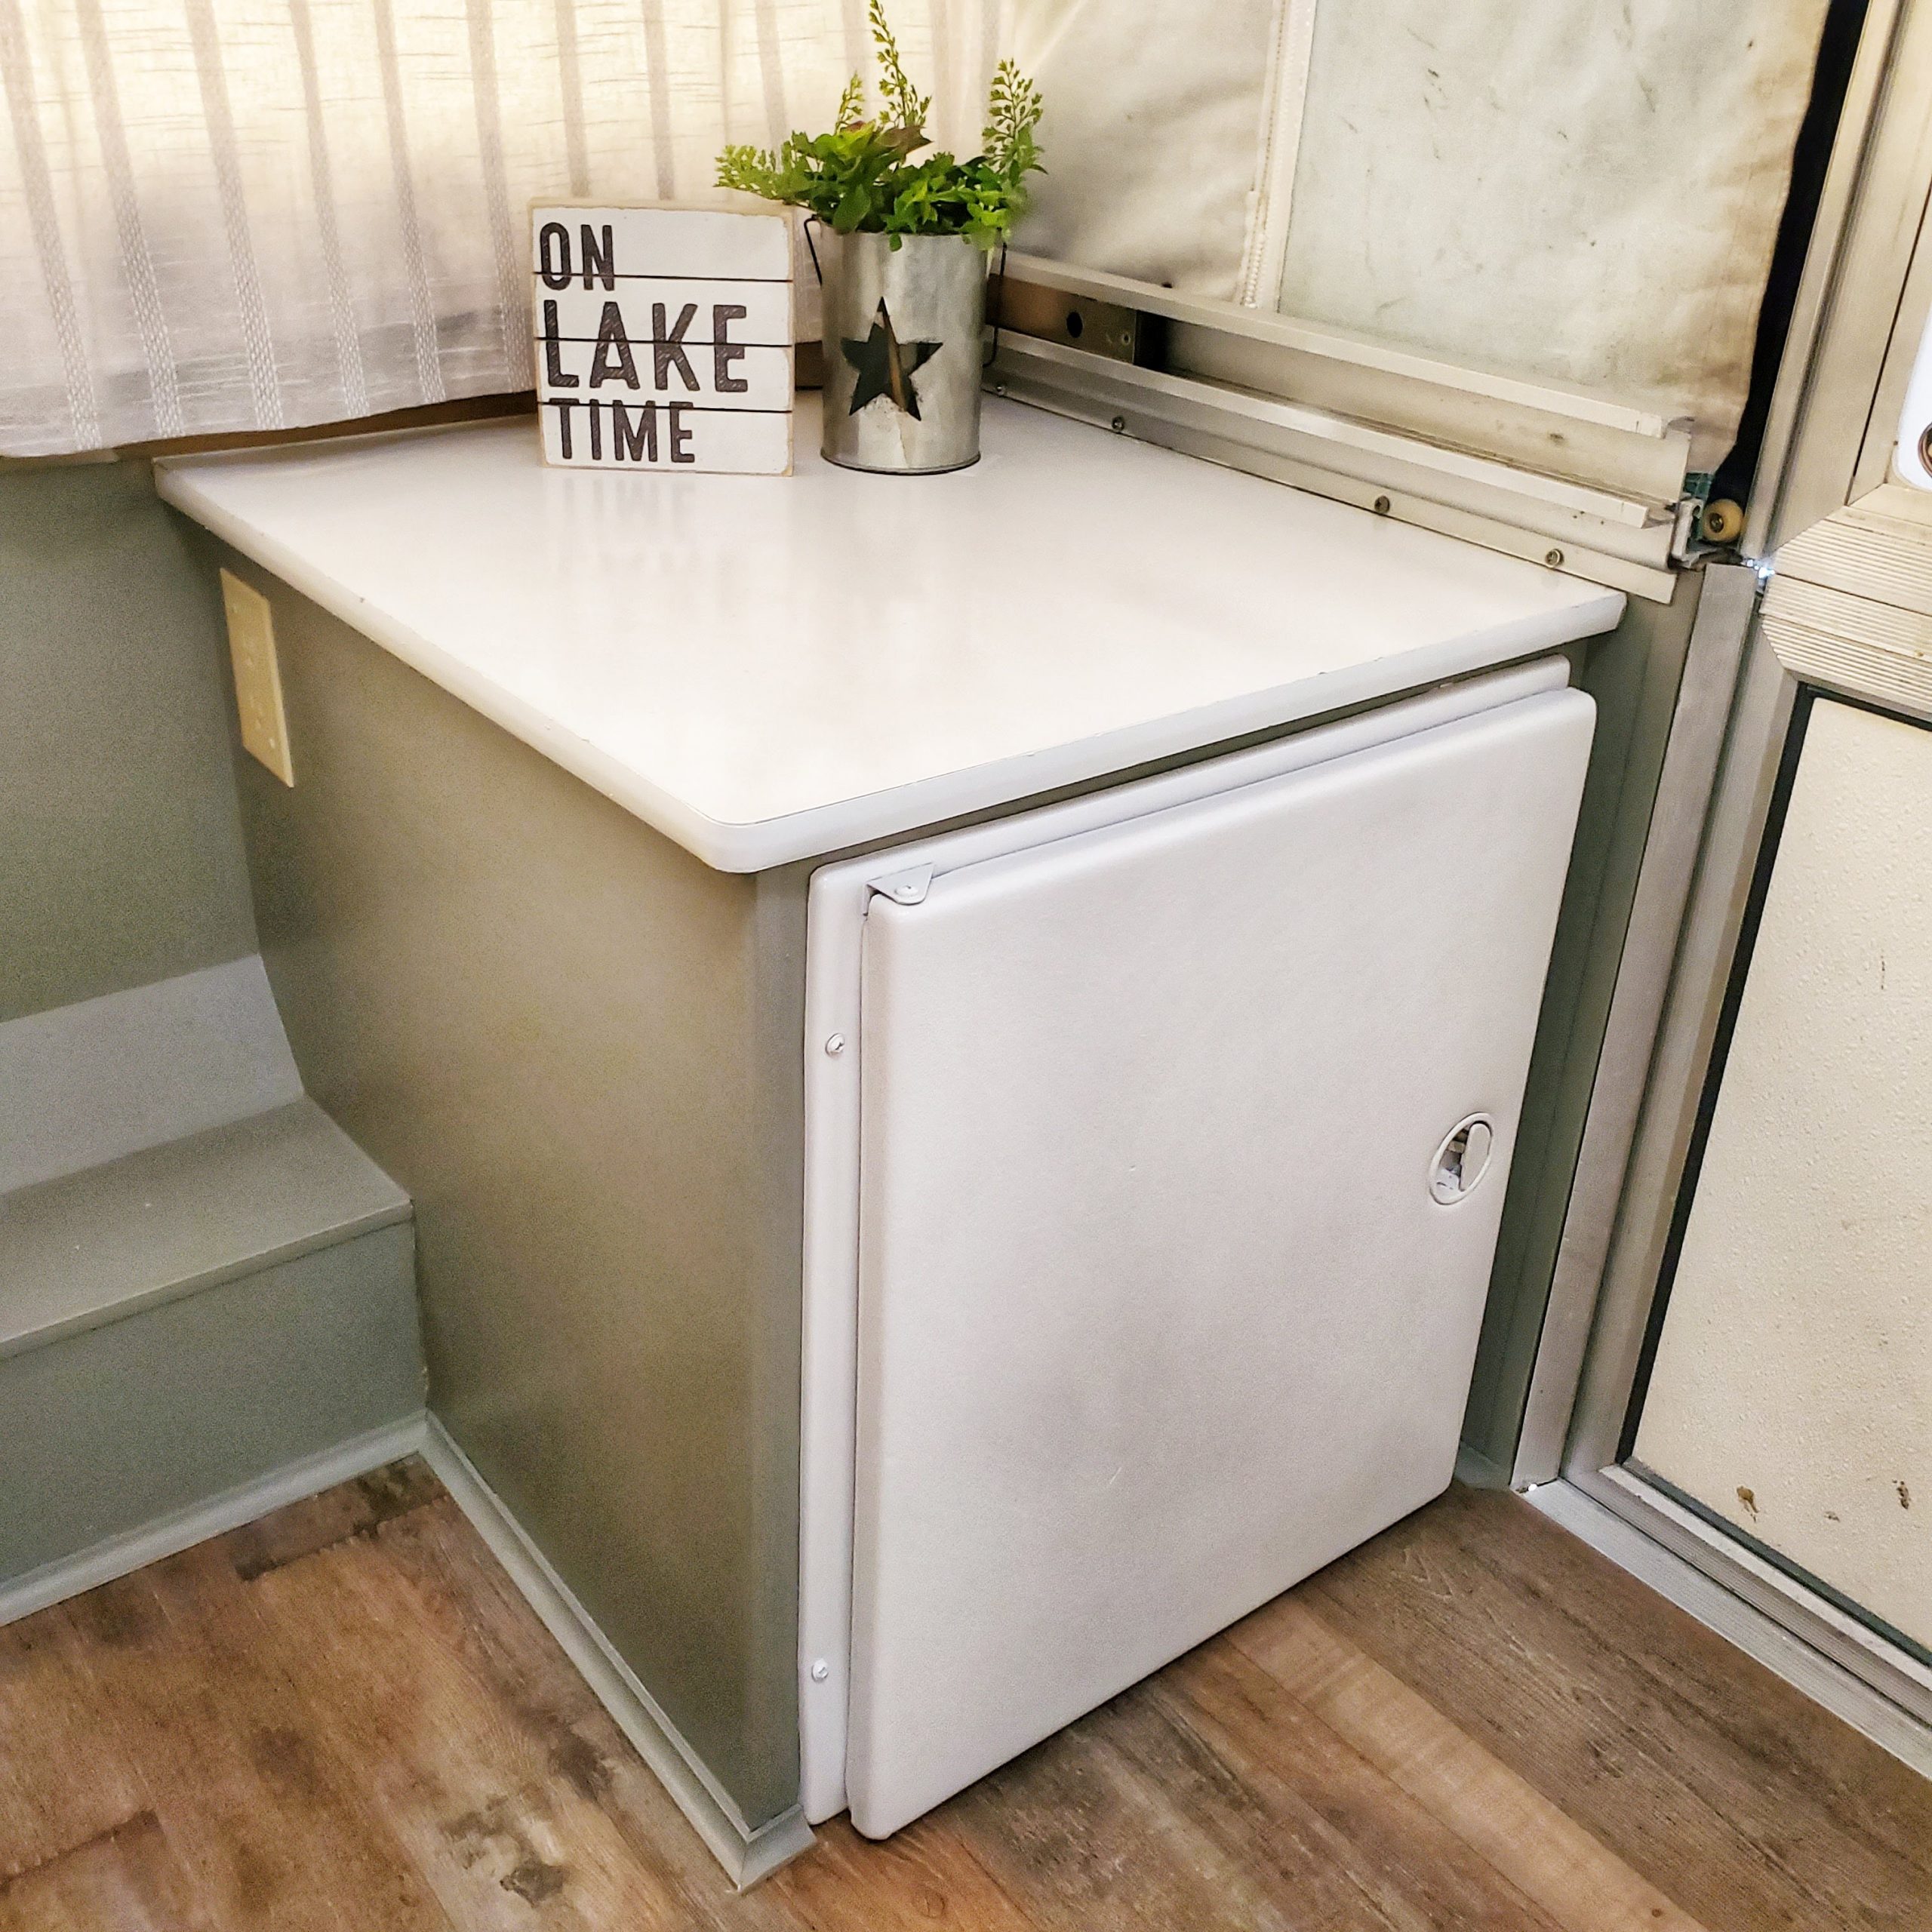
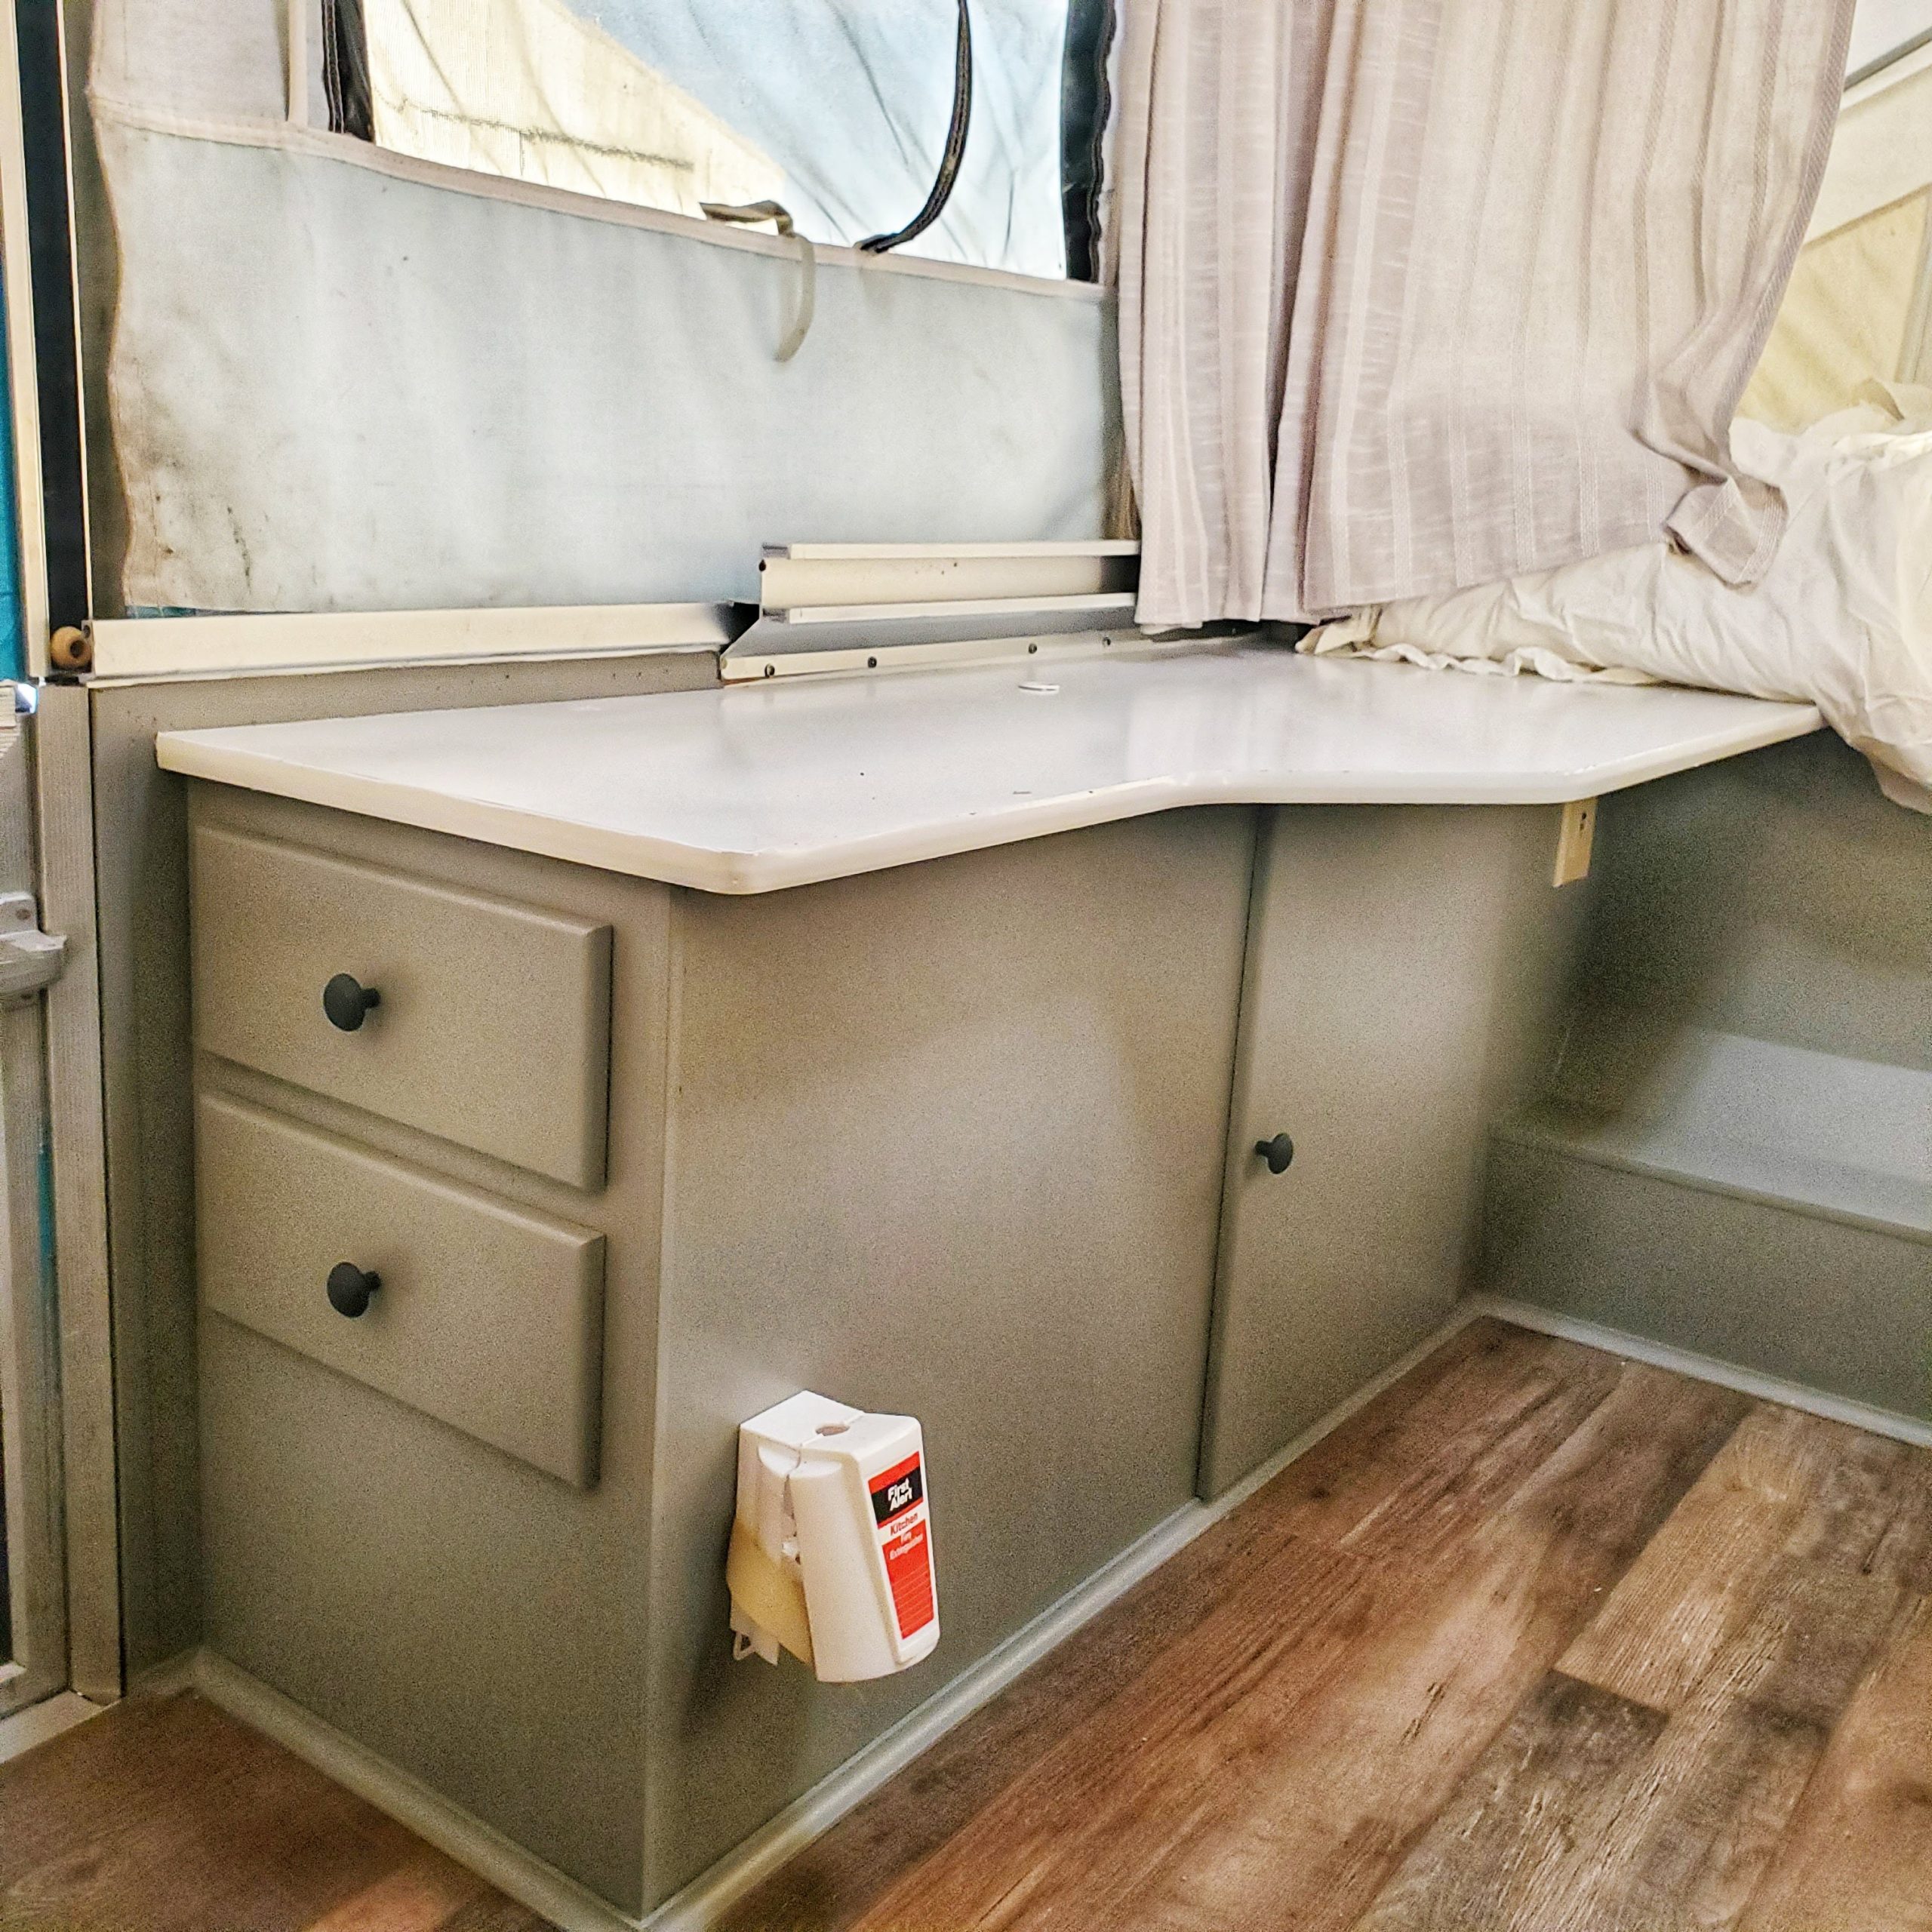
I started out with painting the perimeter countertops and fridge door with Appliance Epoxy. Because it's a spray, it can be messy and I didn't want it to get on anything else already finished.
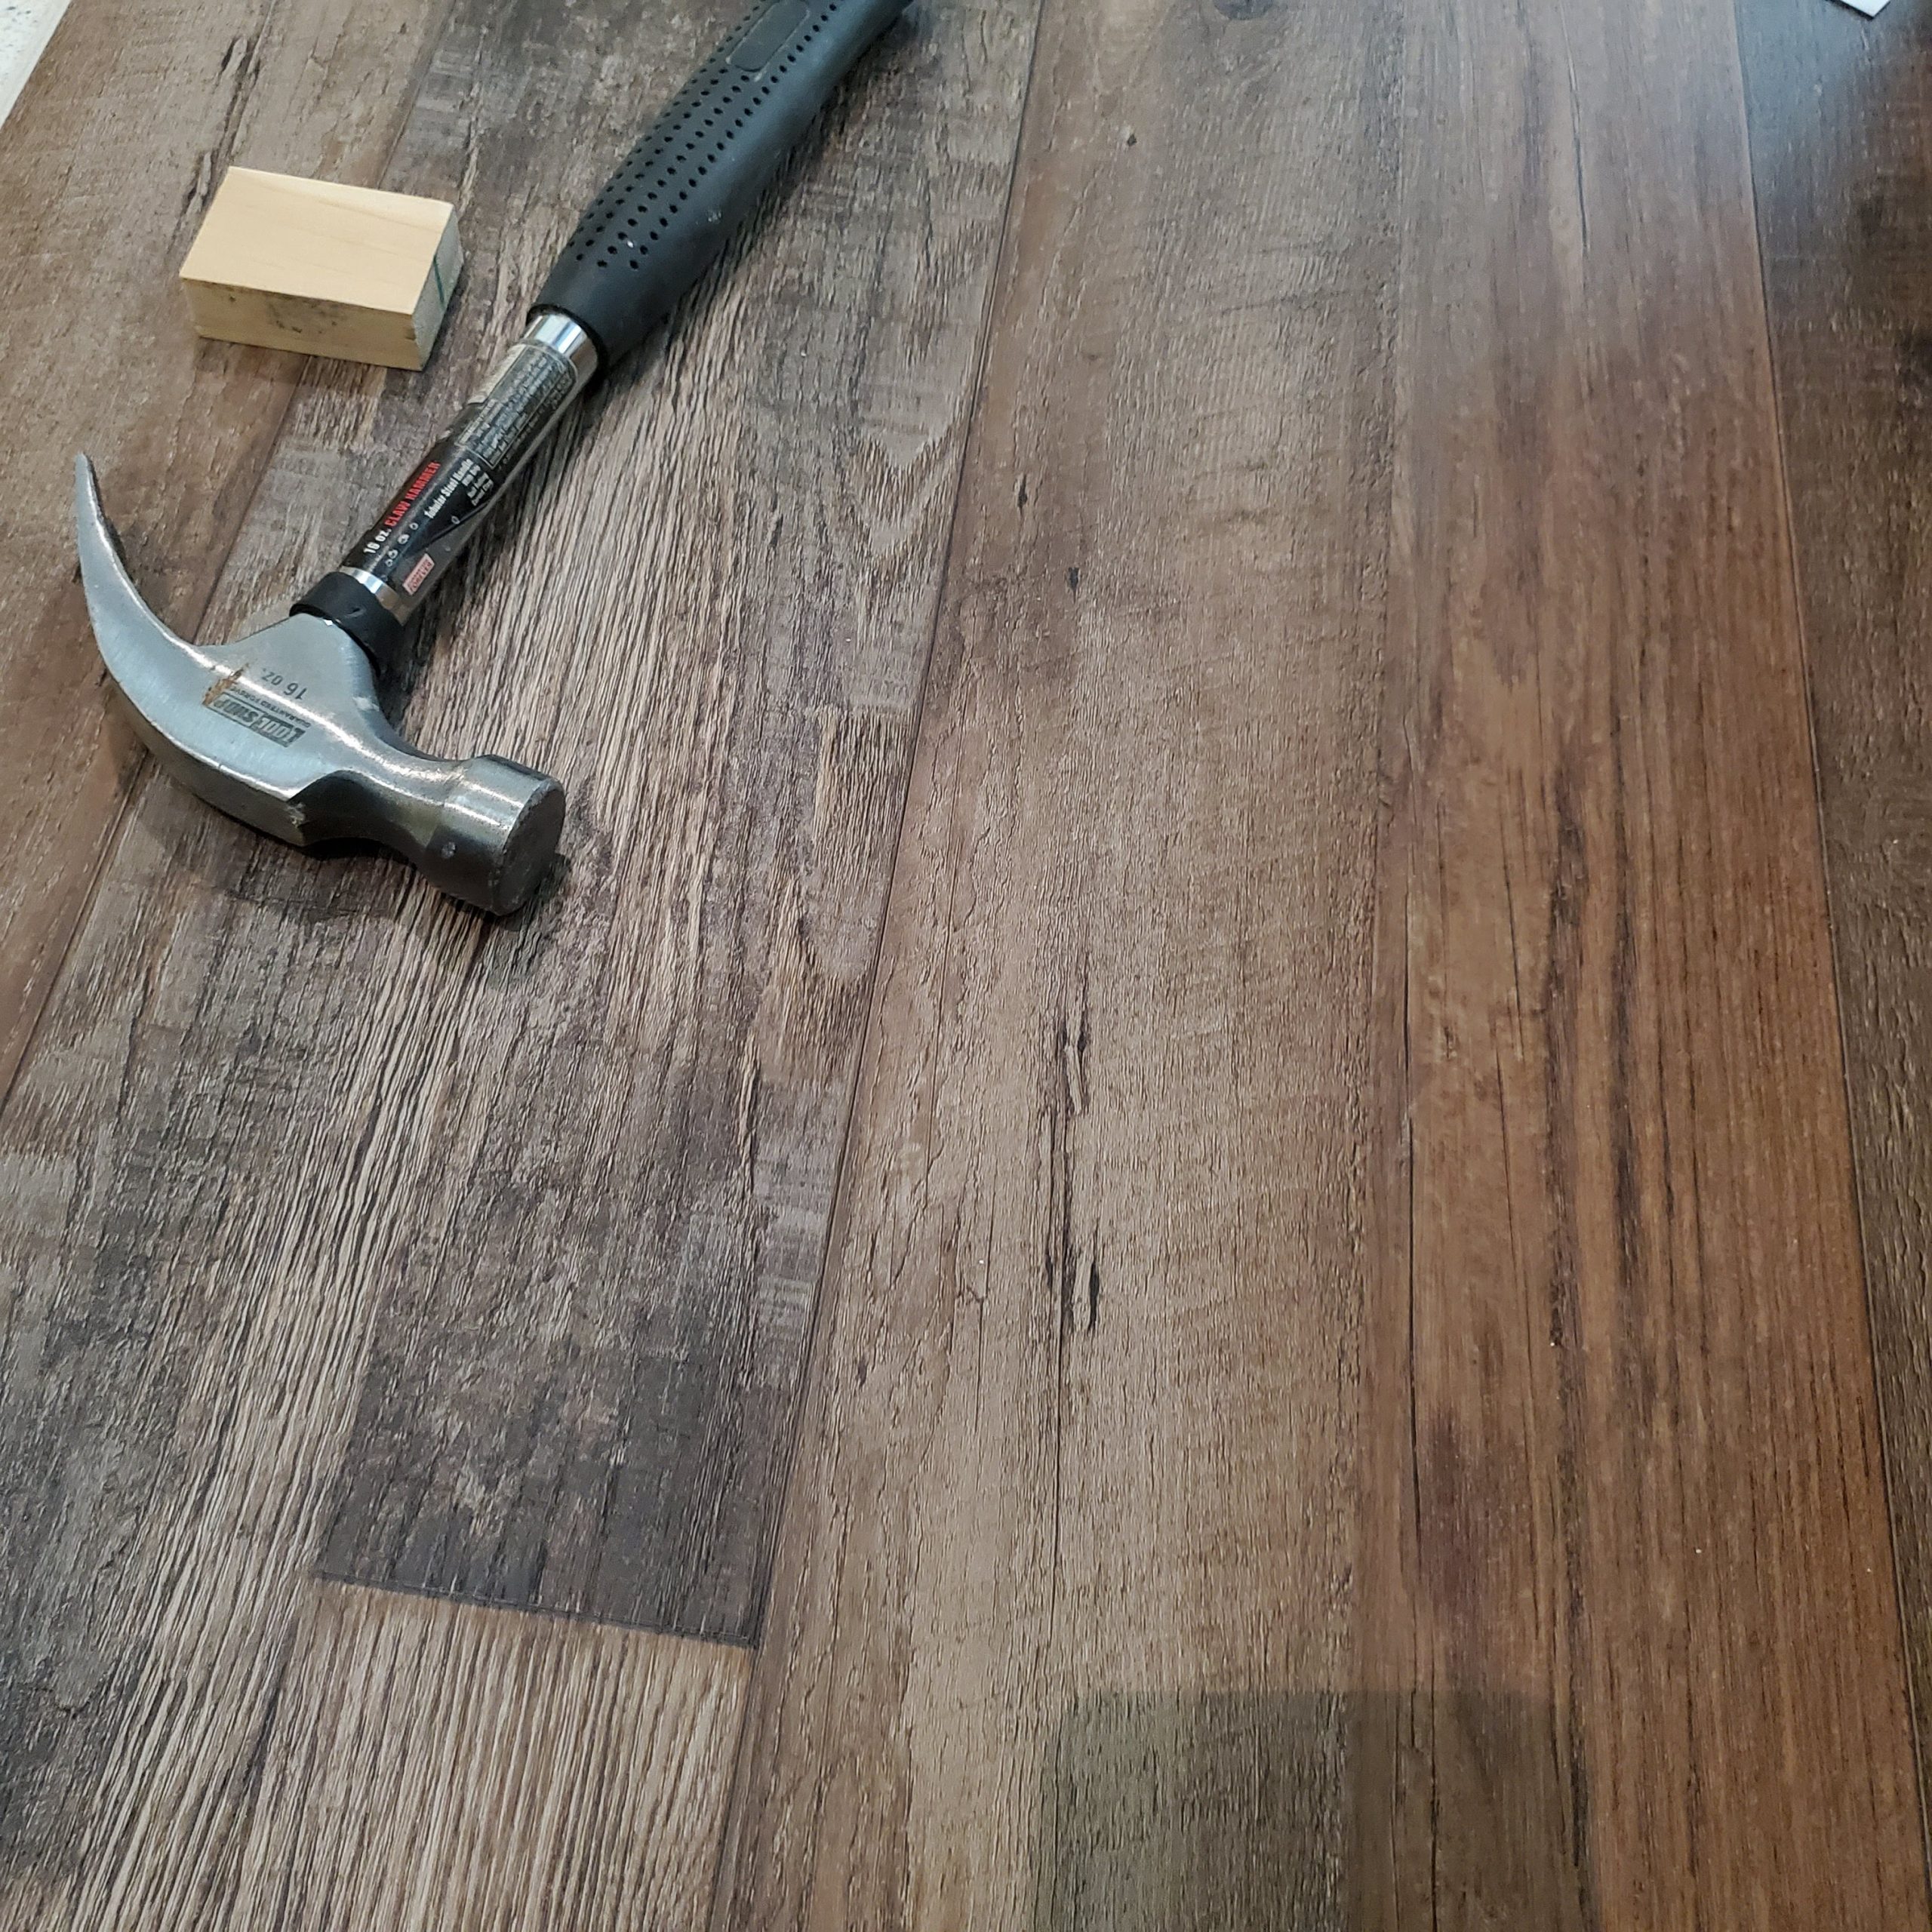
Next new flooring was installed! We used a luxury vinyl plank that is scratch resistant and waterproof. This type of flooring went right over the old linoleum, we did not have to tear any part of the old stuff out.
The flooring we used was the Dover Cliffs collection from Menards. Unfortunately, it's no longer available but any LVT or LVP will work, here's a good choice from Home Depot.
We then ripped down 1/4 inch plywood for faux shiplap to dress up the bench bases a bit. I used liquid nails to install it with 5/8 inch brad nails on the edges. Then added some cove molding to finish it off.
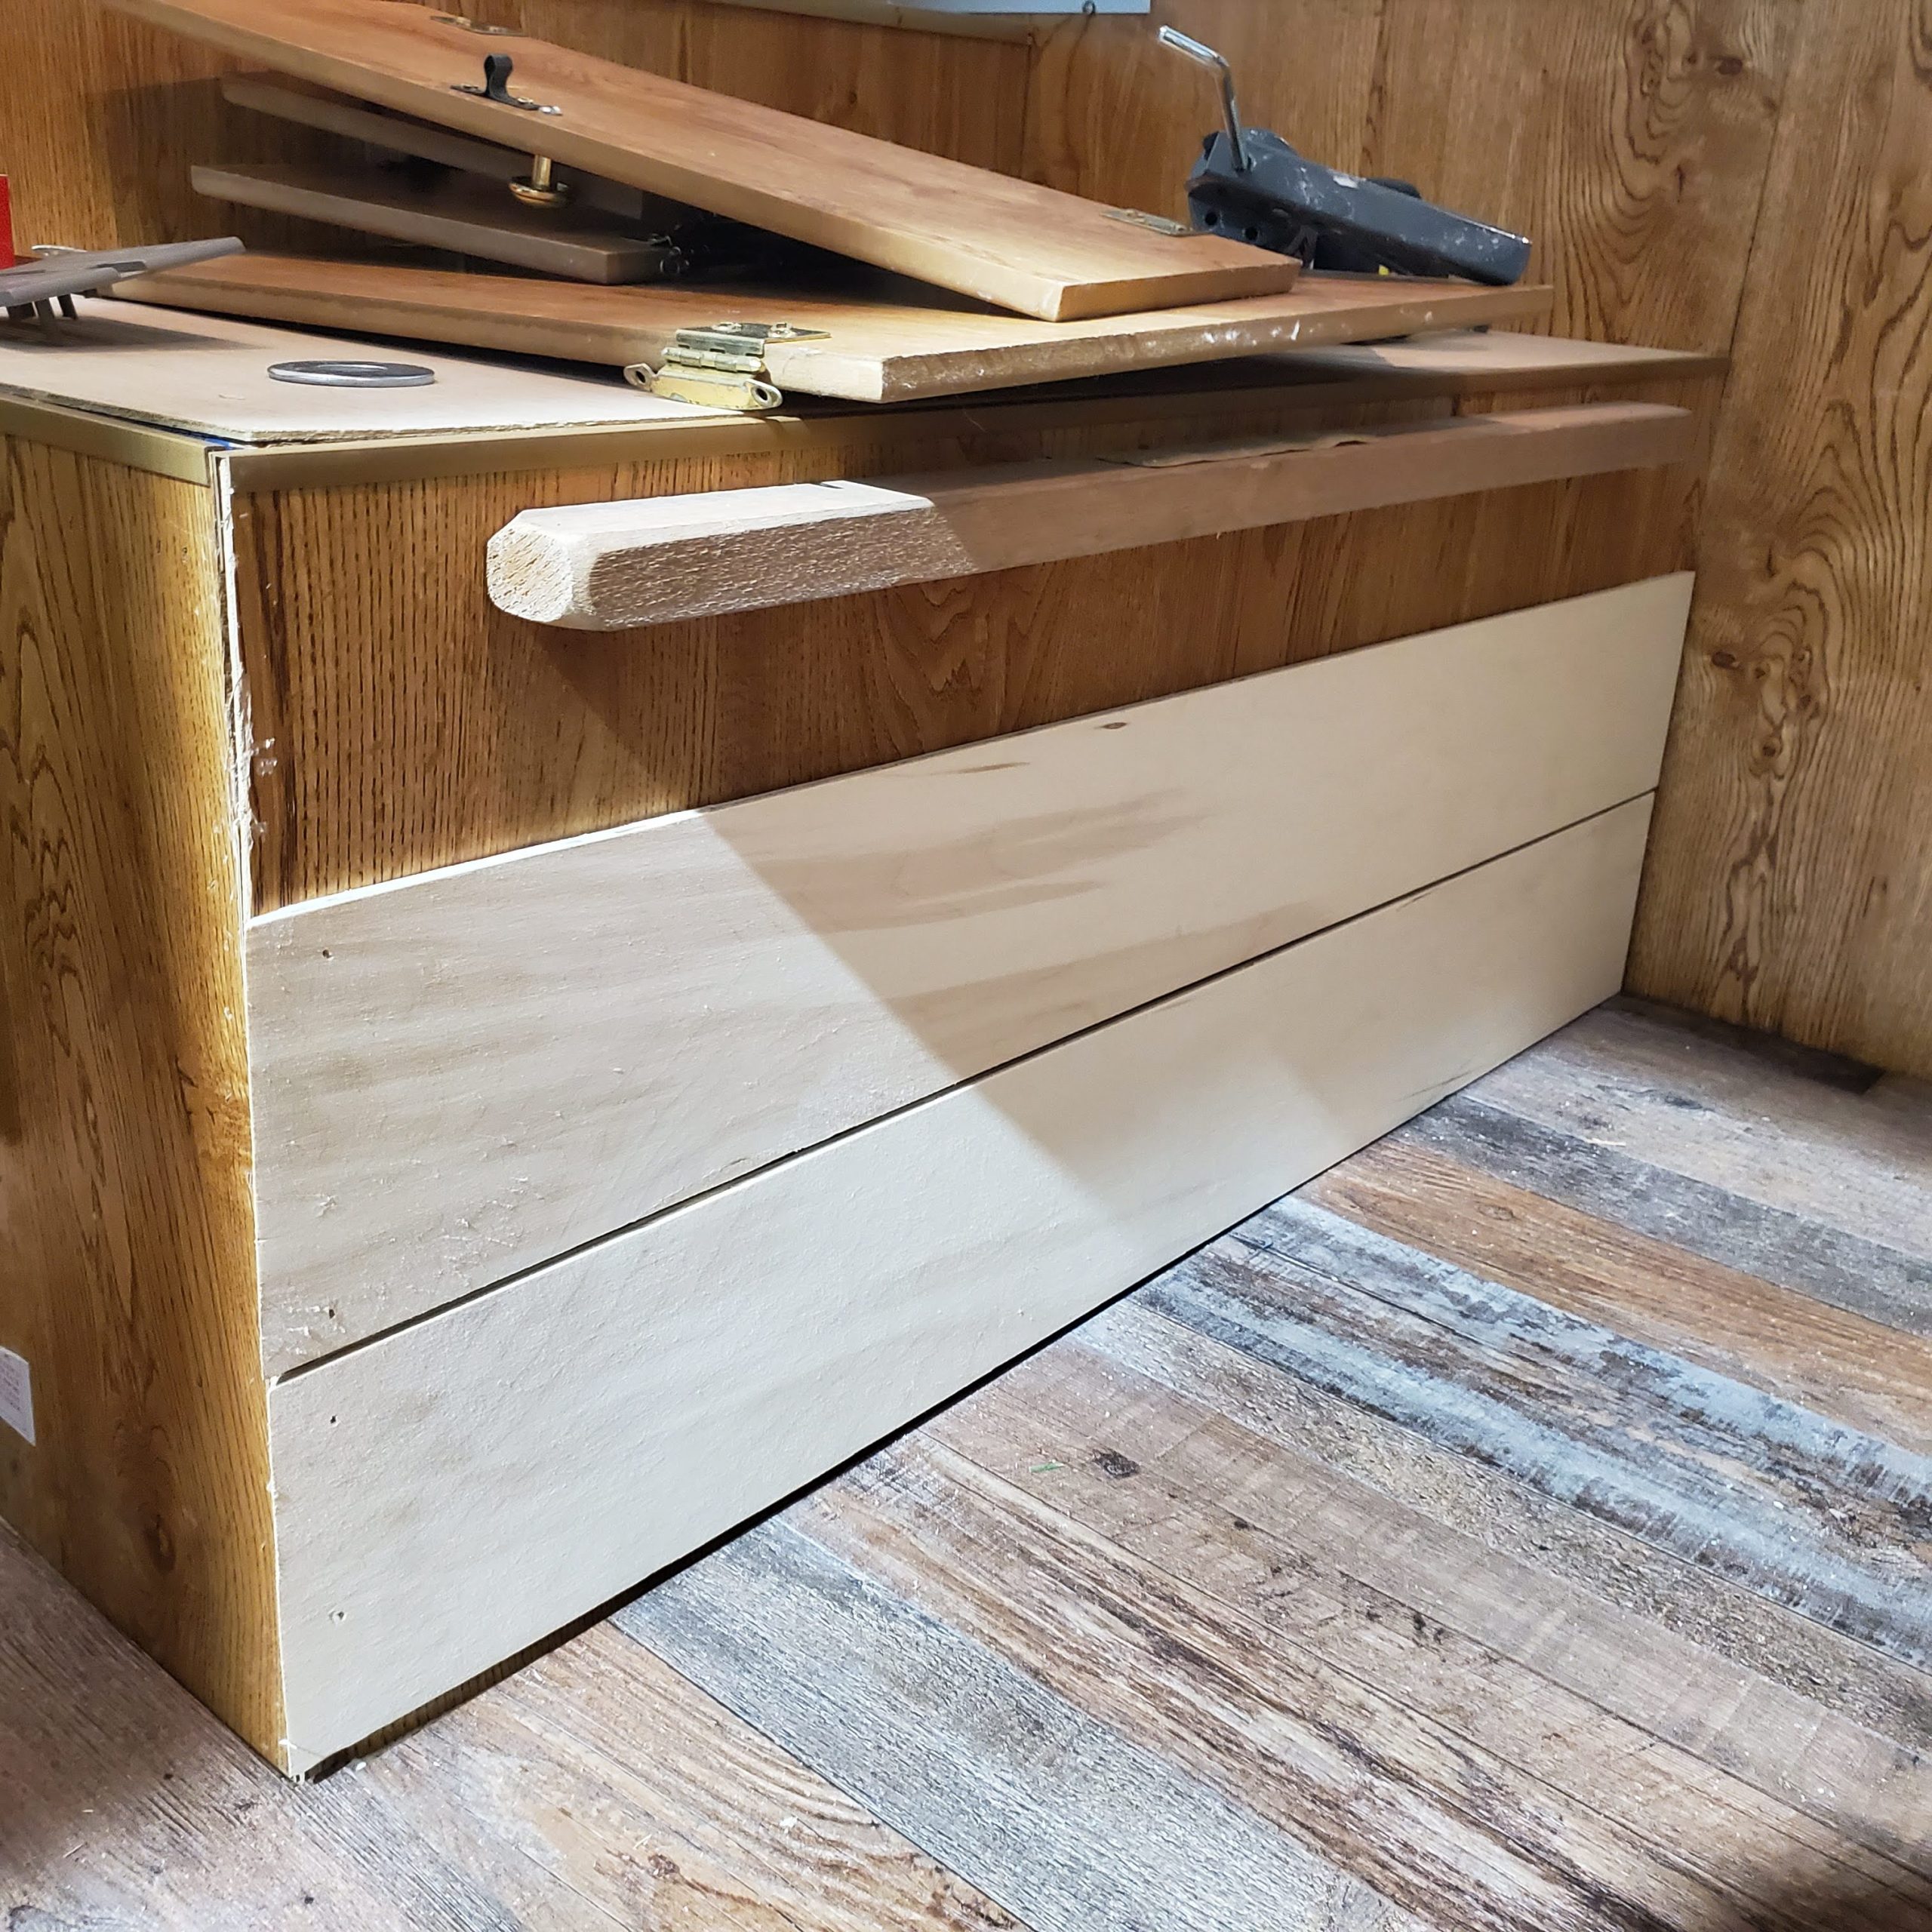
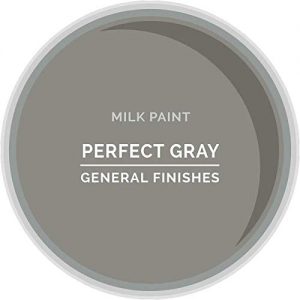
Following my typical cabinetry painting process, I painted all of the “wood grain” in General Finishes' Perfect Gray
Remember the sink I mentioned earlier, it was on top of this cabinet!
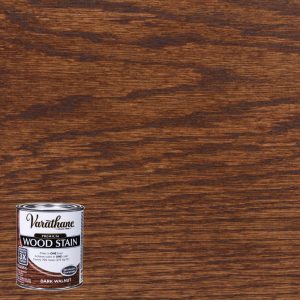
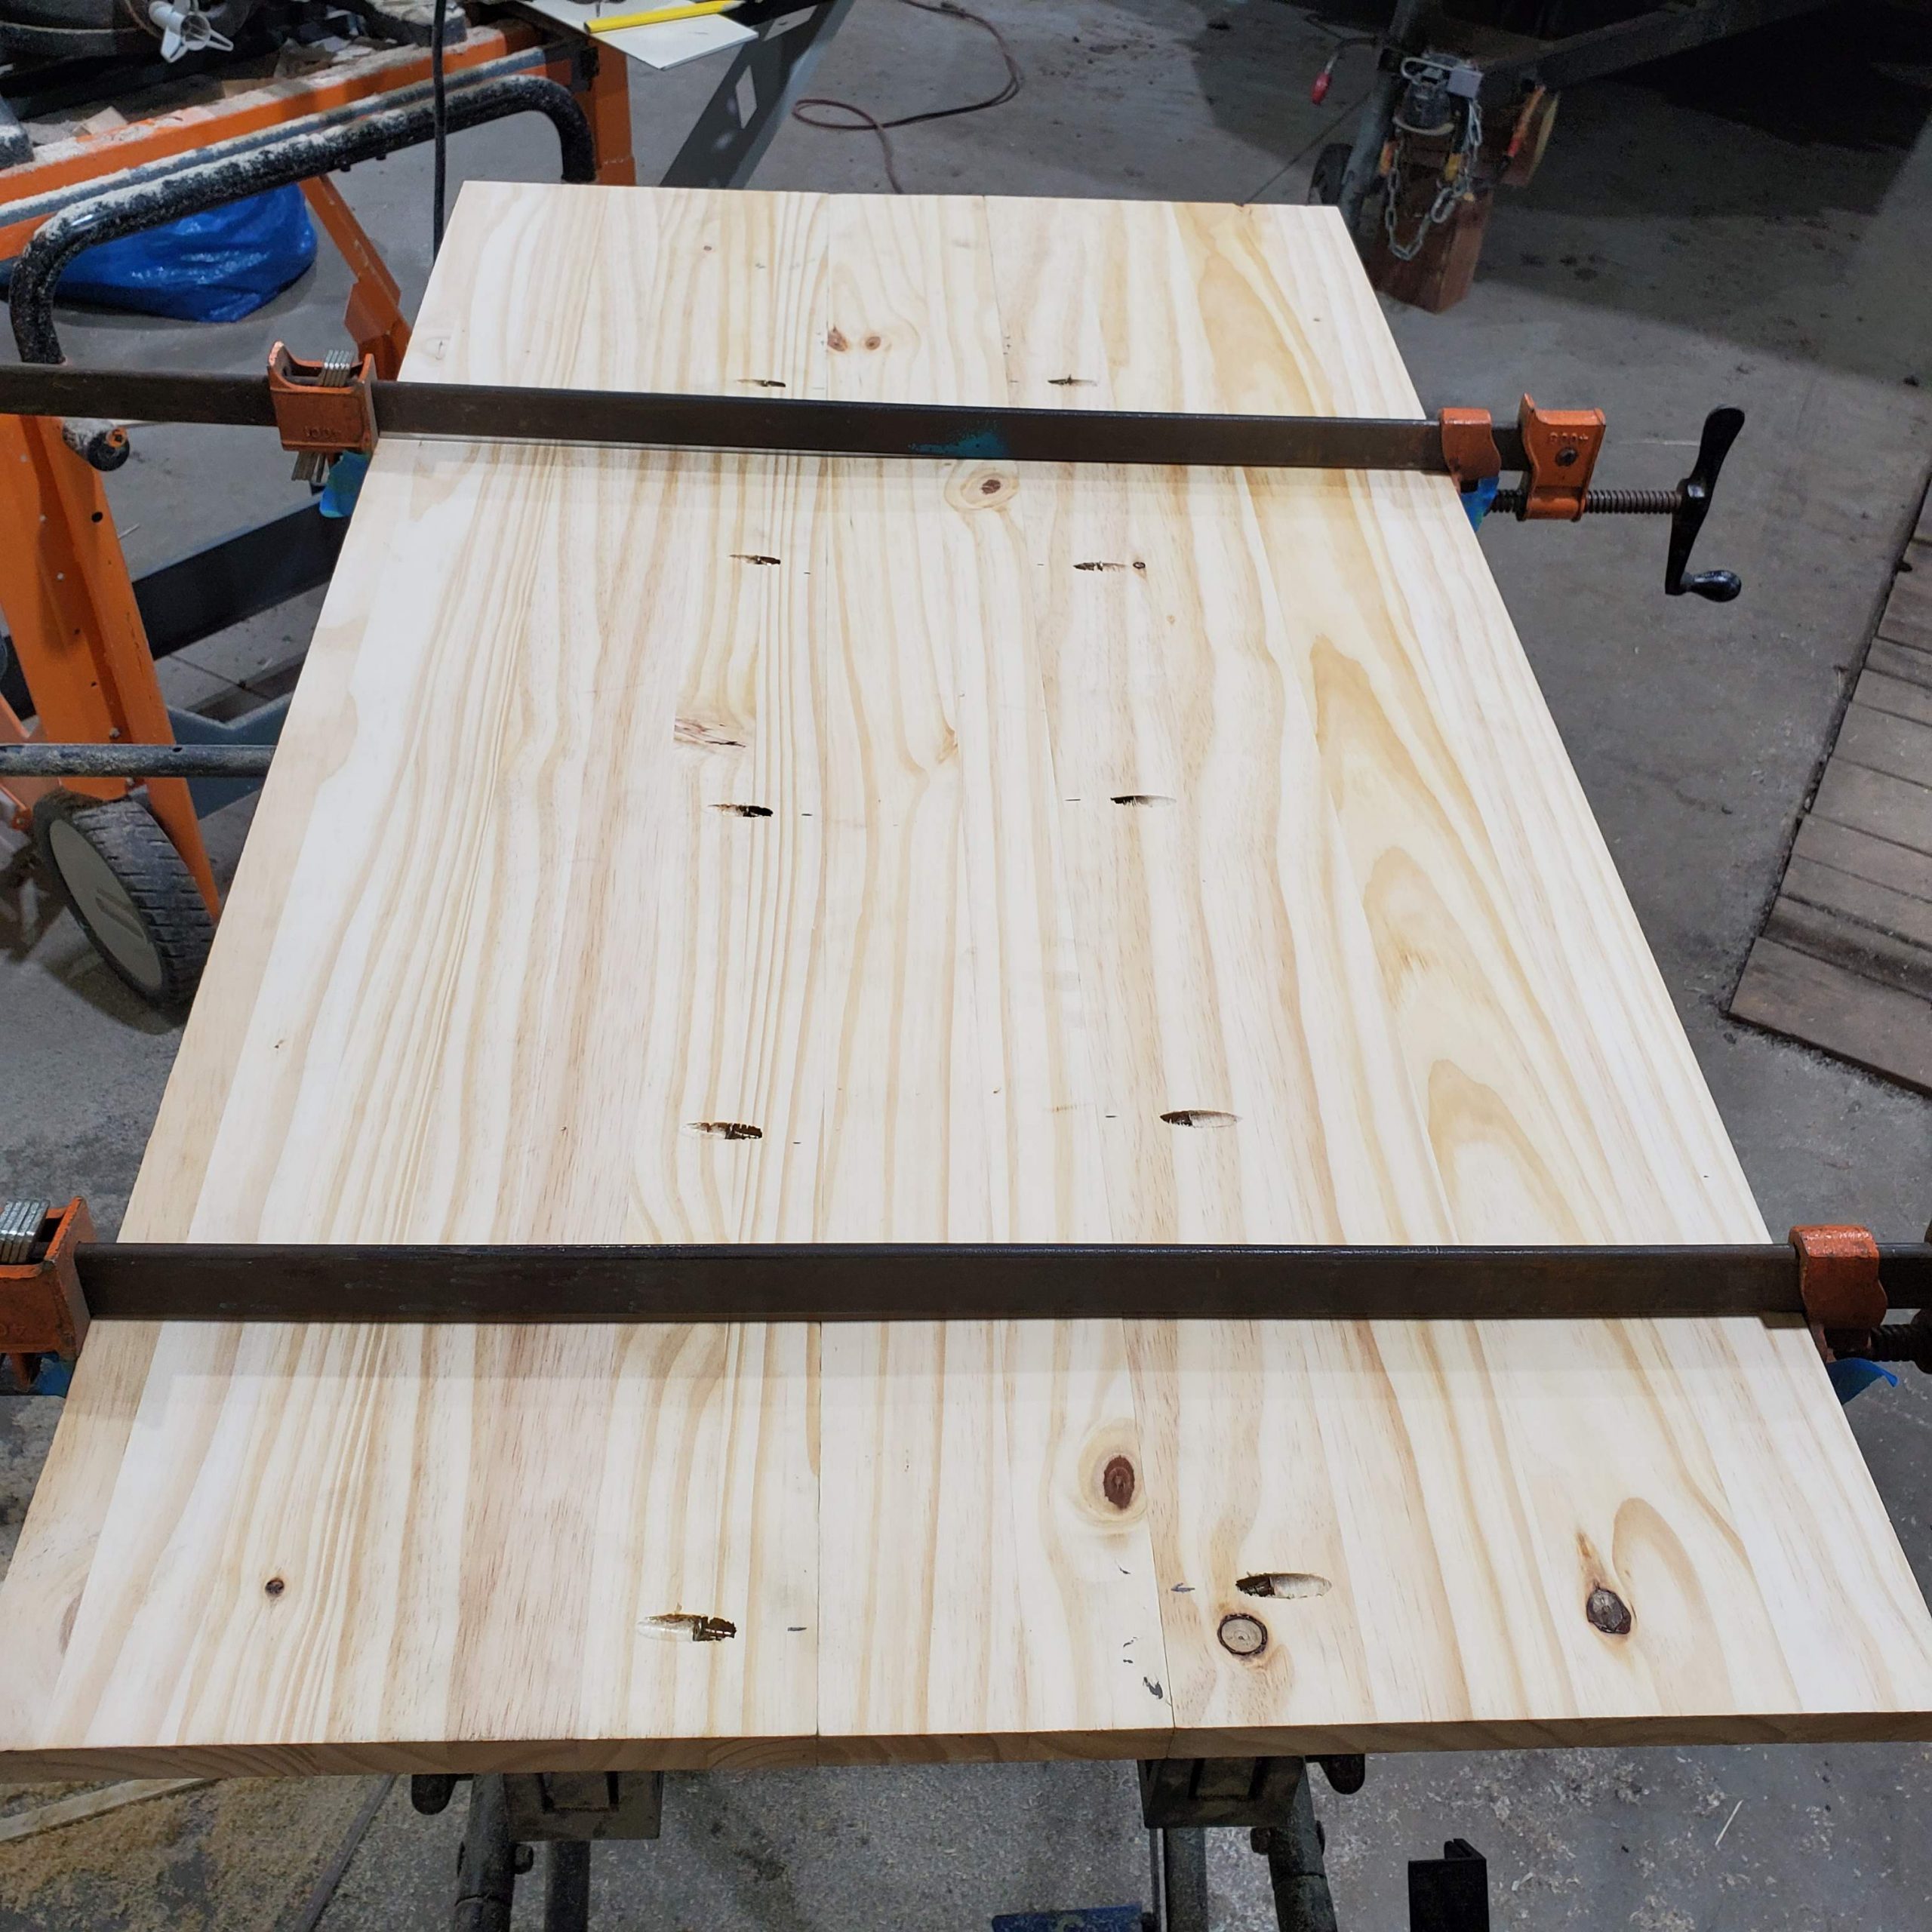
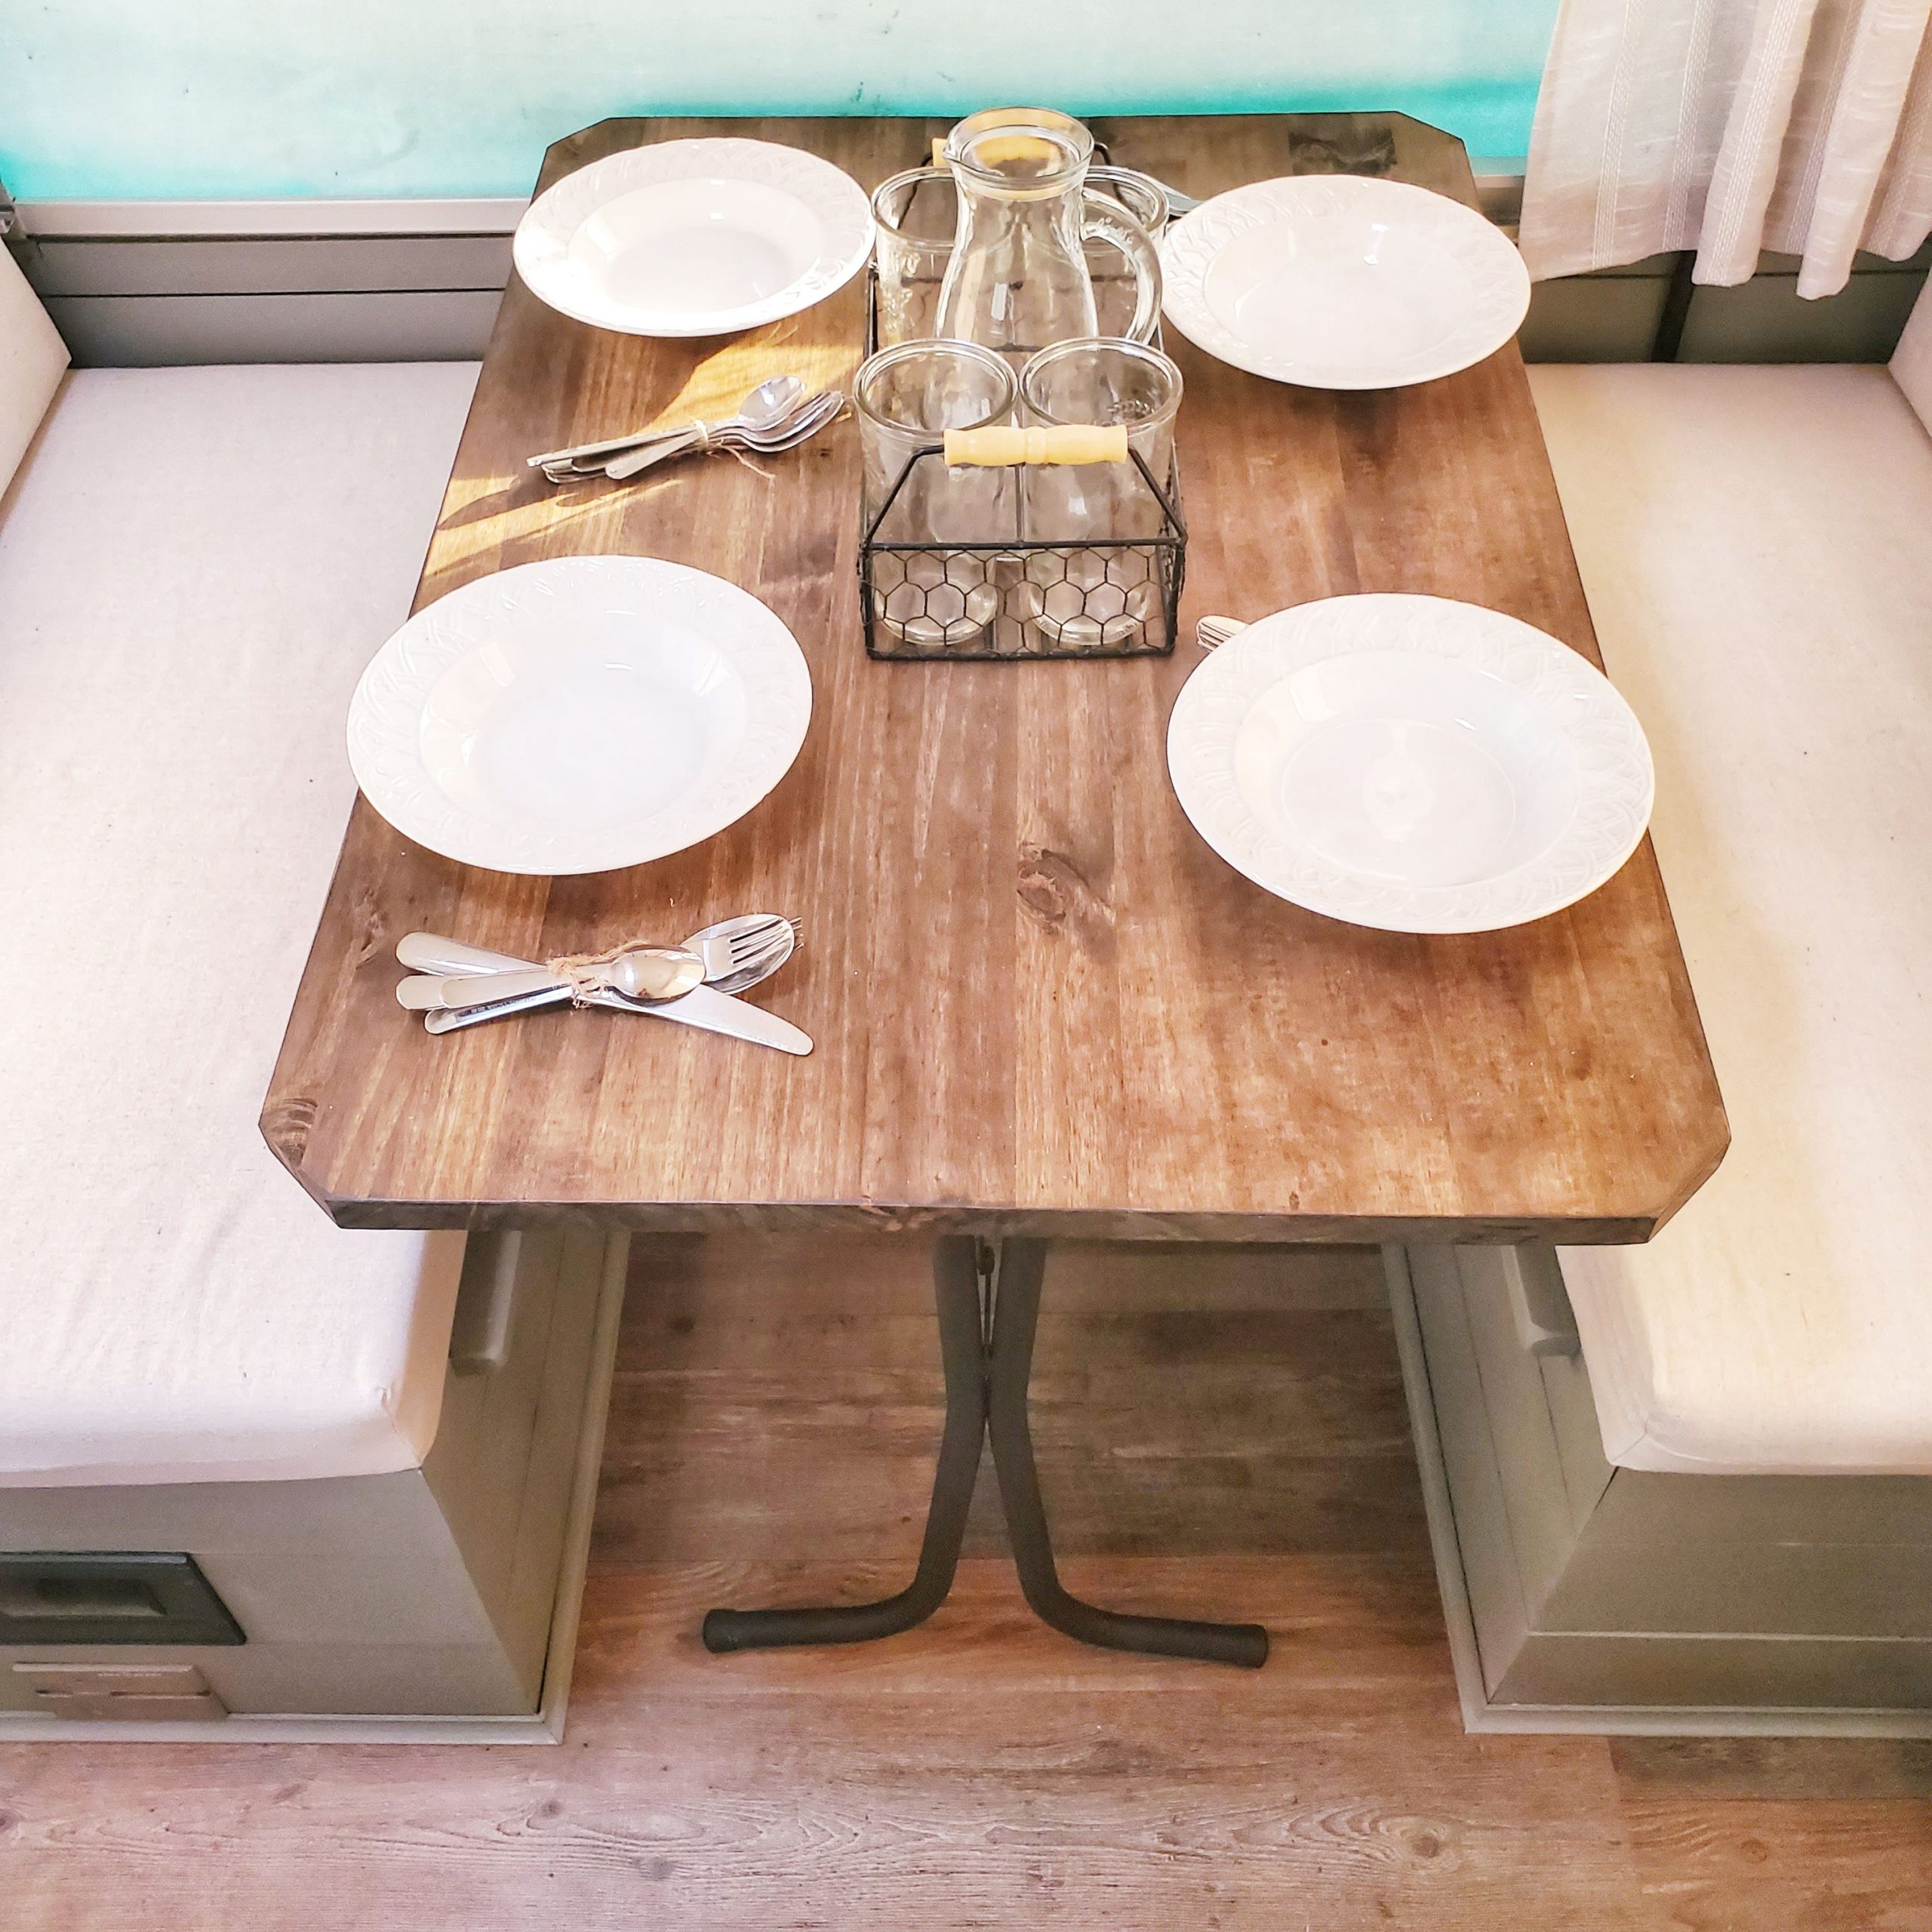
Instead of painting the dinette table, I built a new top by kreg jigging stair treads together. I used this lumber because it was thick and free of imperfections. Since the table turns into the bed, it needed to be sturdy and free of bowing. I stained it using dark walnut.
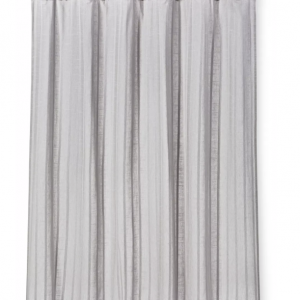
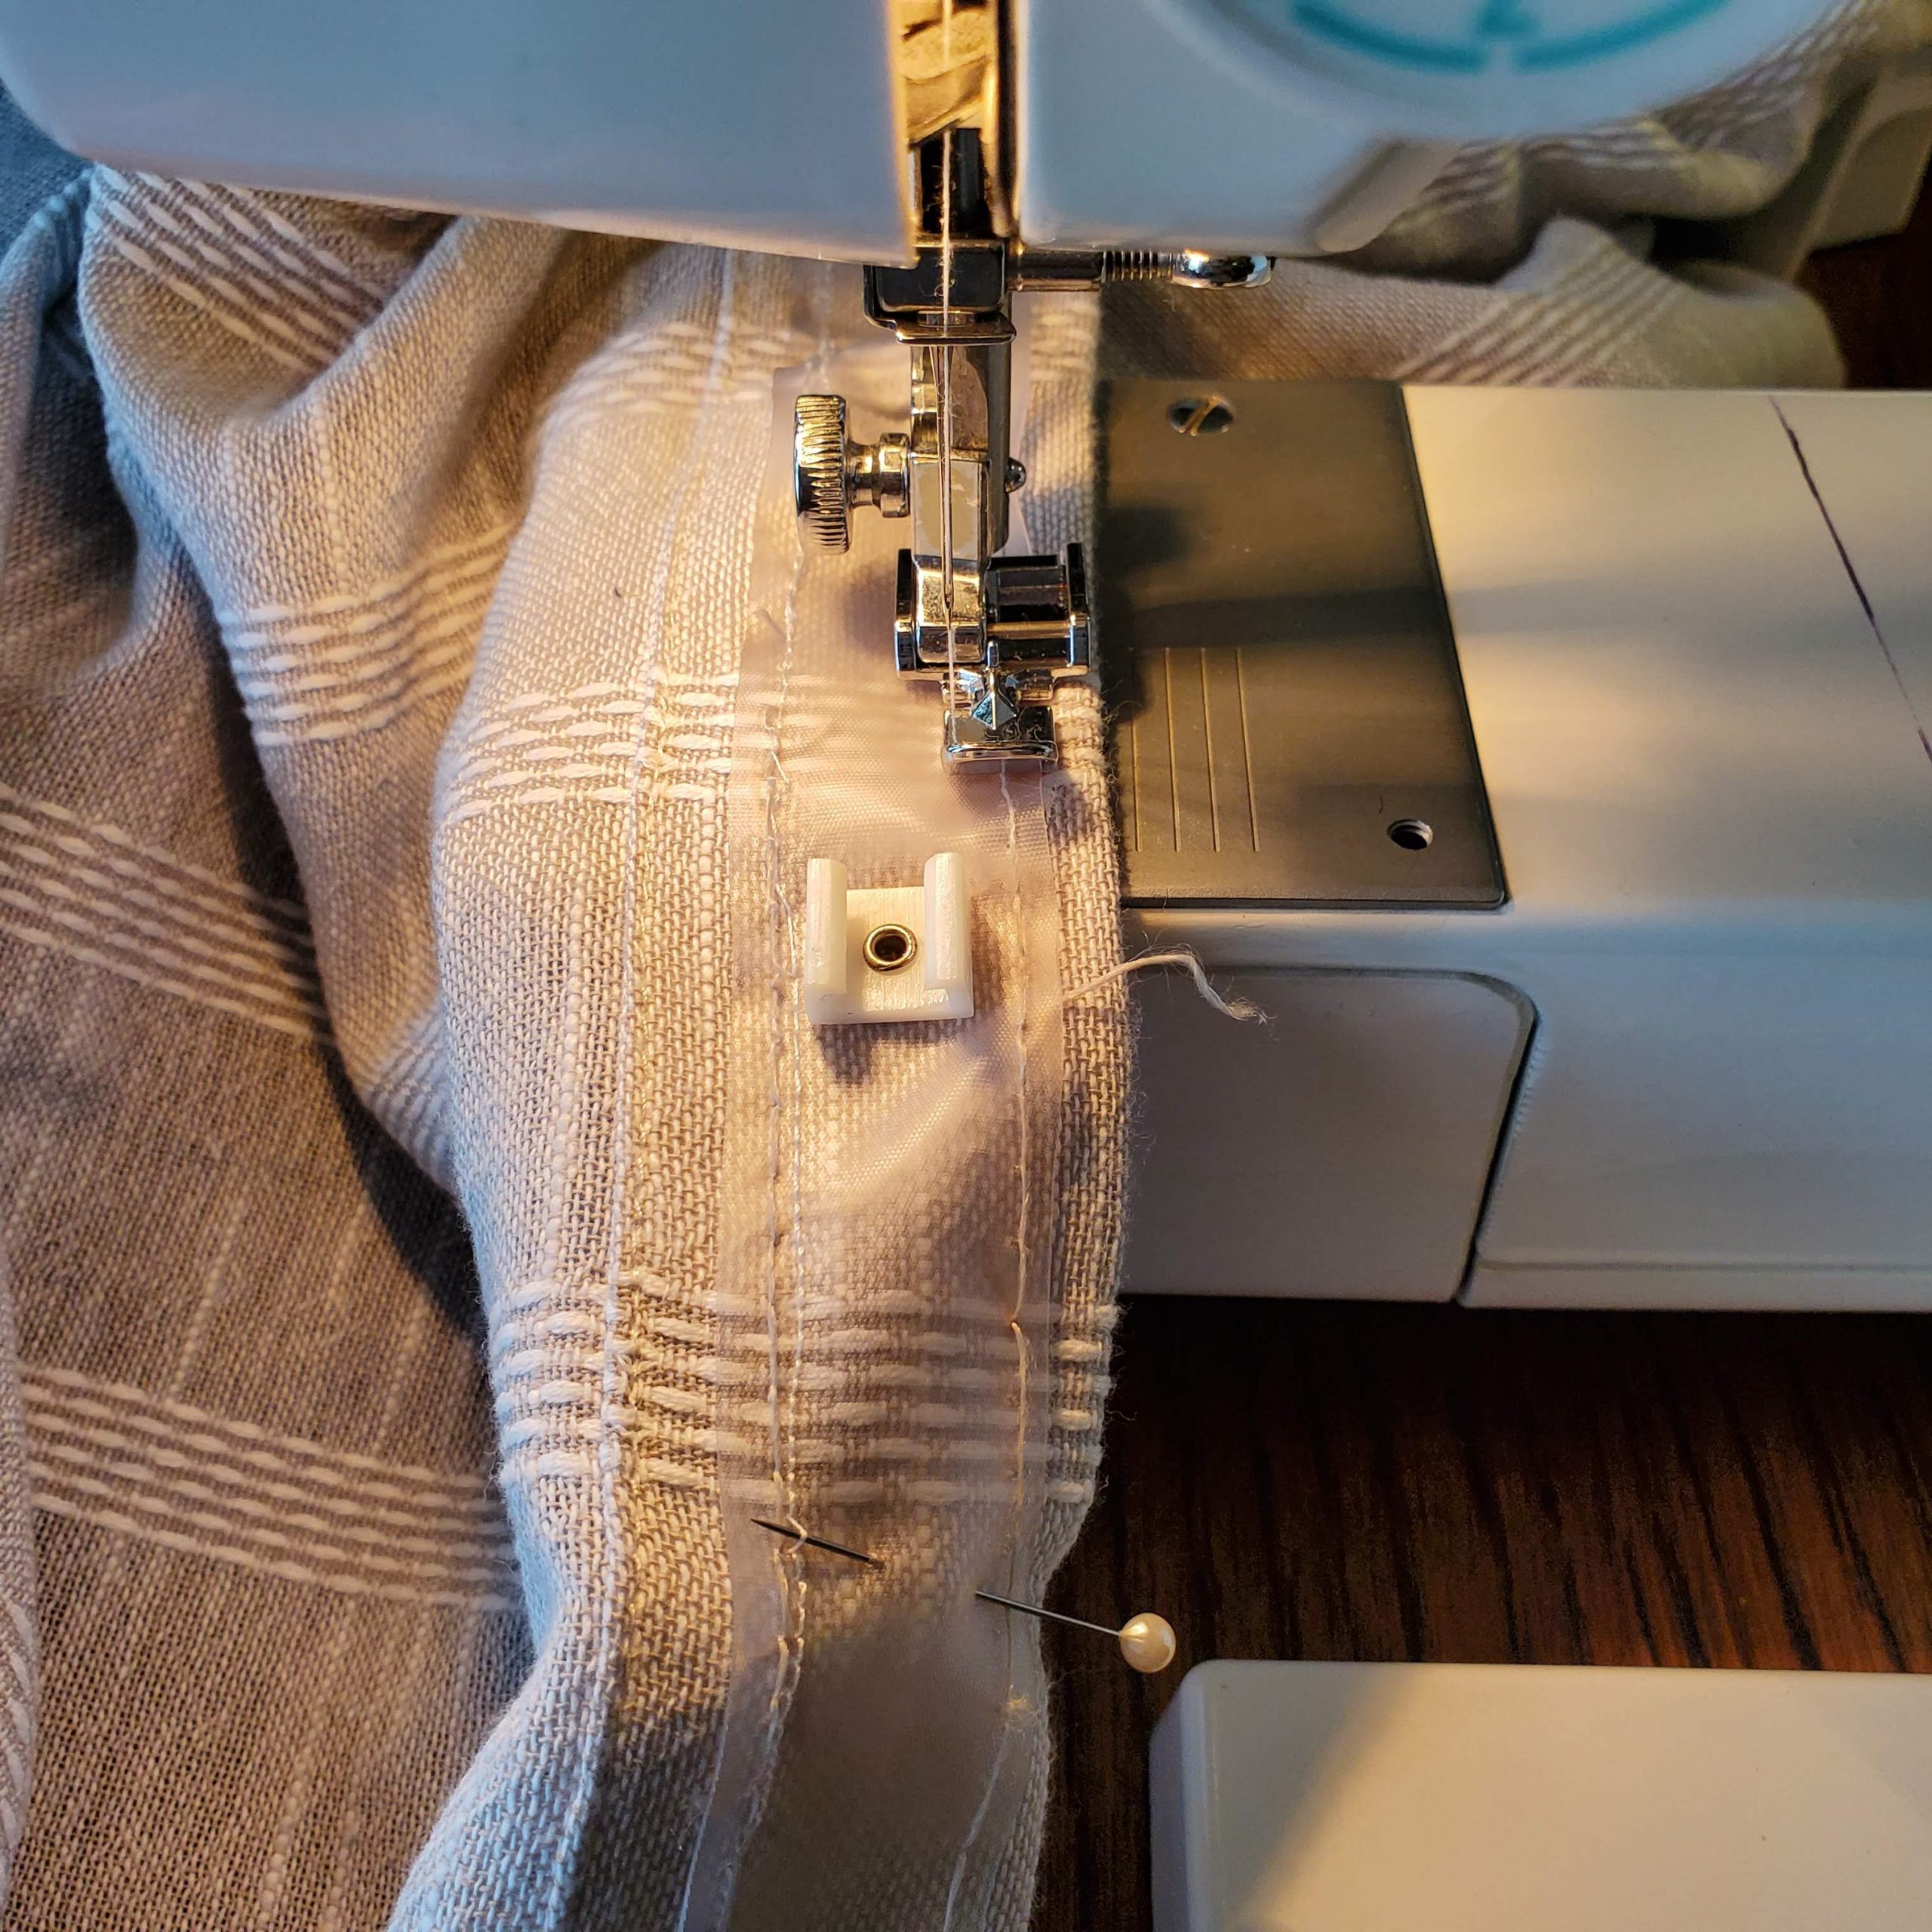
I replaced the curtains with shower curtains from Target. I chose these because they already had several finished edges and were inexpensive. All I did was hem them and stitch the old curtain hooks to the top.
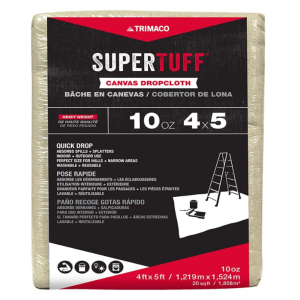
Using the original cushion foam, I recovered them with drop cloth fabric. To save extra money and time, I reused the old zippers!
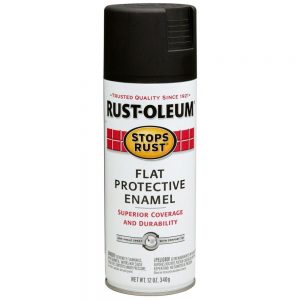
Lastly, I updated the cabinet hardware and table base with black spray paint.

Design
Cabinets | Perfect Gray by General Finishes
Countertops | Appliance Epoxy
Hardware | Flat Black Spray Paint
Table Stain | Dark Walnut
Upholstery | Drop Cloth
Curtains | Gray Stripe Shower Curtains from Target
Flooring | Dover Cliffs Luxury Vinyl Tile
Costs
Flooring = $129
Liquid Nails + Caulk + Nails = $16
Spray Paint + Epoxy = $14
Plywood + Lumber + Molding = $105
Curtains + Drop Cloth = $177
Paint + Sealer = $58
= $499
Do you have a camper you'd like to redo?
Comment below with what you'd like to change about it!
SHOP THIS POST
PIN FOR INSPIRATION


