| BEFORE + AFTER | 500 Main Street – Part 6
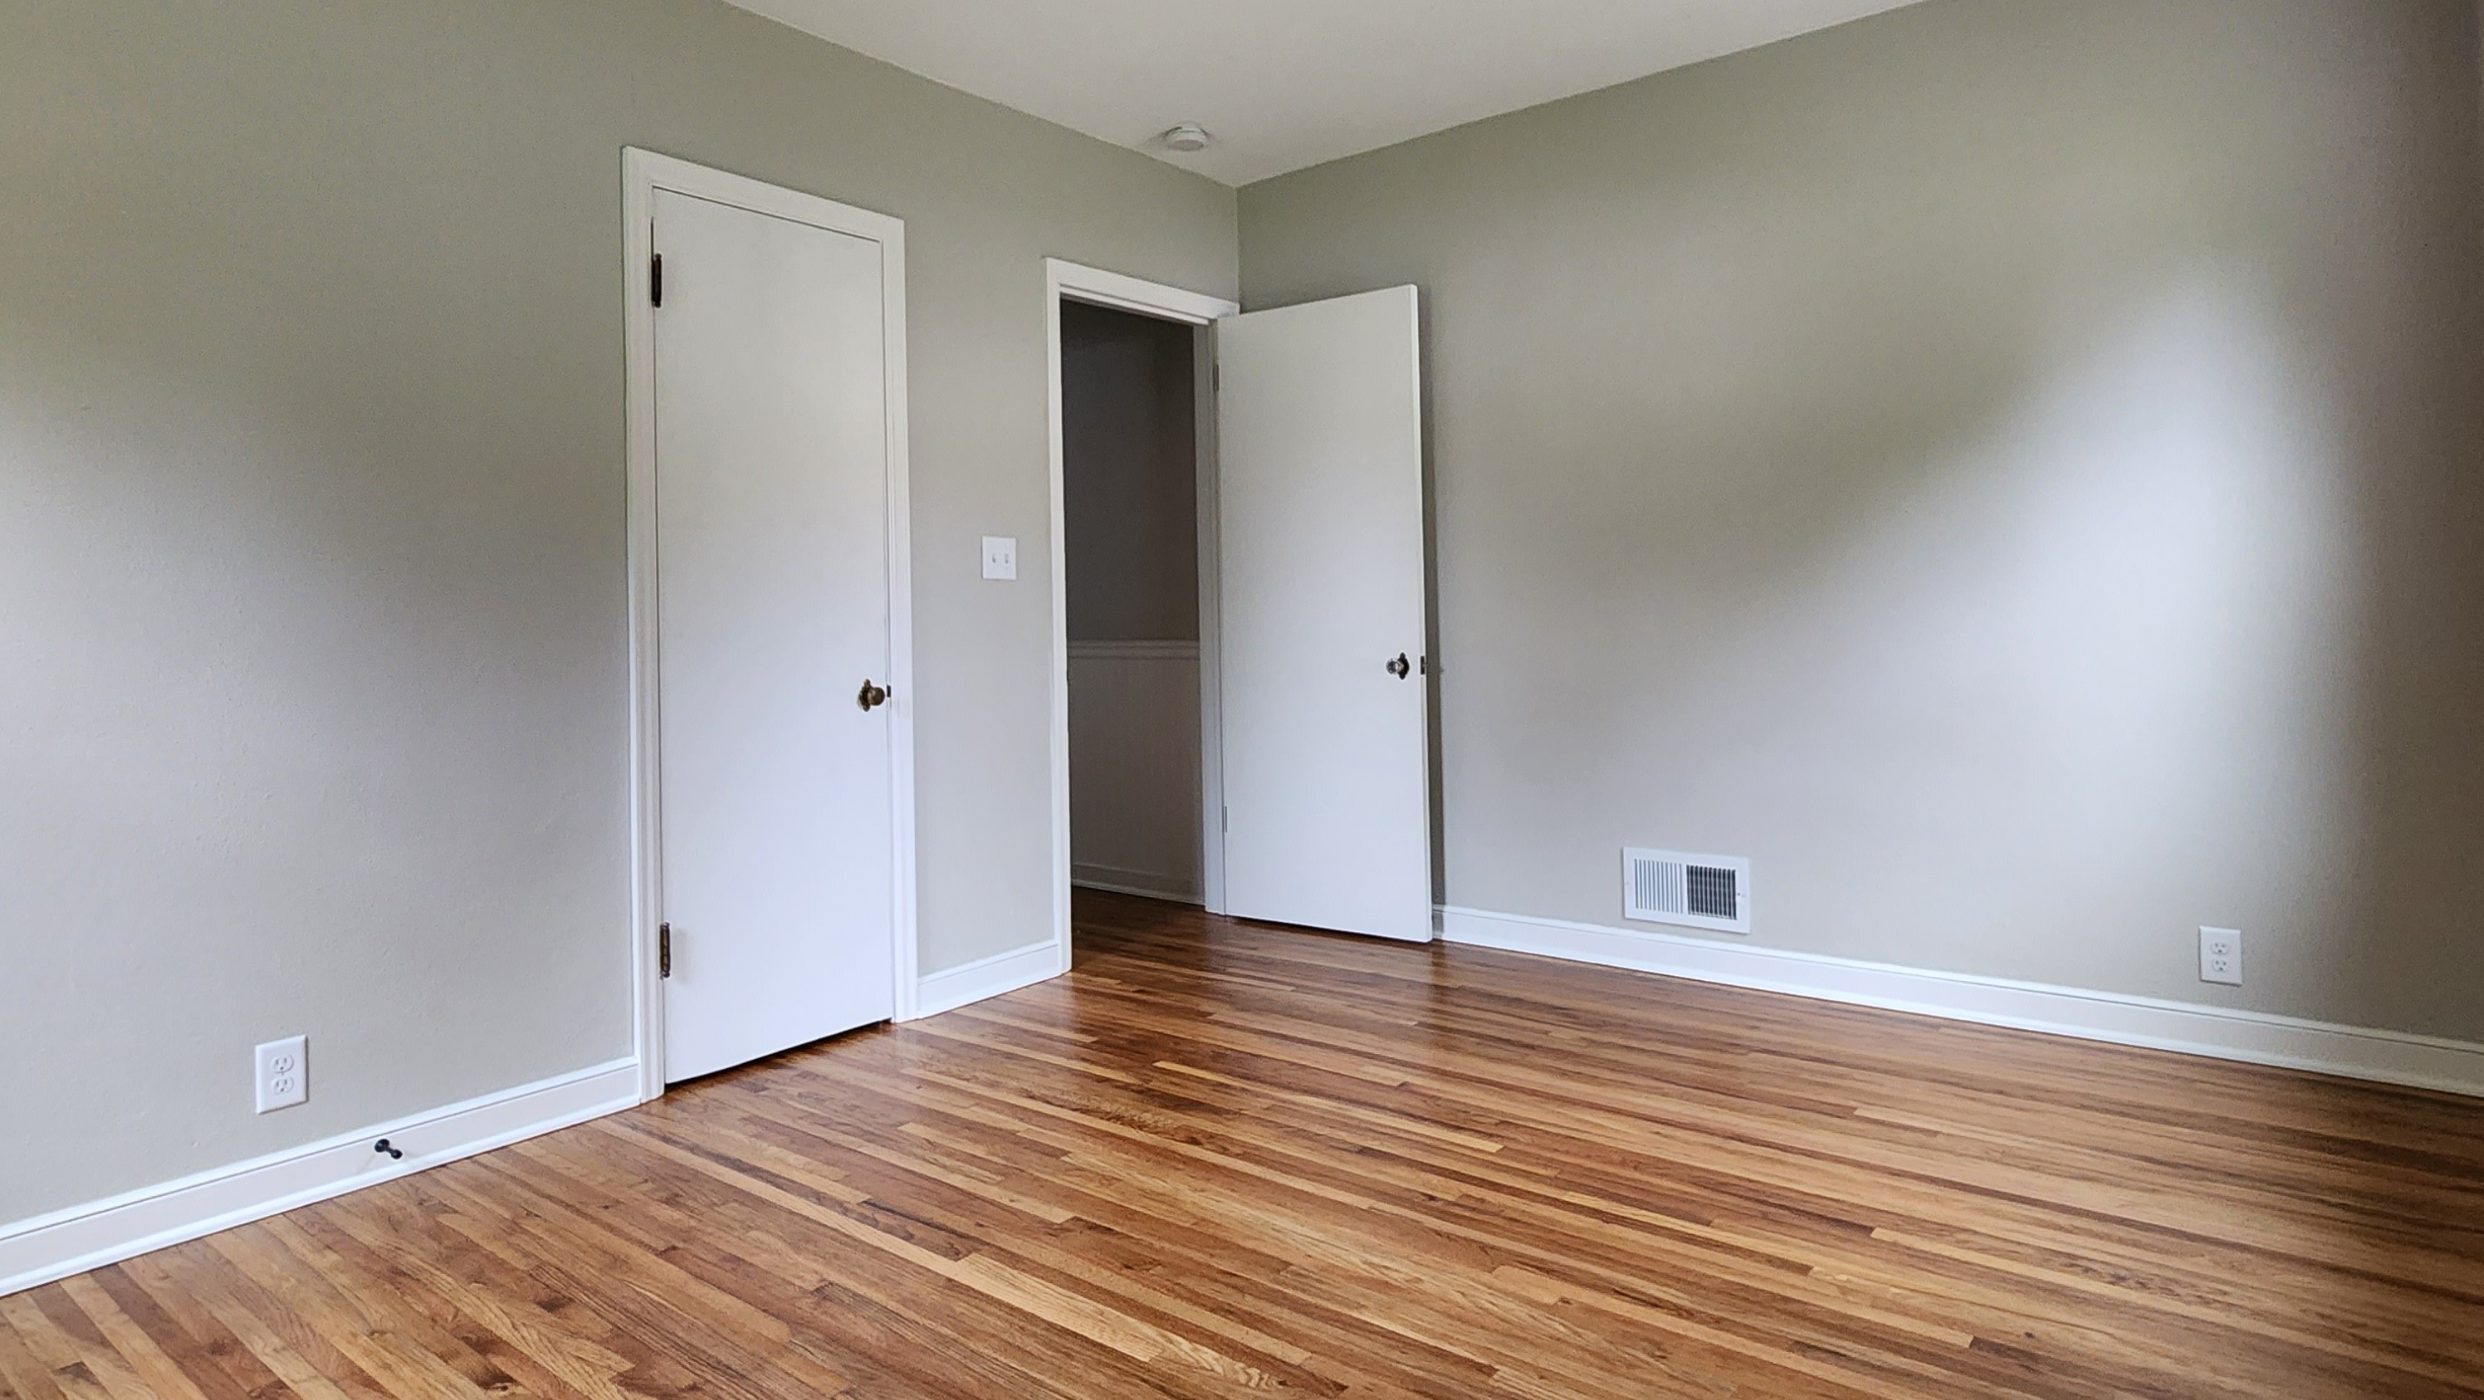
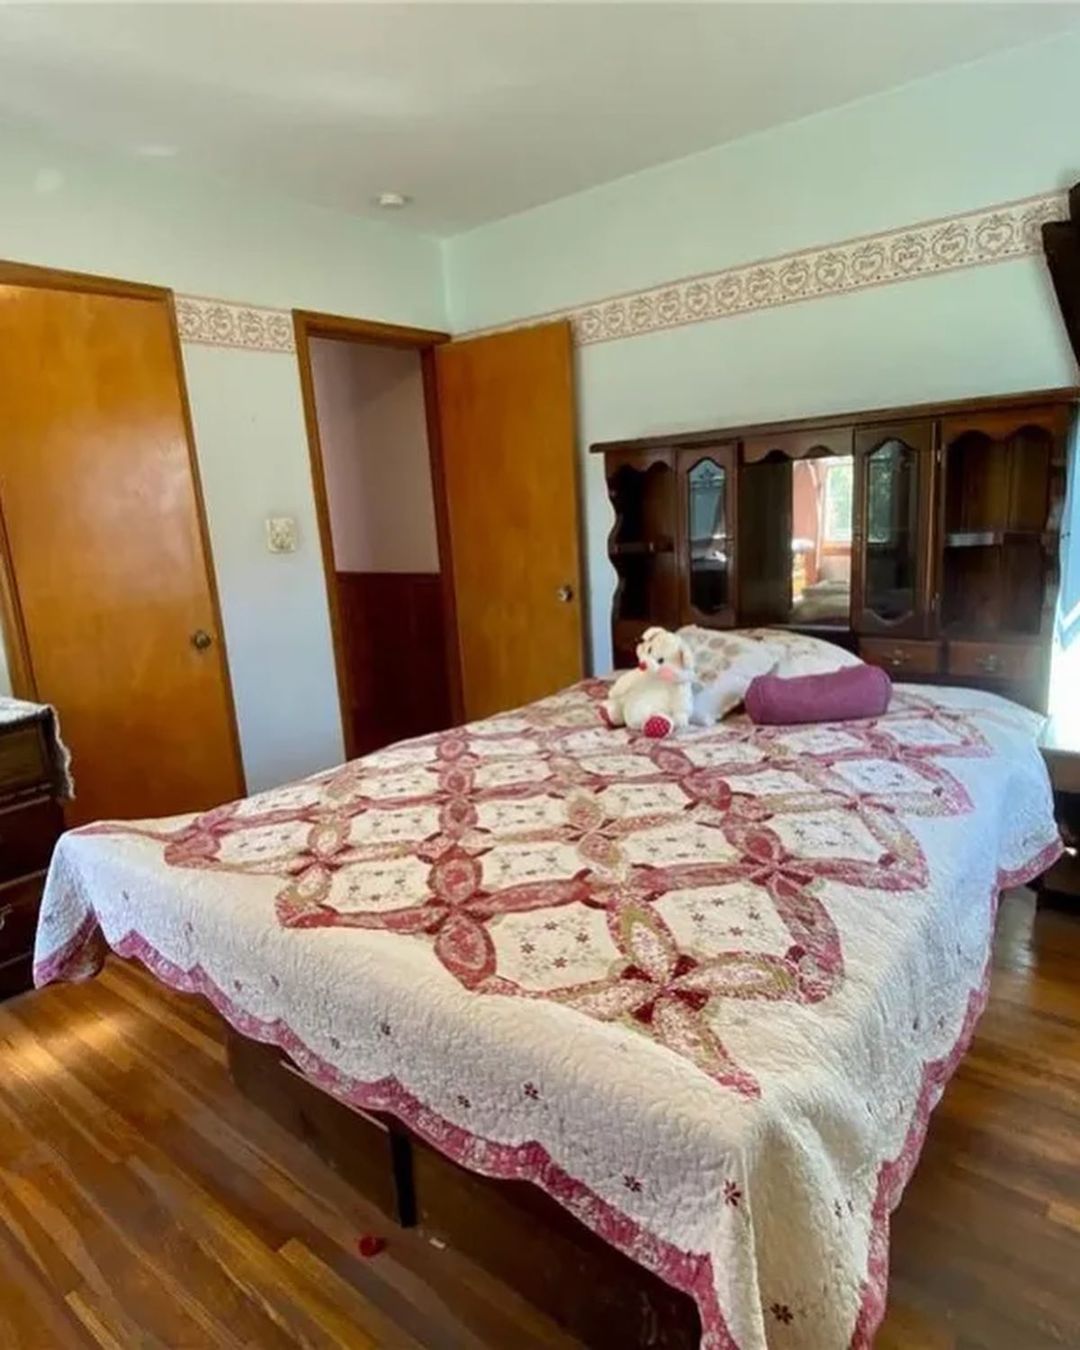
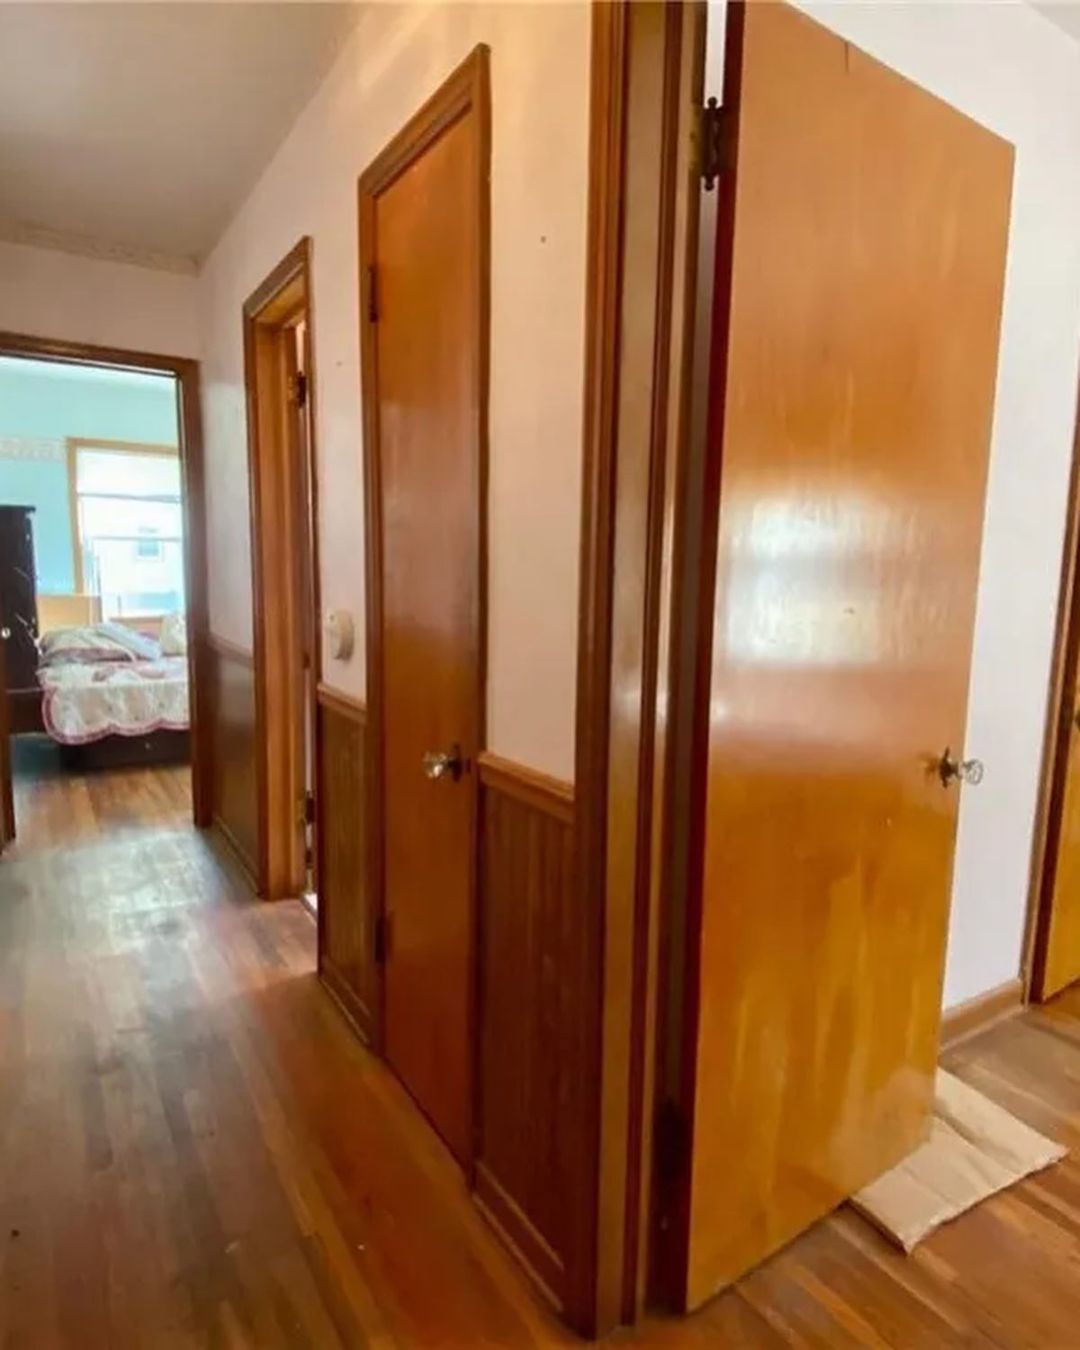
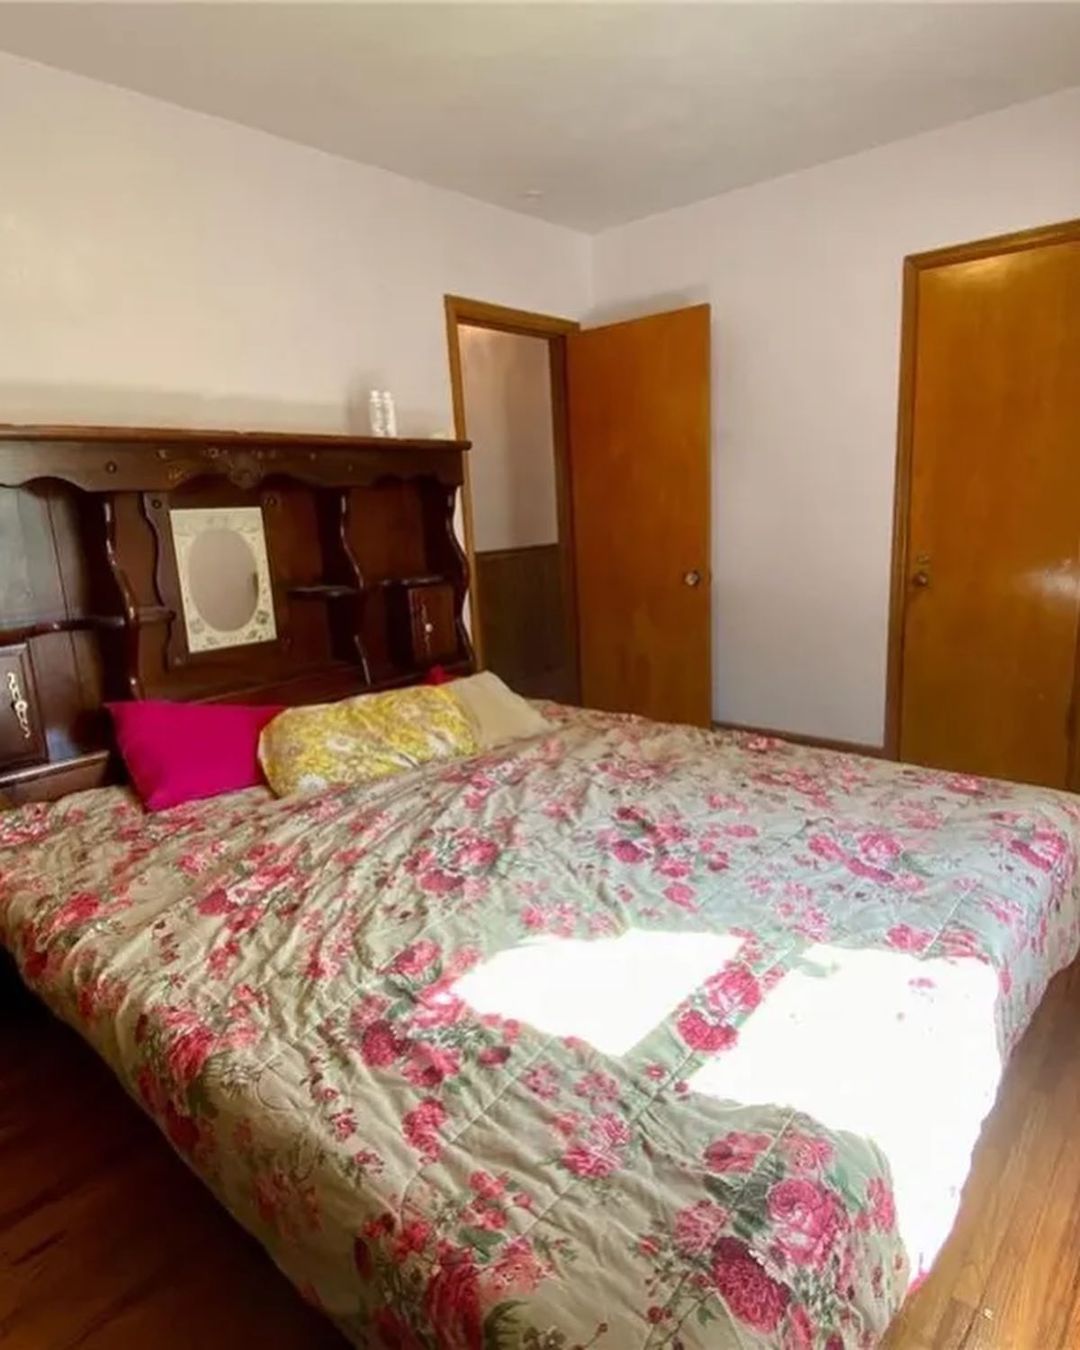
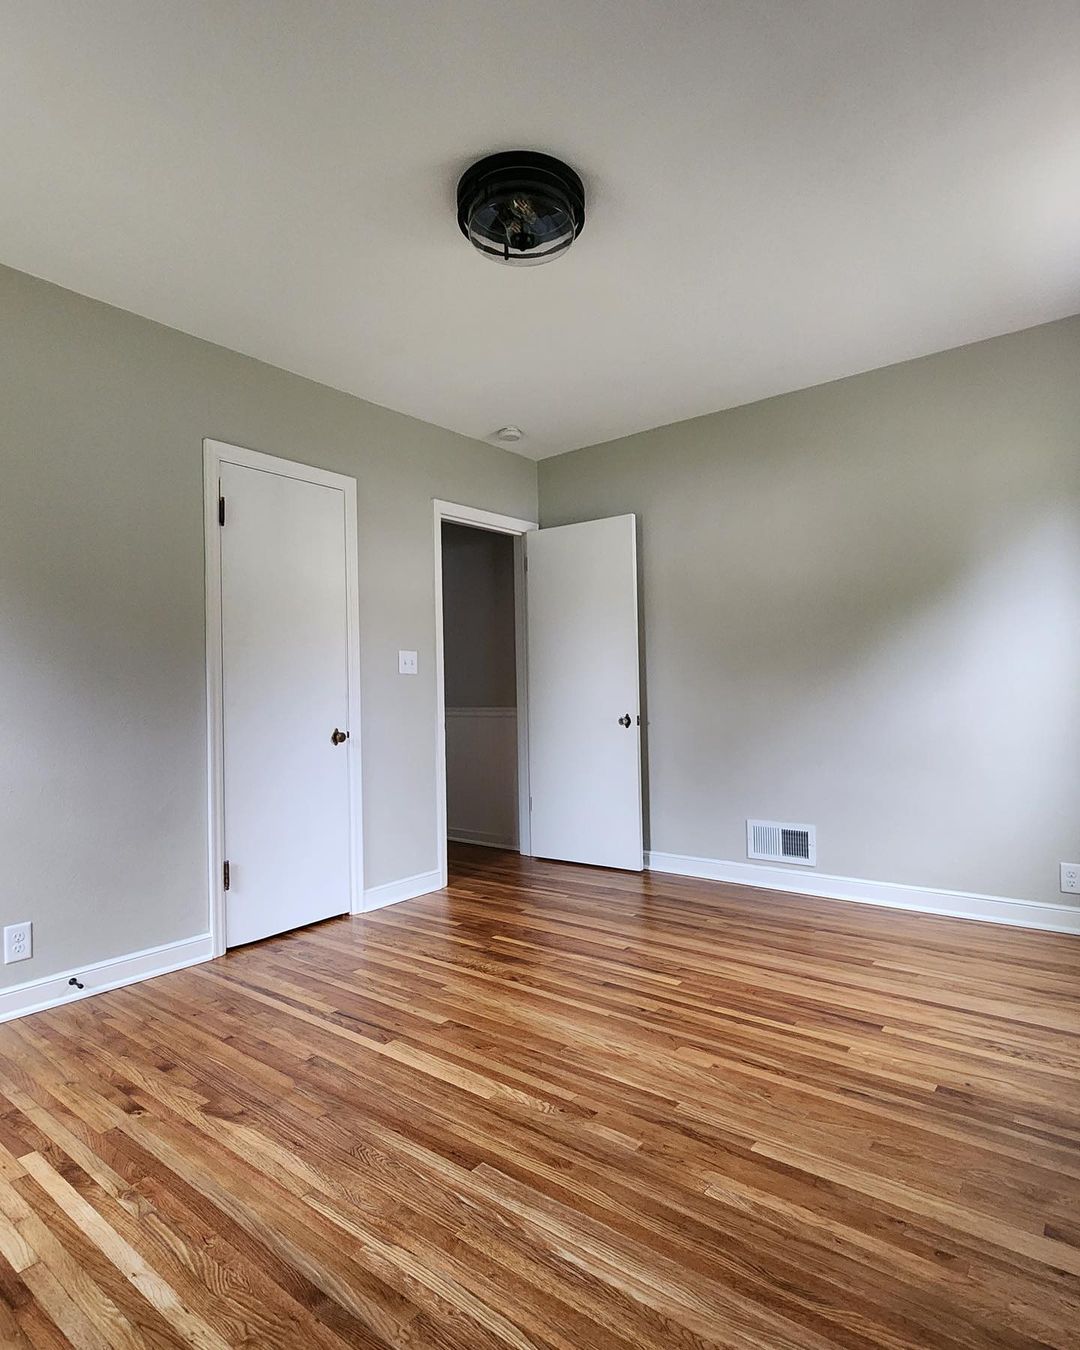
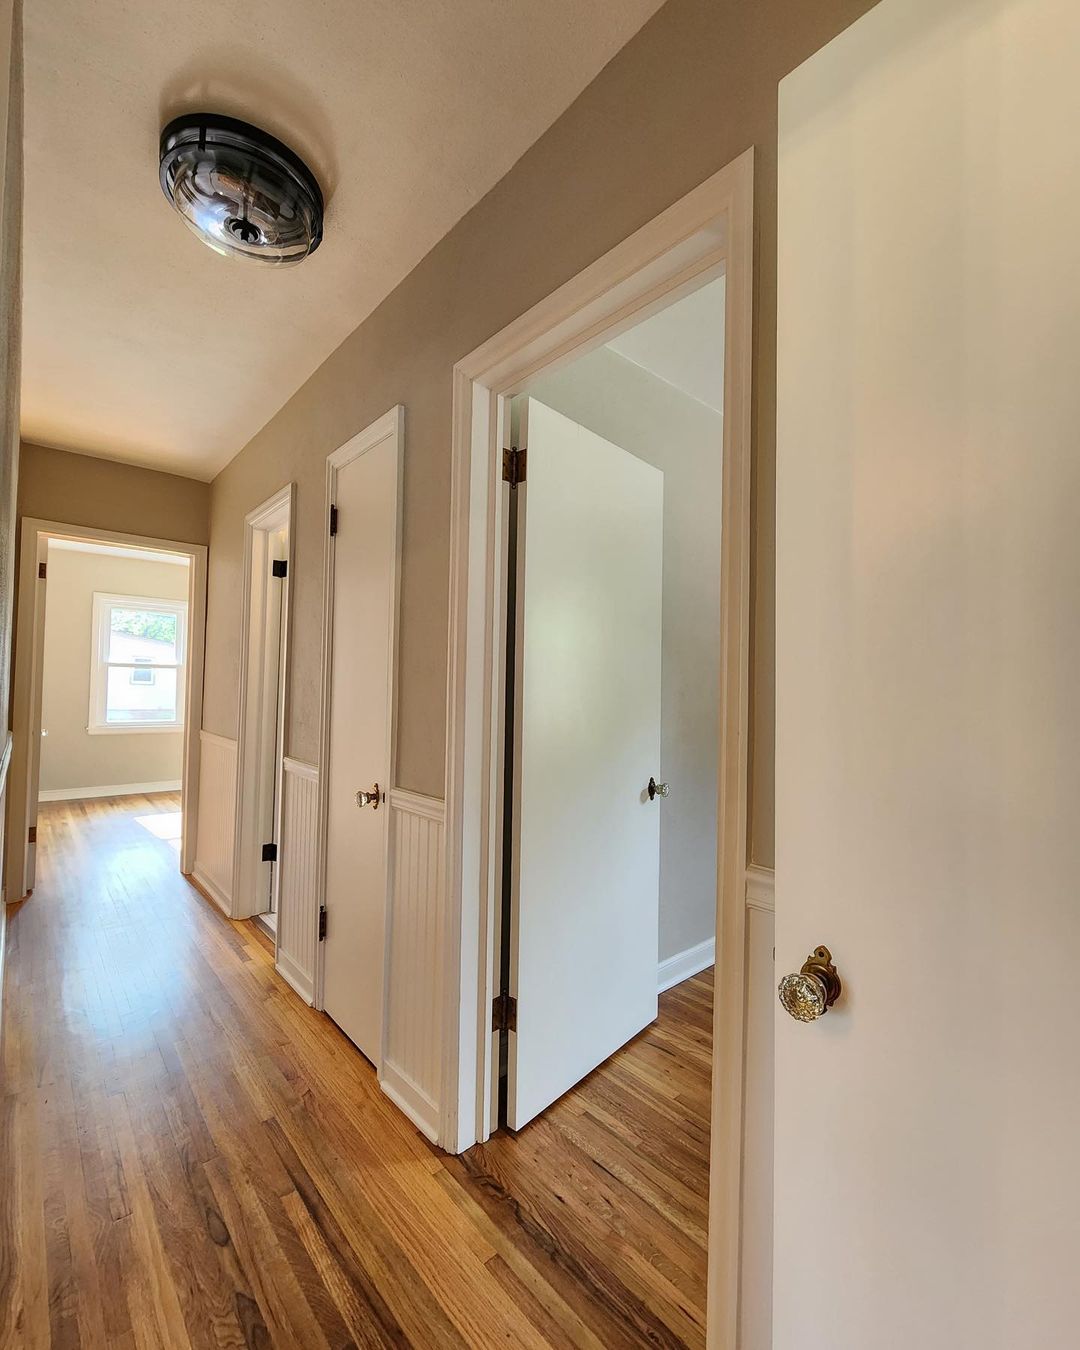
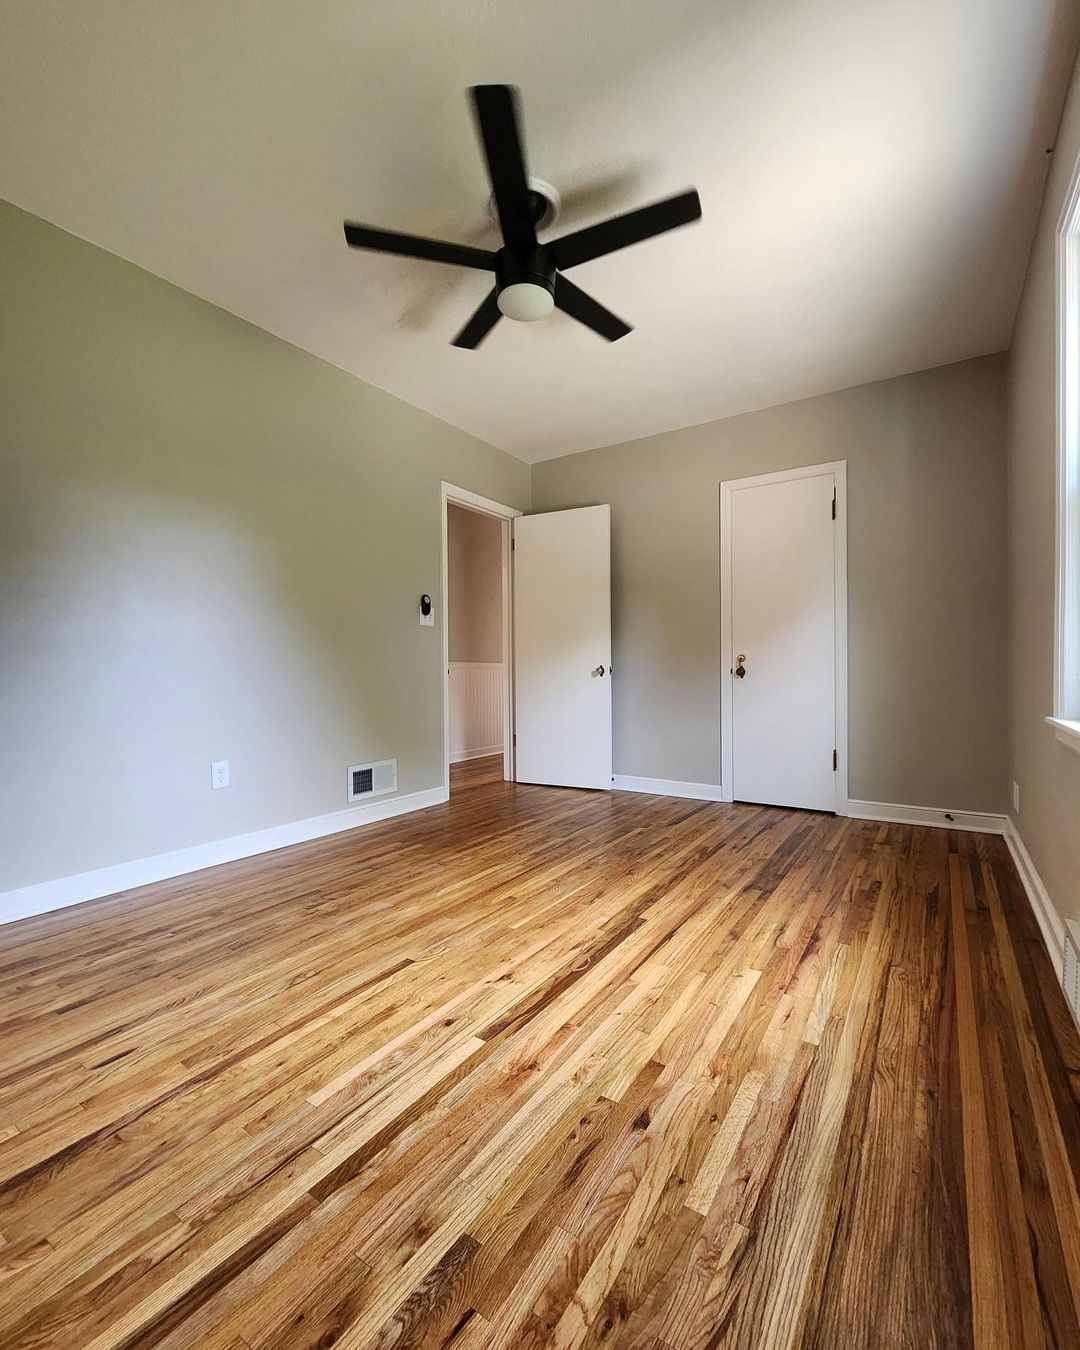
The bedrooms were fairly simple. Aside from getting rid of the rest of the furniture, we did have to remove some wallpaper and used the steamer just like the bathroom. The walls were a bit textured so it did take some time and thankfully the paint underneath was glossy which helped with removal.
RECAP
What we did…
◾ Removed the wallpaper
◾ Paint
◾ Floors
◾ Lighting
Before
after
TOOLS + MATERIALS
COSTS
- Primer + Paint: $150
- Lighting: $120
COLORS + FINISHES
- Walls: Sherwin-Williams Agreeable Gray
- Millwork: Sherwin-Williams Arcade White
