| BEFORE + AFTER | 500 Main Street – Part 7
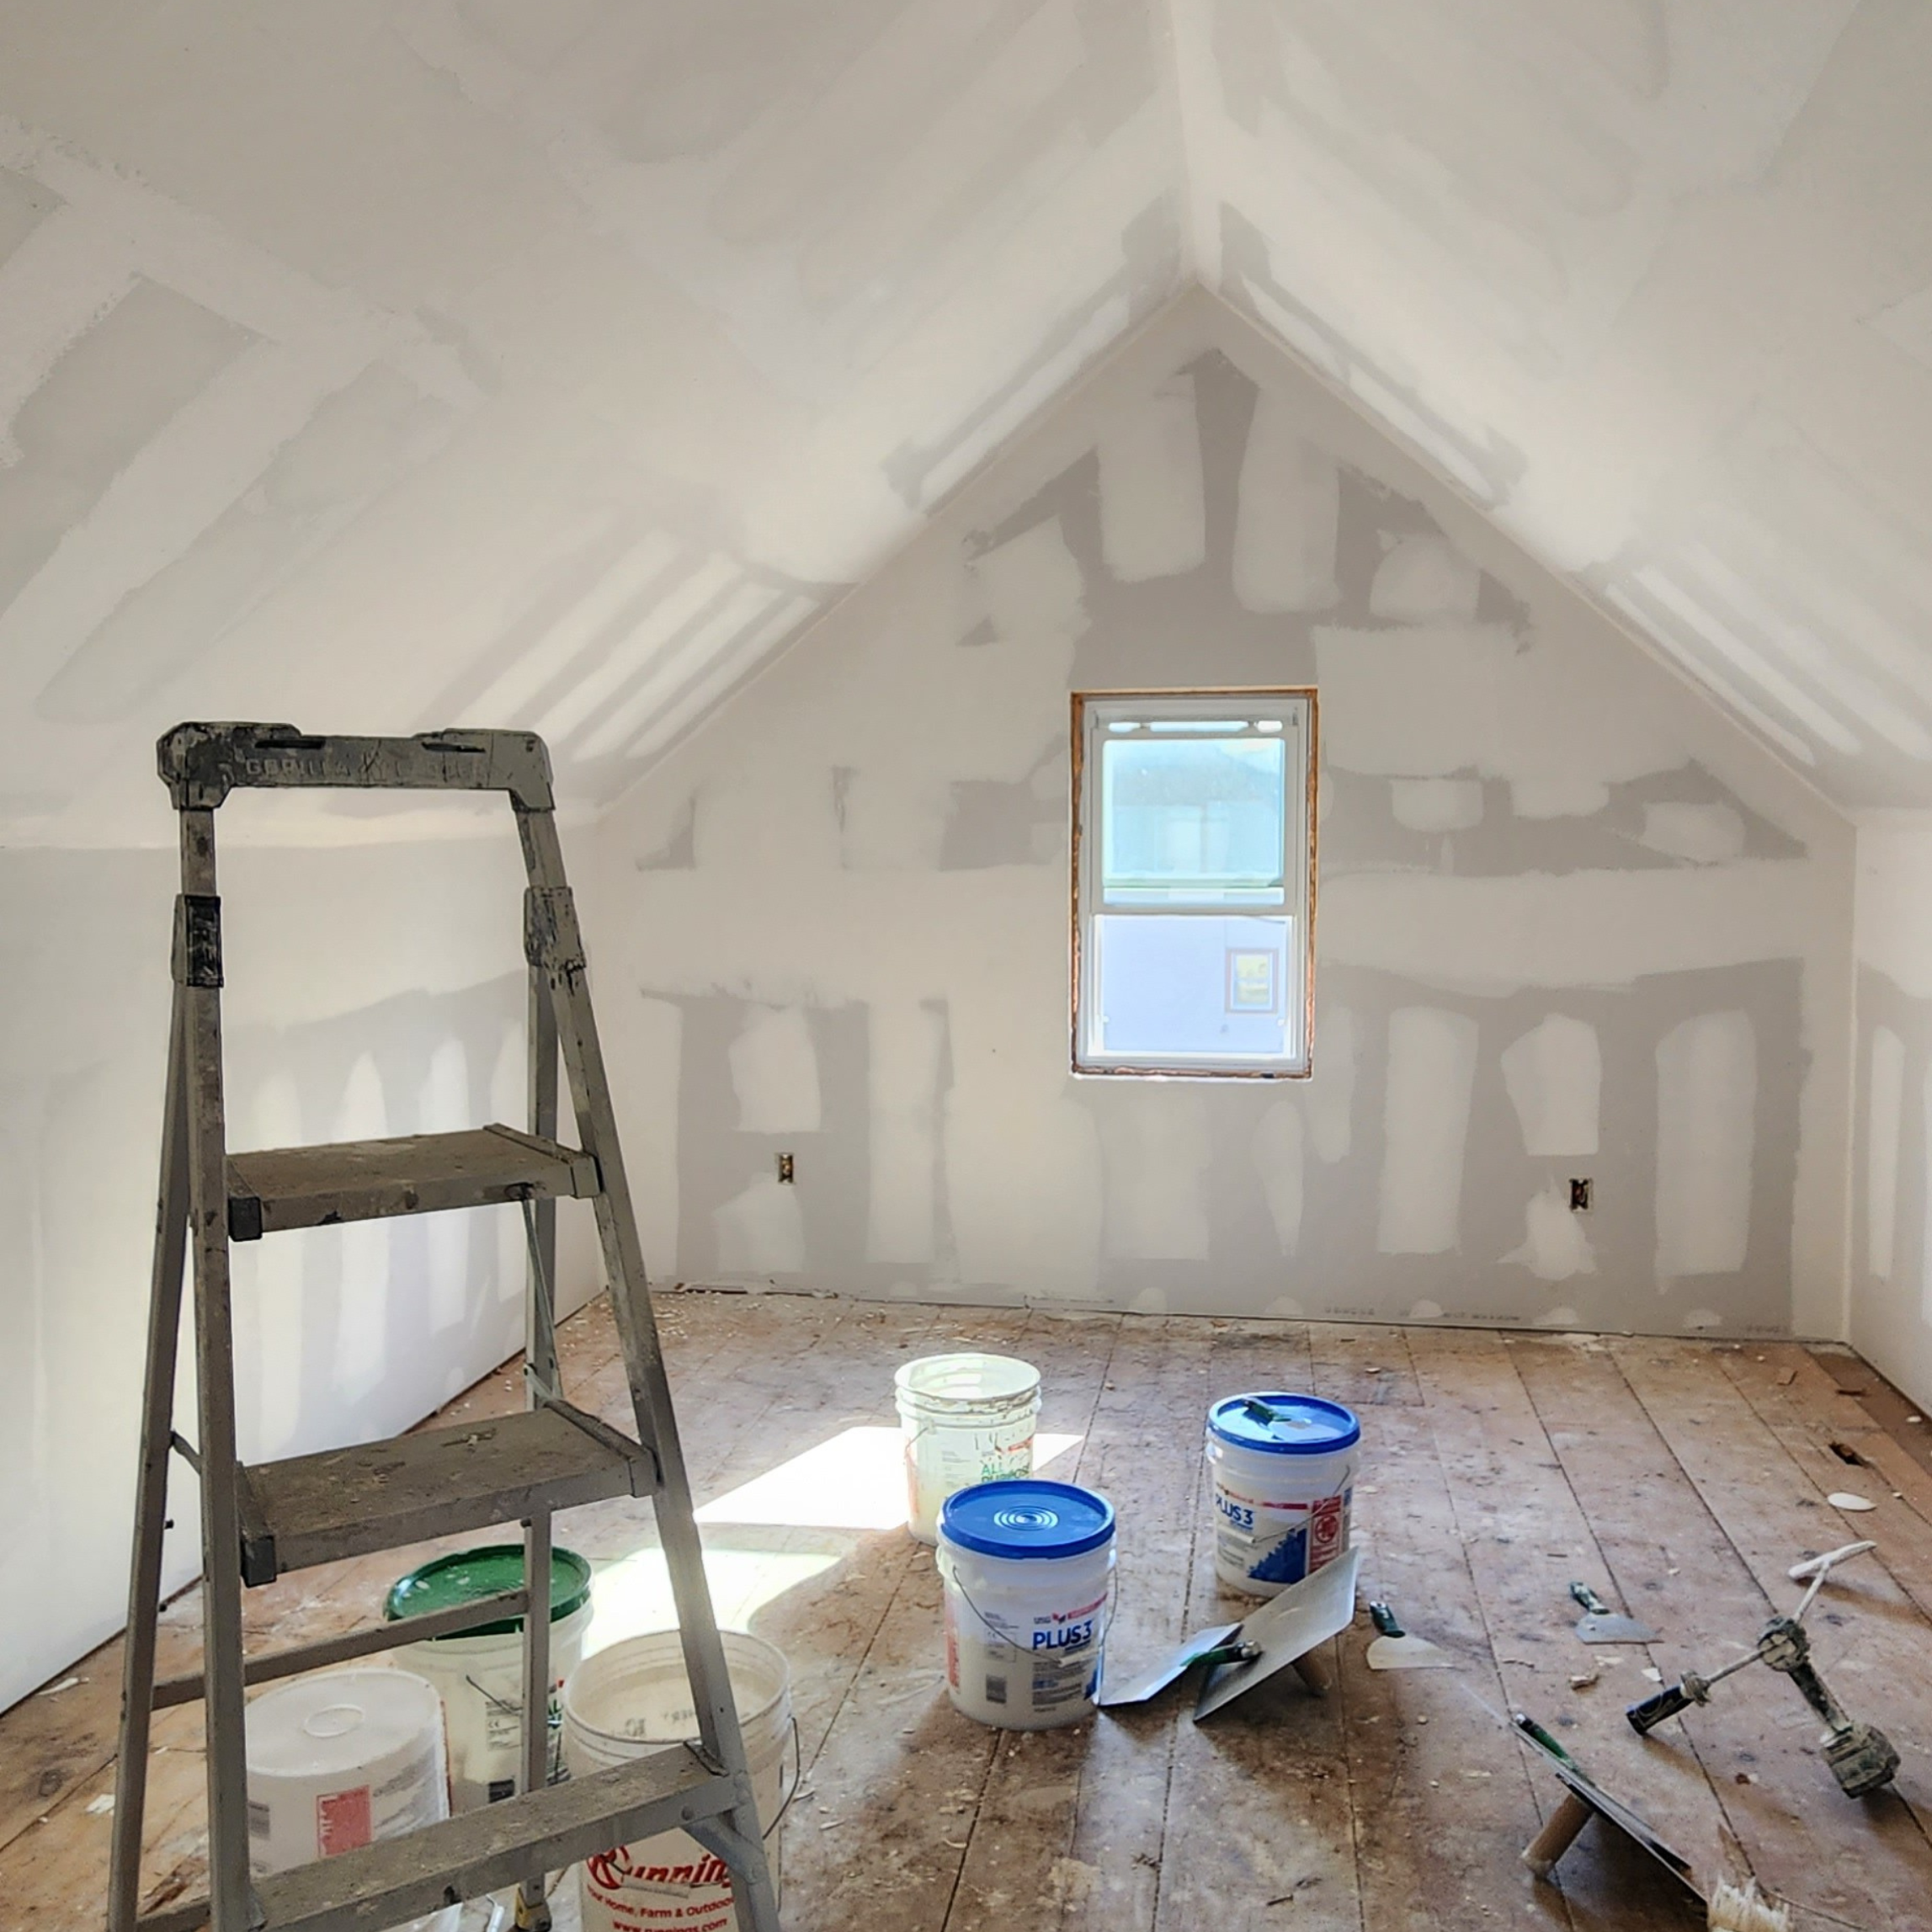
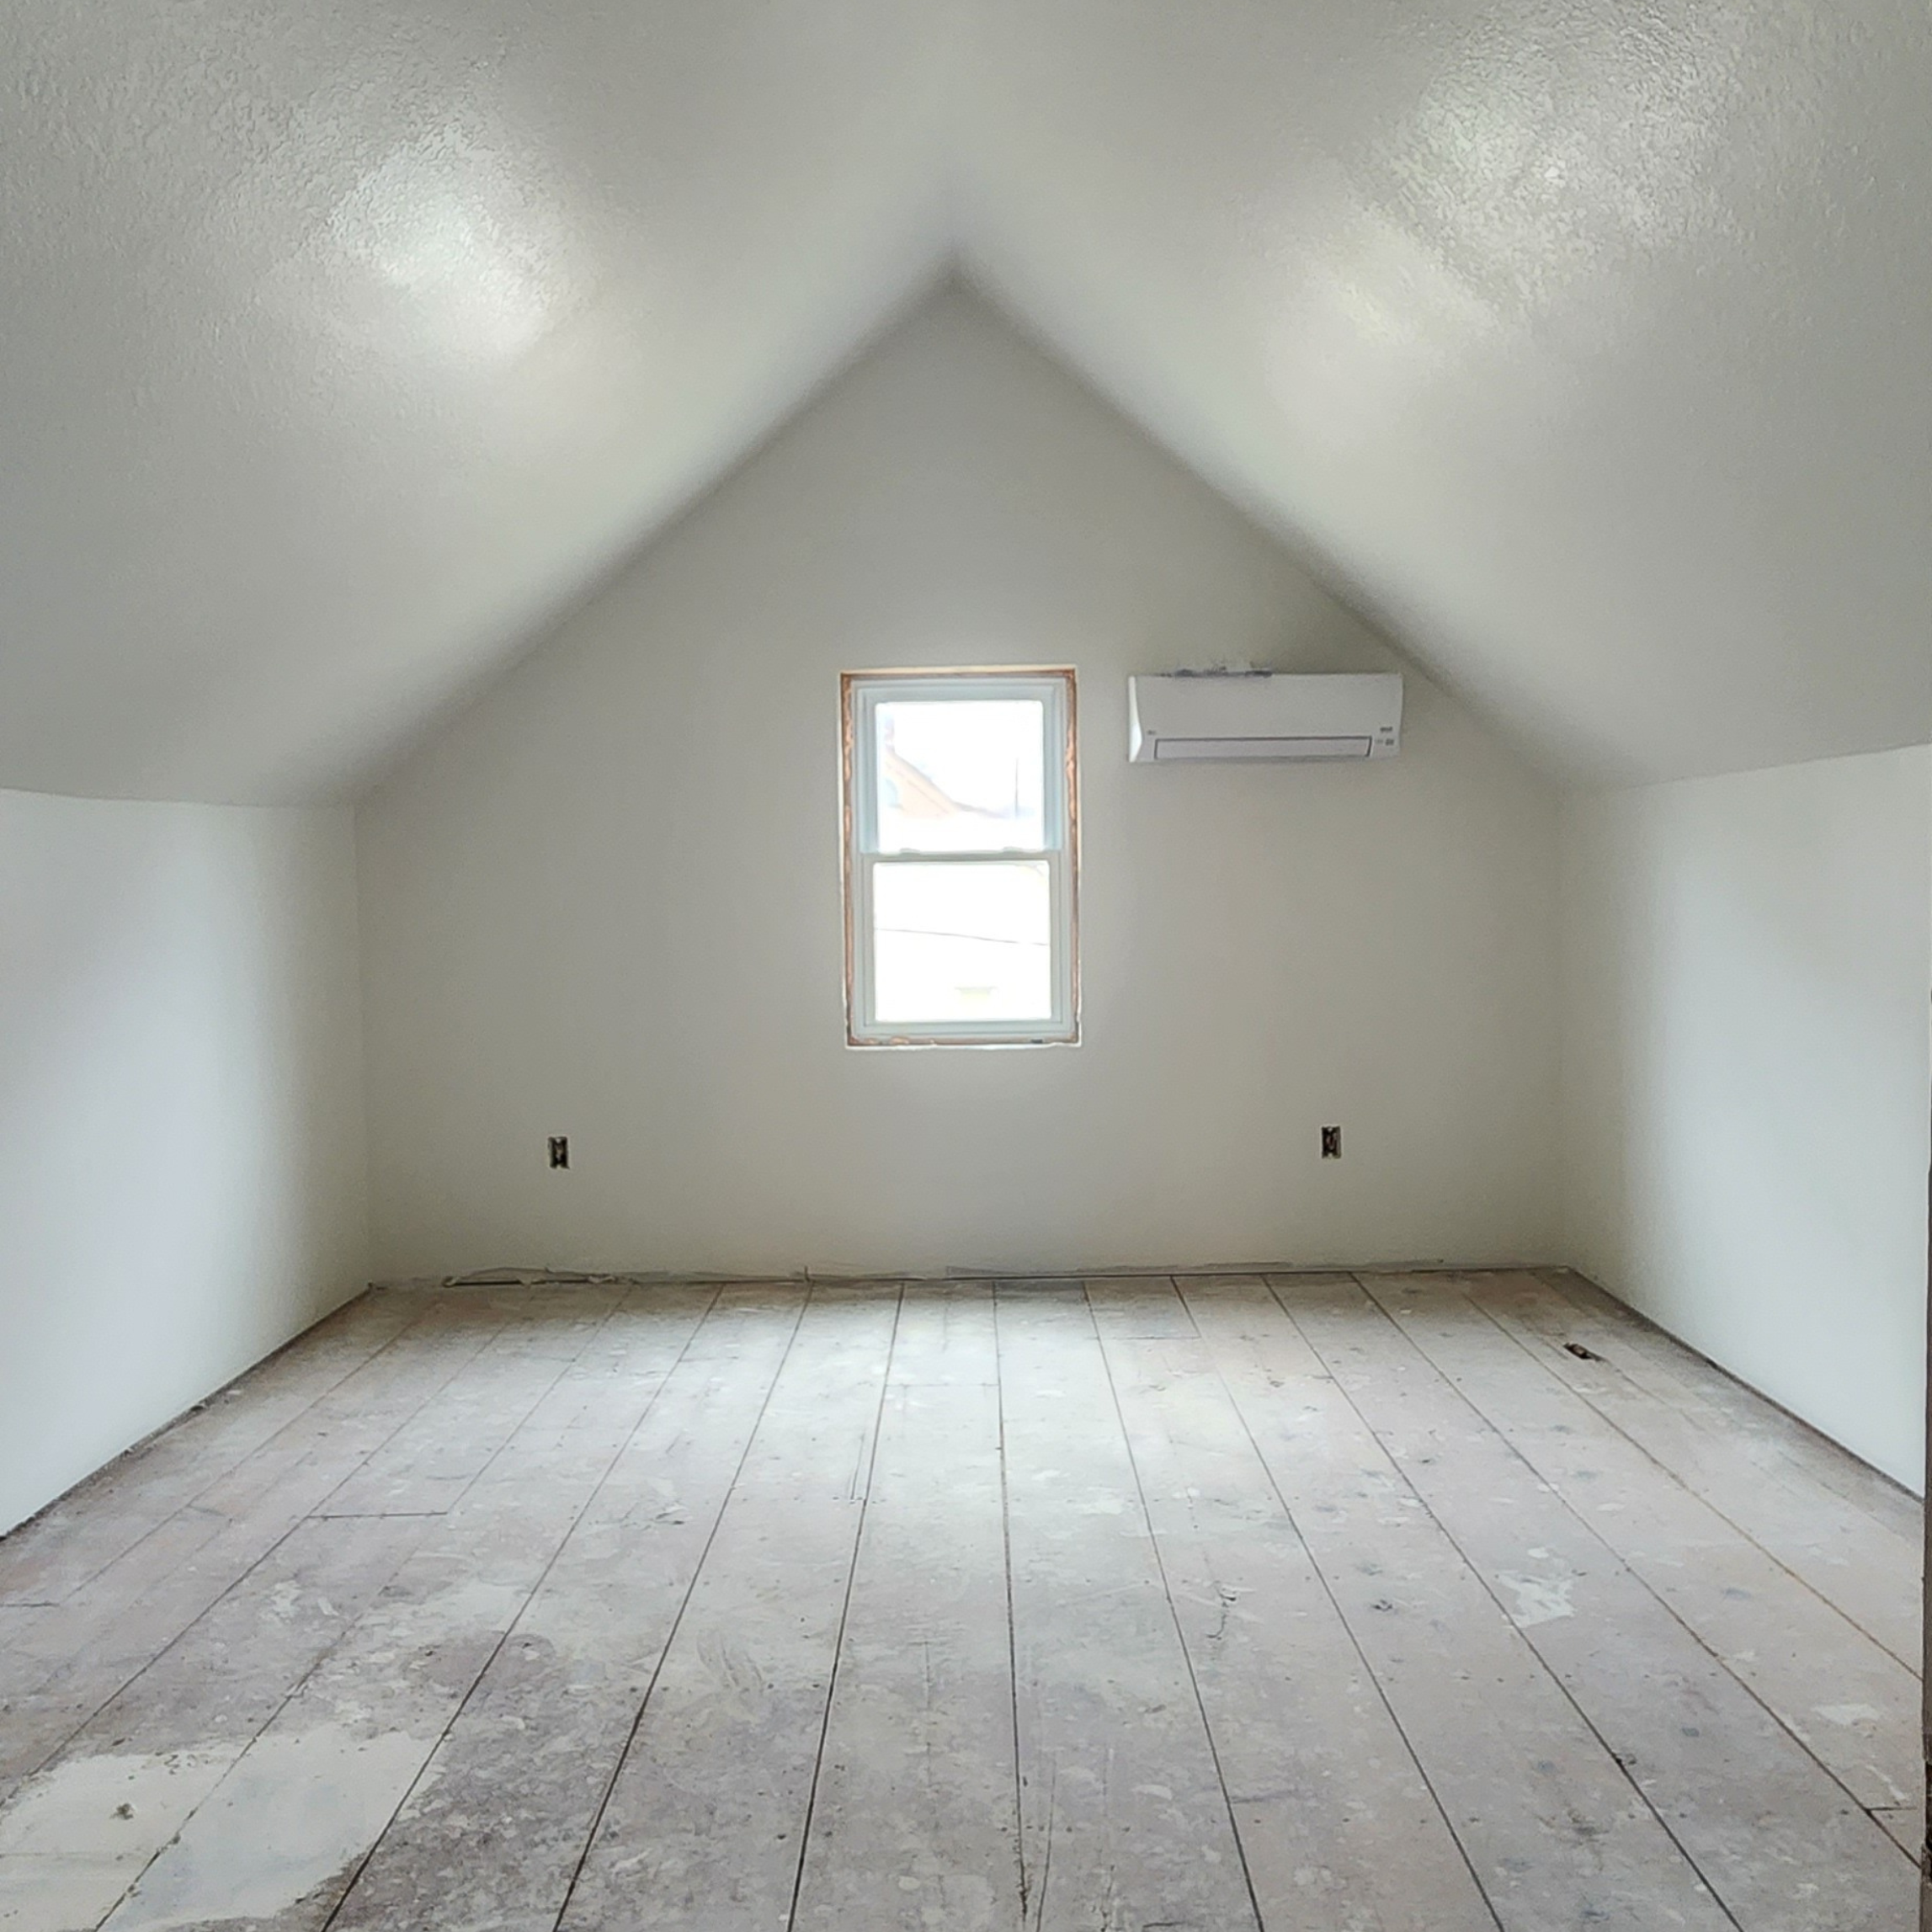
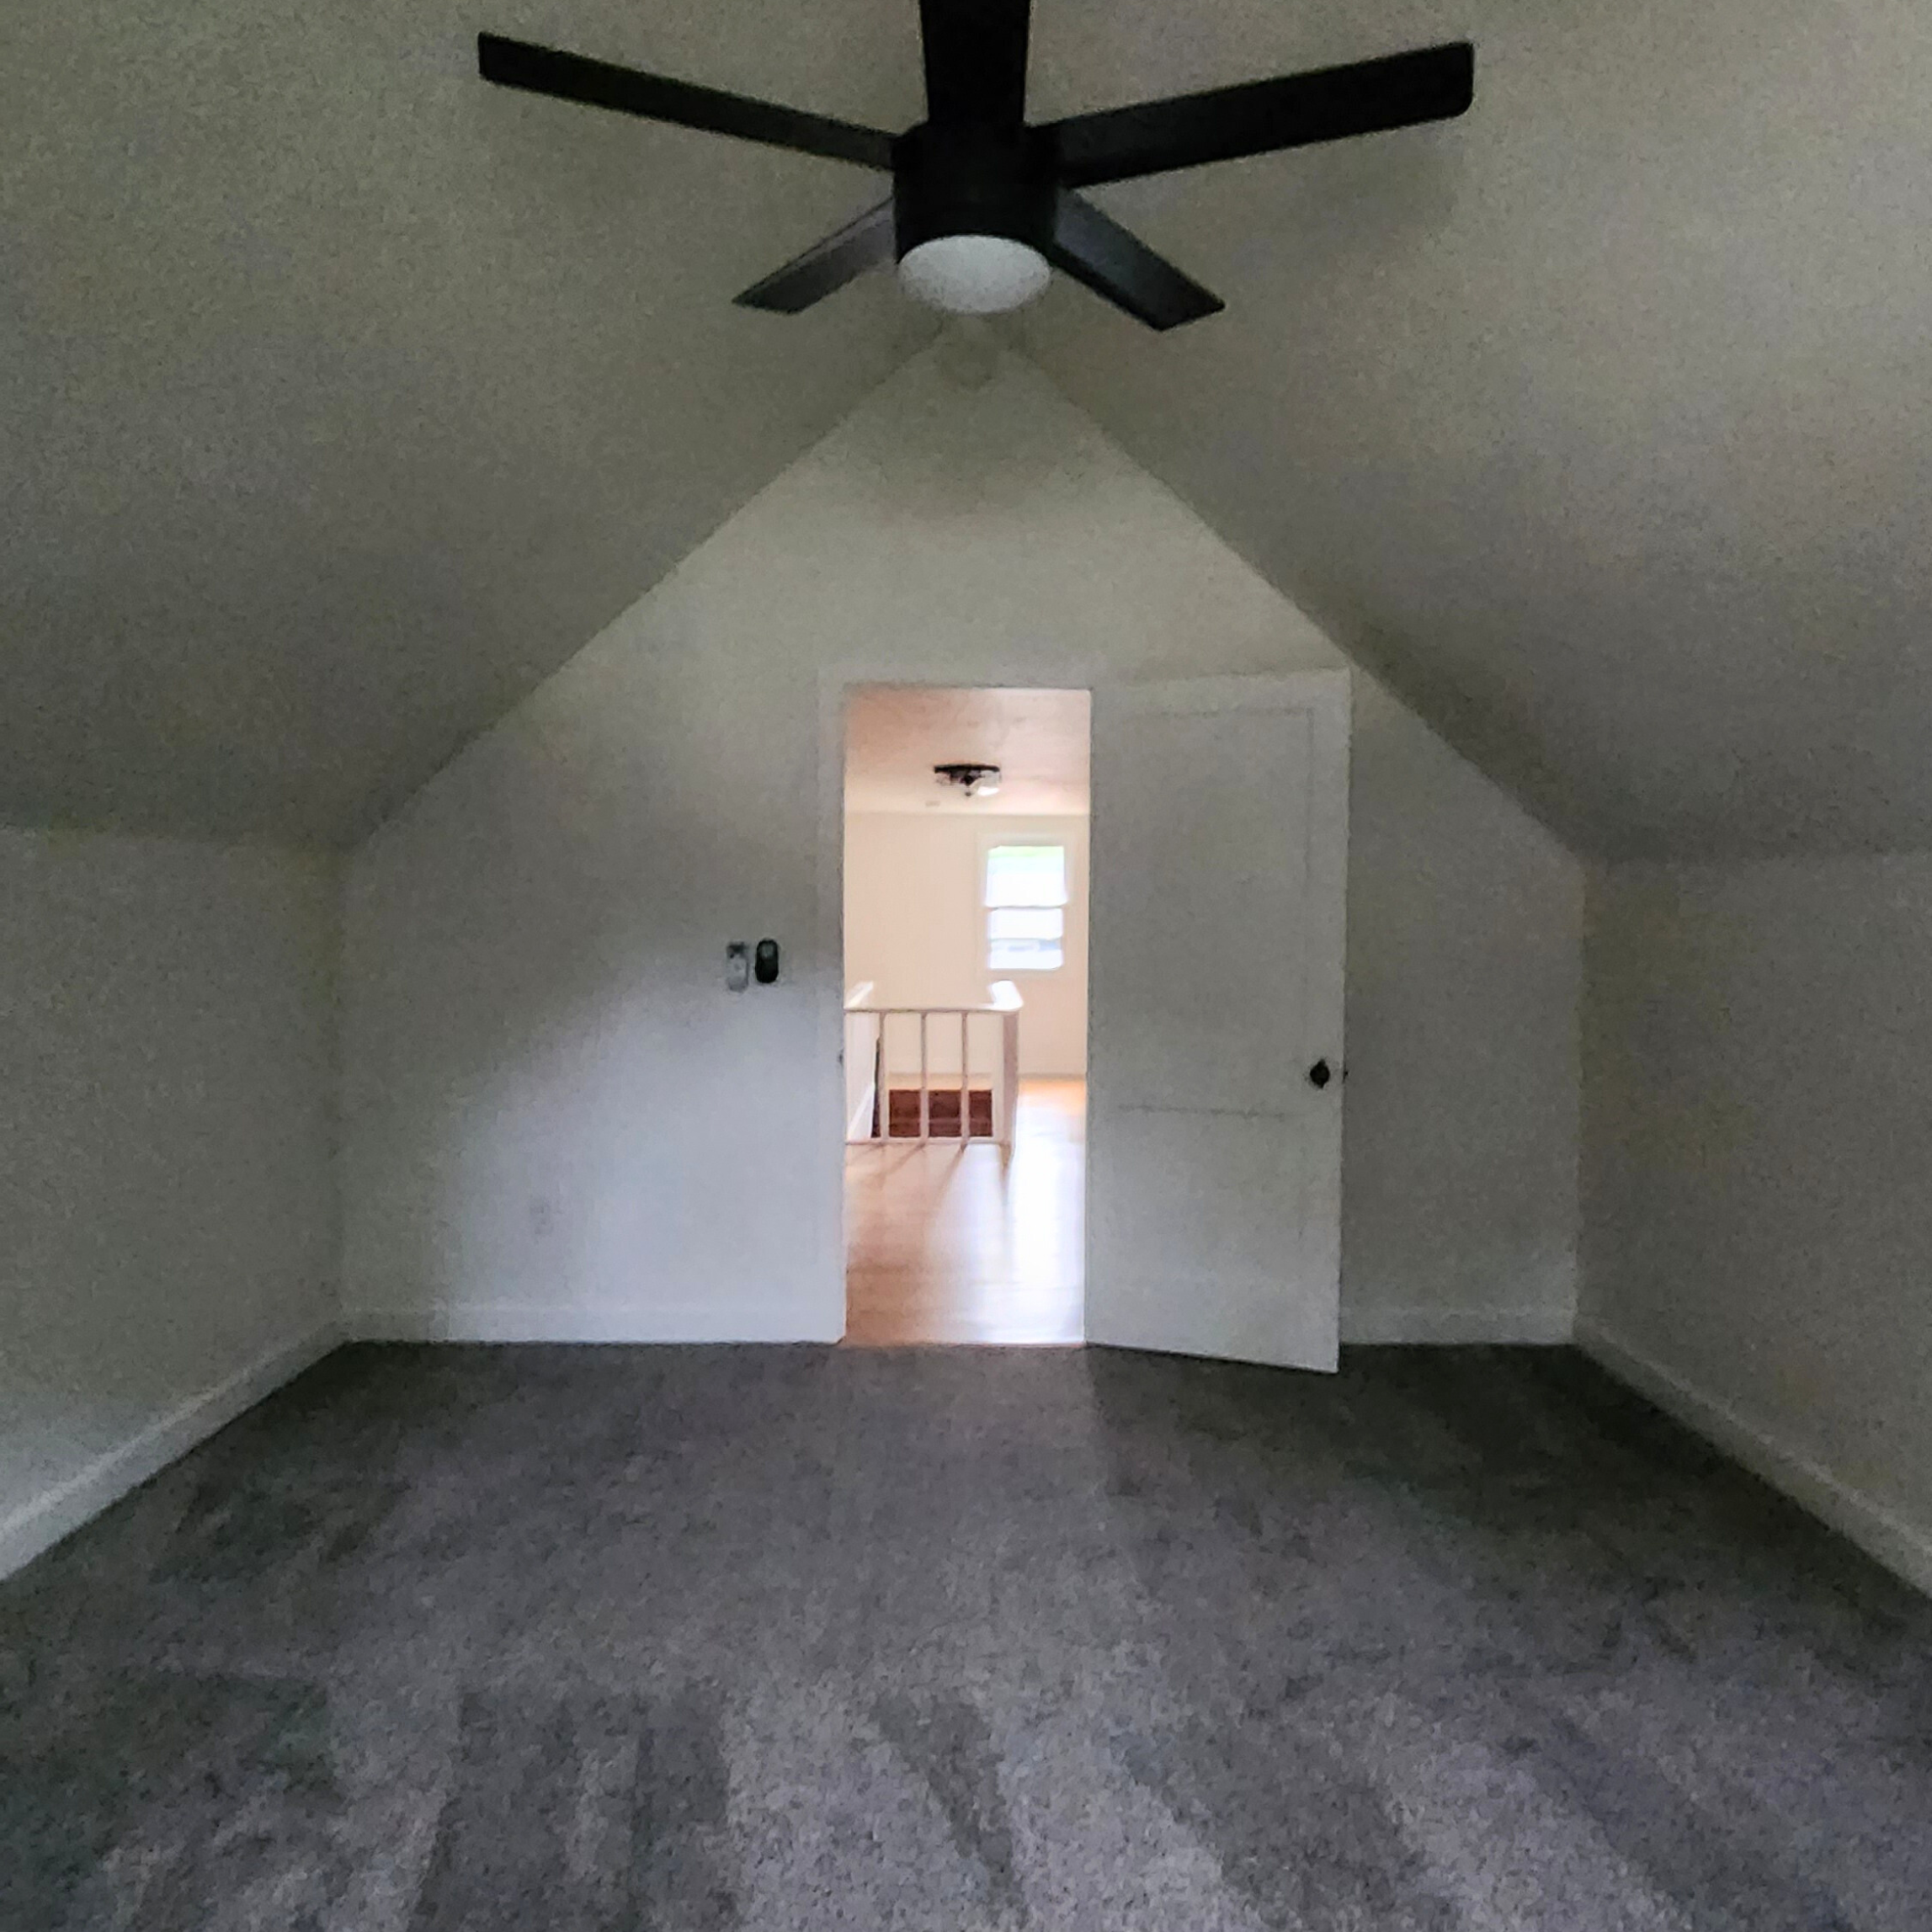
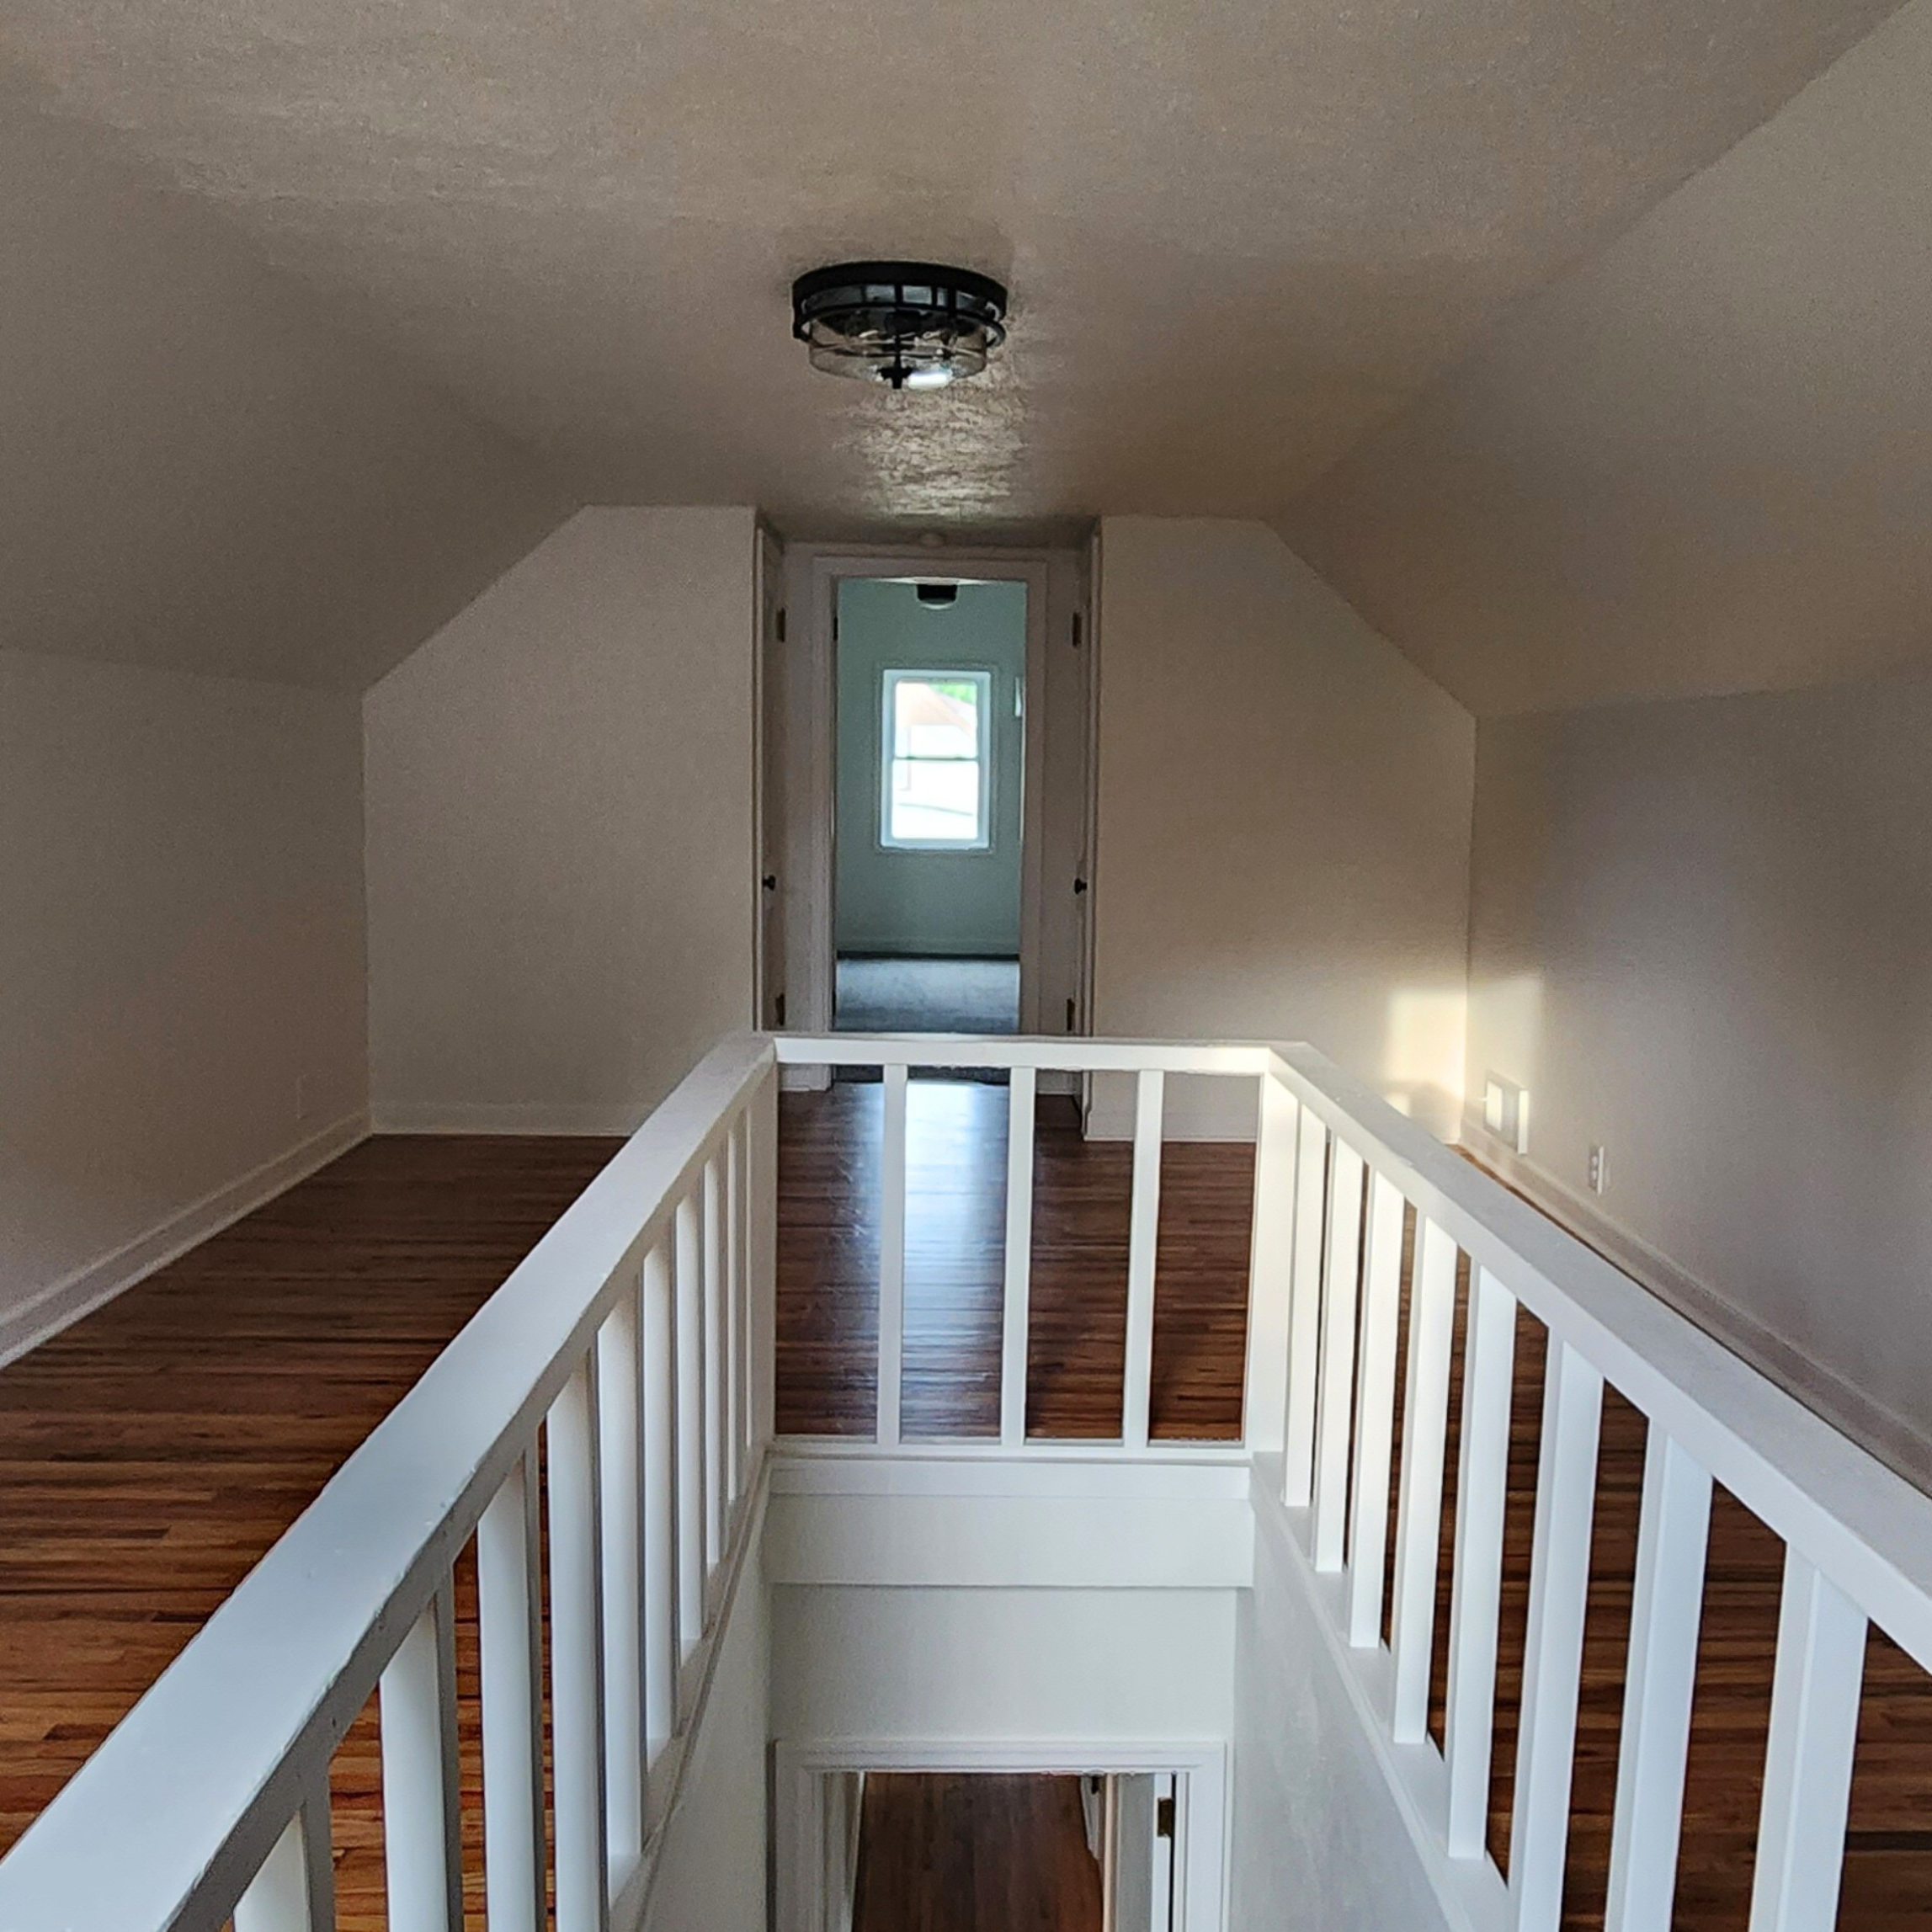
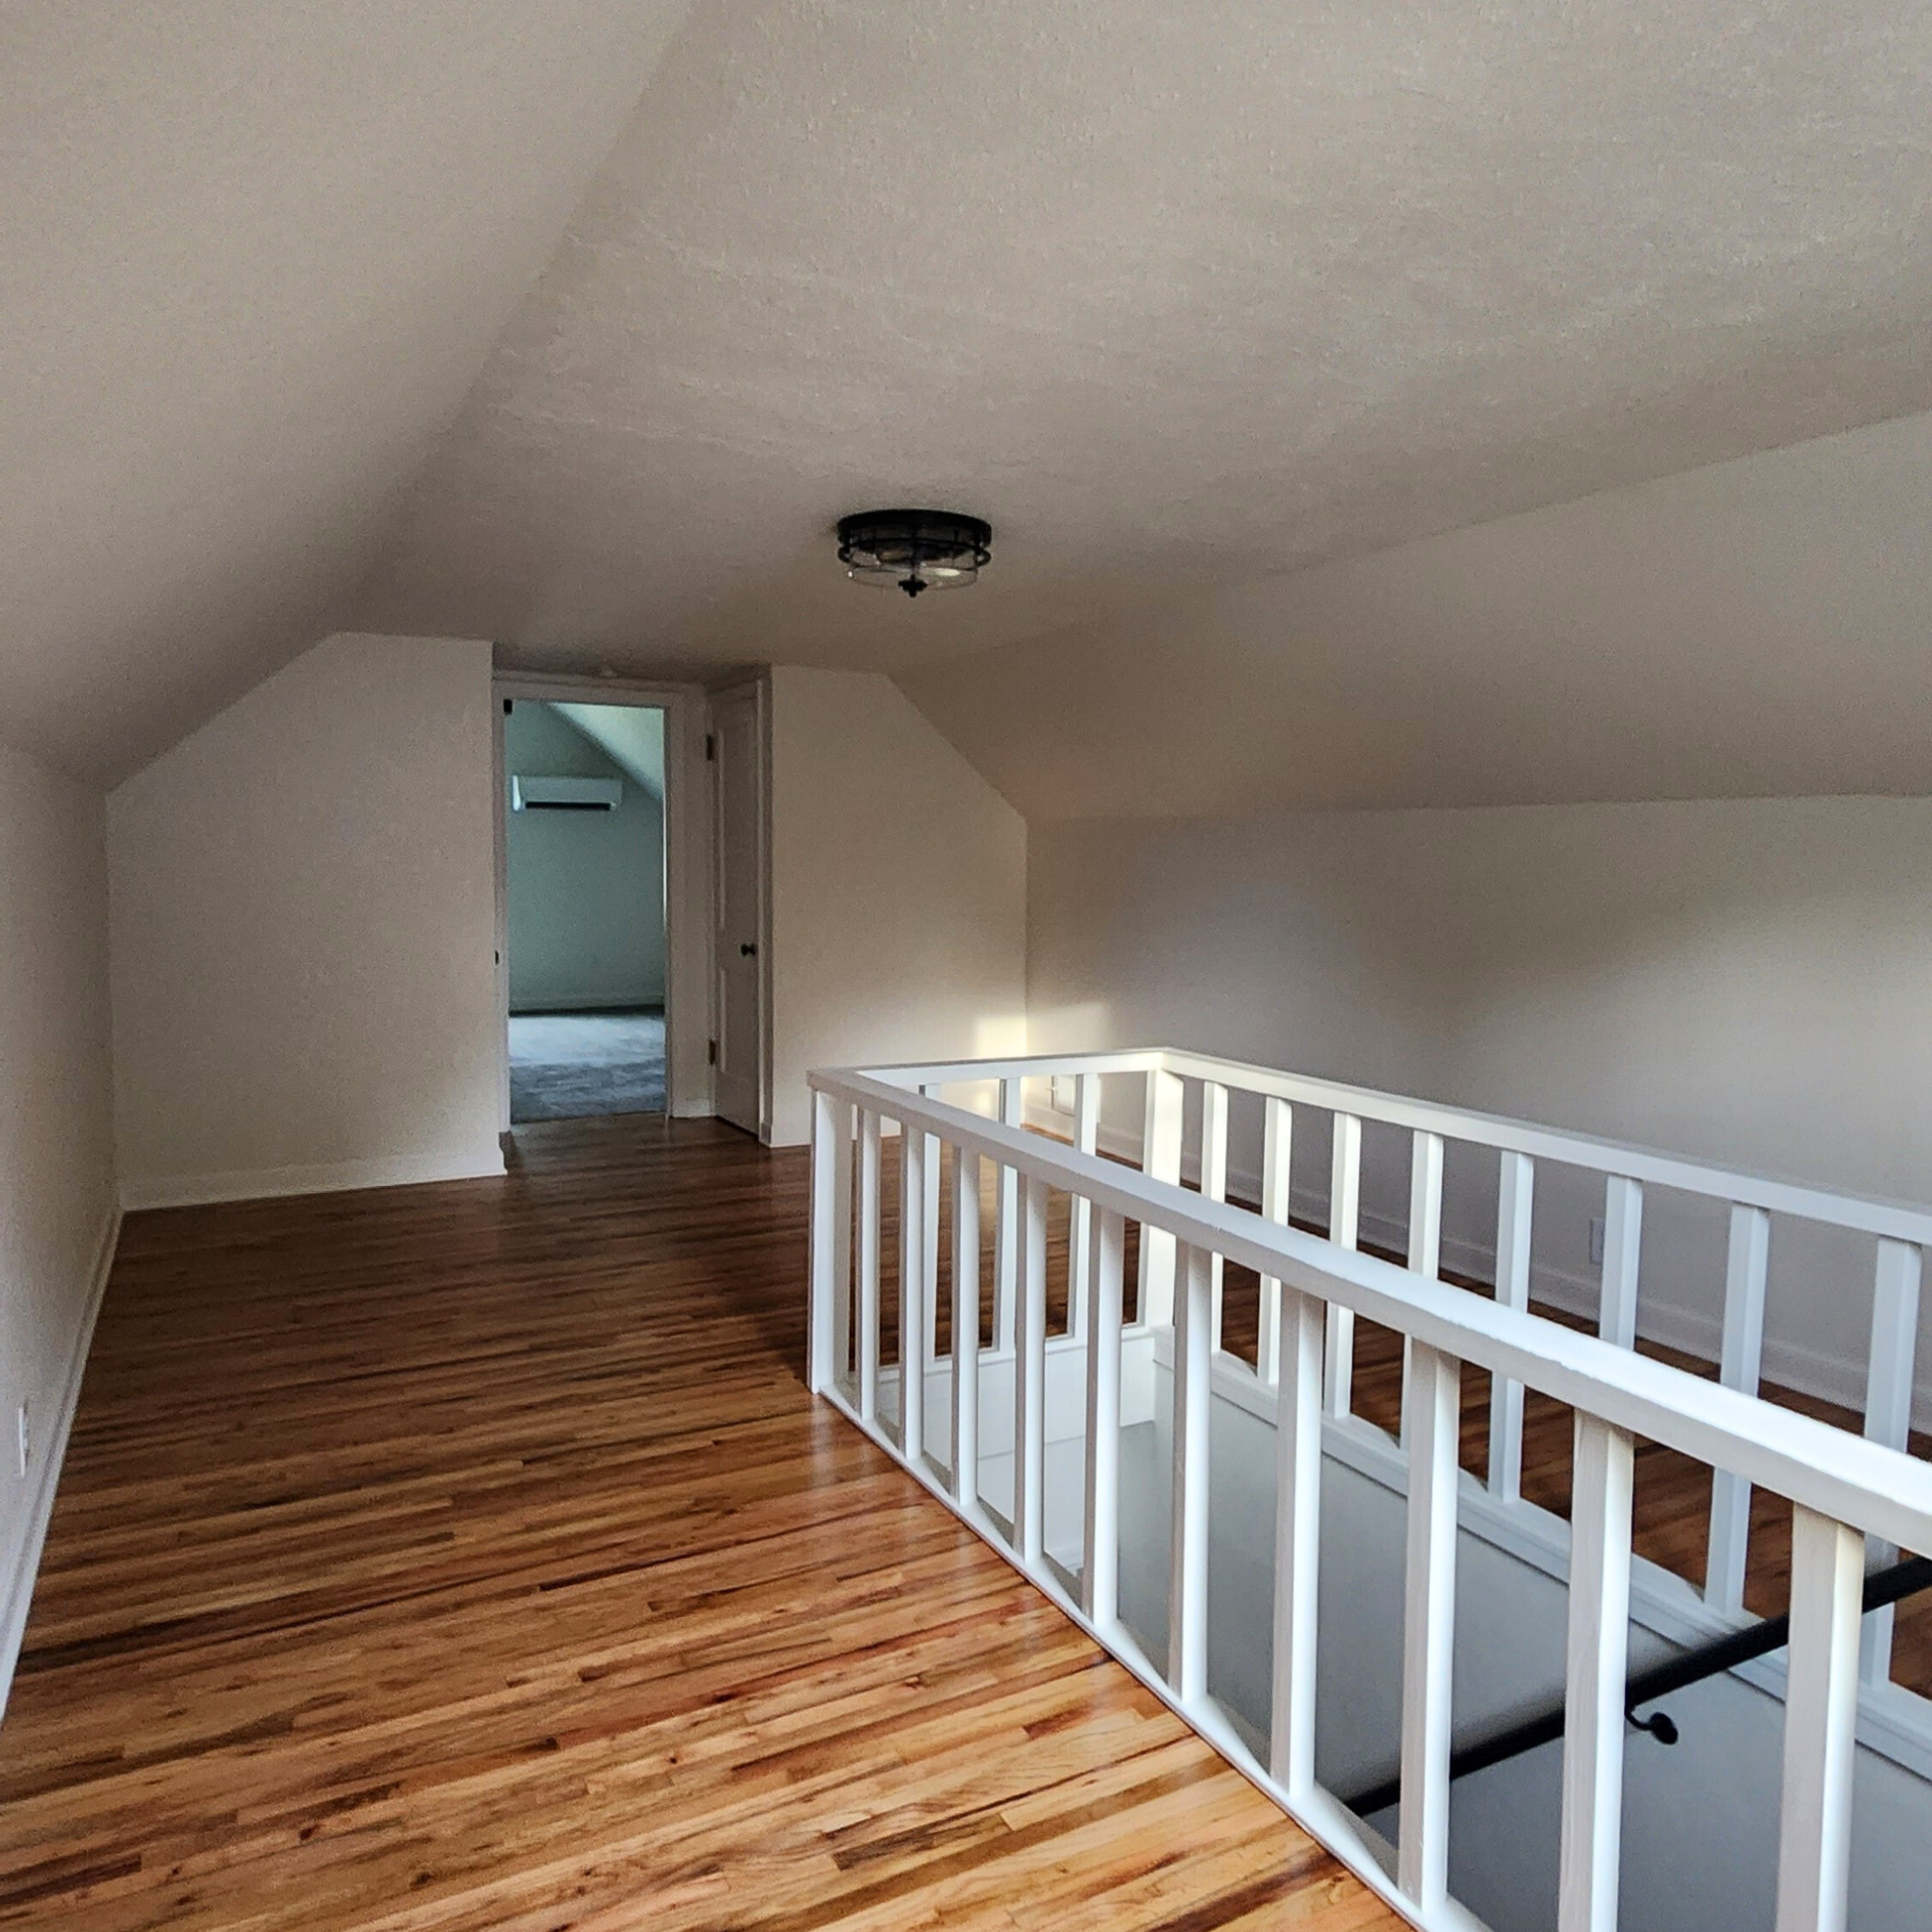
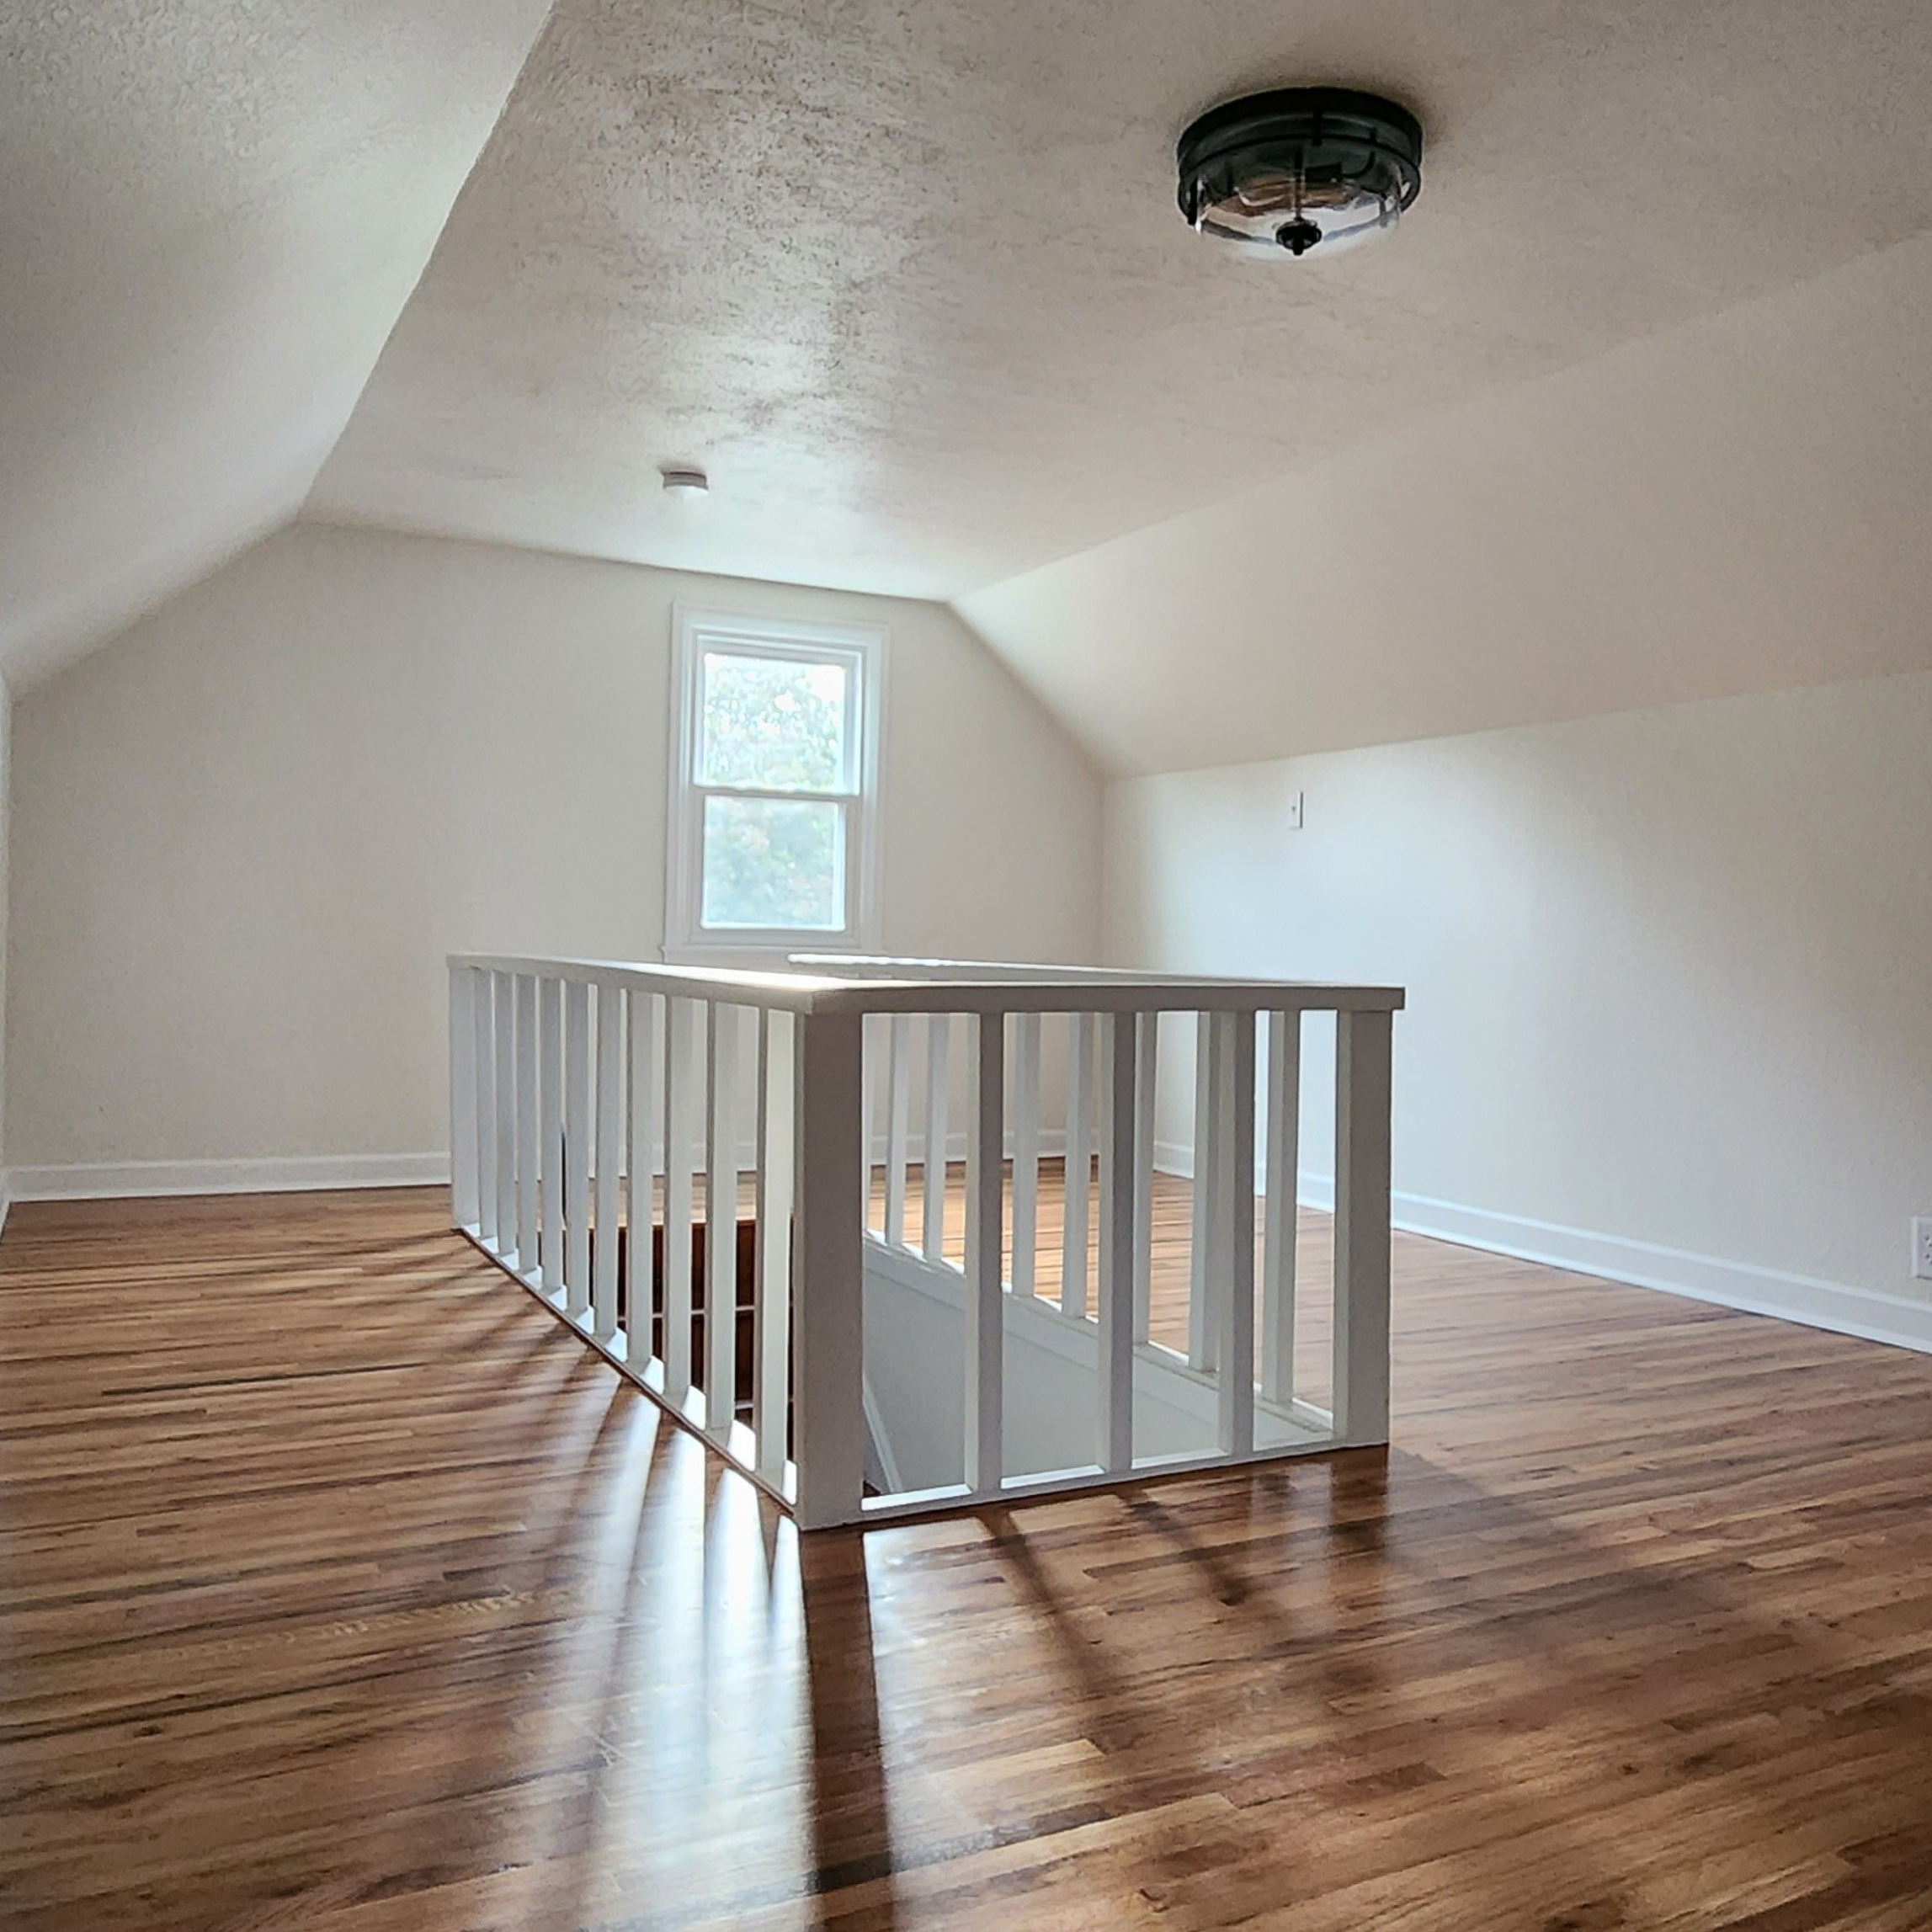
Aside from the kitchen, this space got the biggest overhaul and was a little bit of a learning curve for us. In the industry if you can add finished square footage to a home, it usually gives a return on investment so to us it was a no brainer finishing it for an official third bedroom. Technically when we purchased, the landing area was considered a 3rd bedroom but didn’t have a good layout for a bed and because it had closets it could be counted.
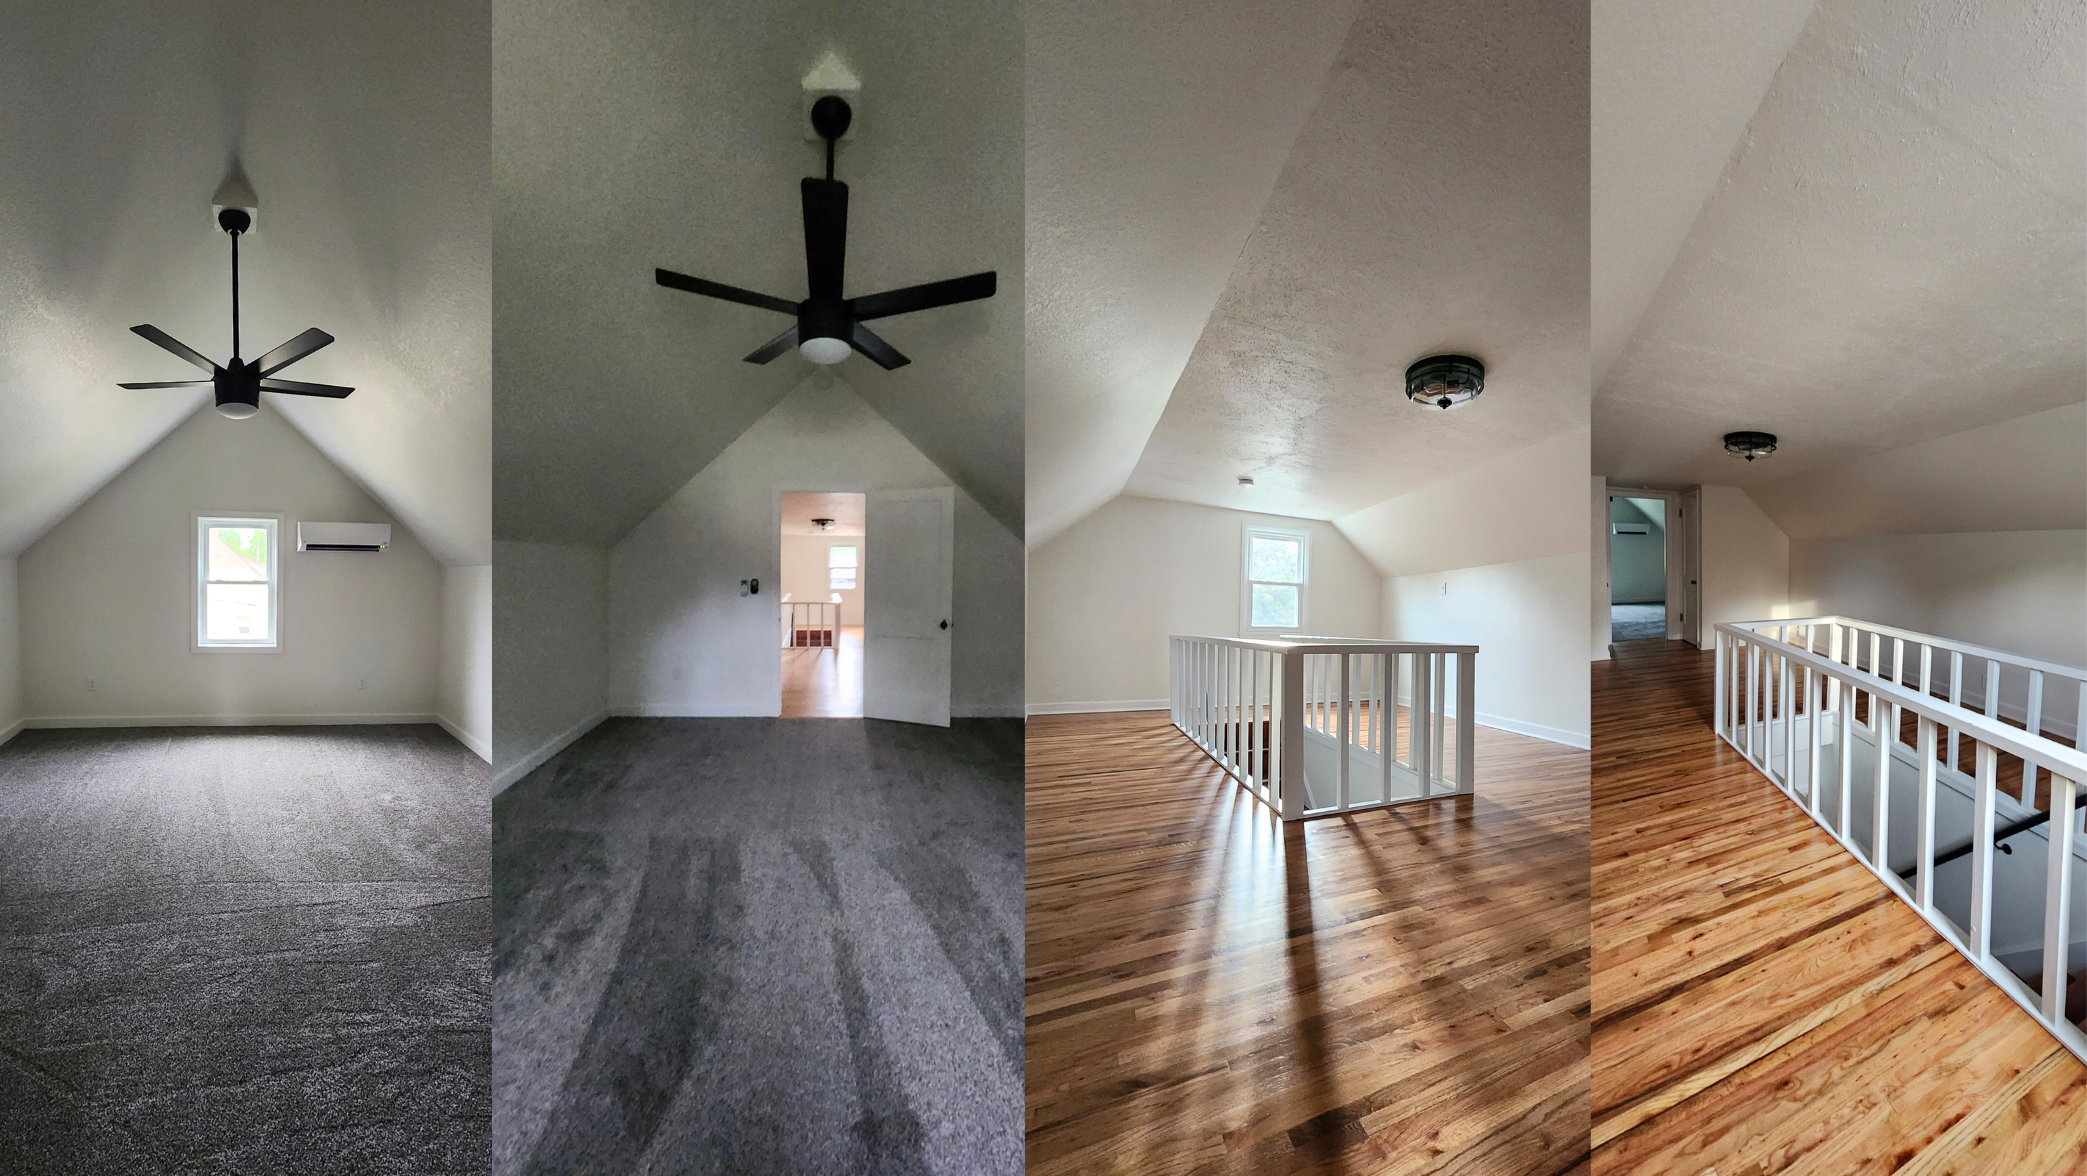
RECAP
What we did…
◾ Emptied the junk
◾ Framing
◾ Hired D&J Insulation to spray foam
◾ Electrical by WZ Electric
◾ Drywall by Selle’s Drywall
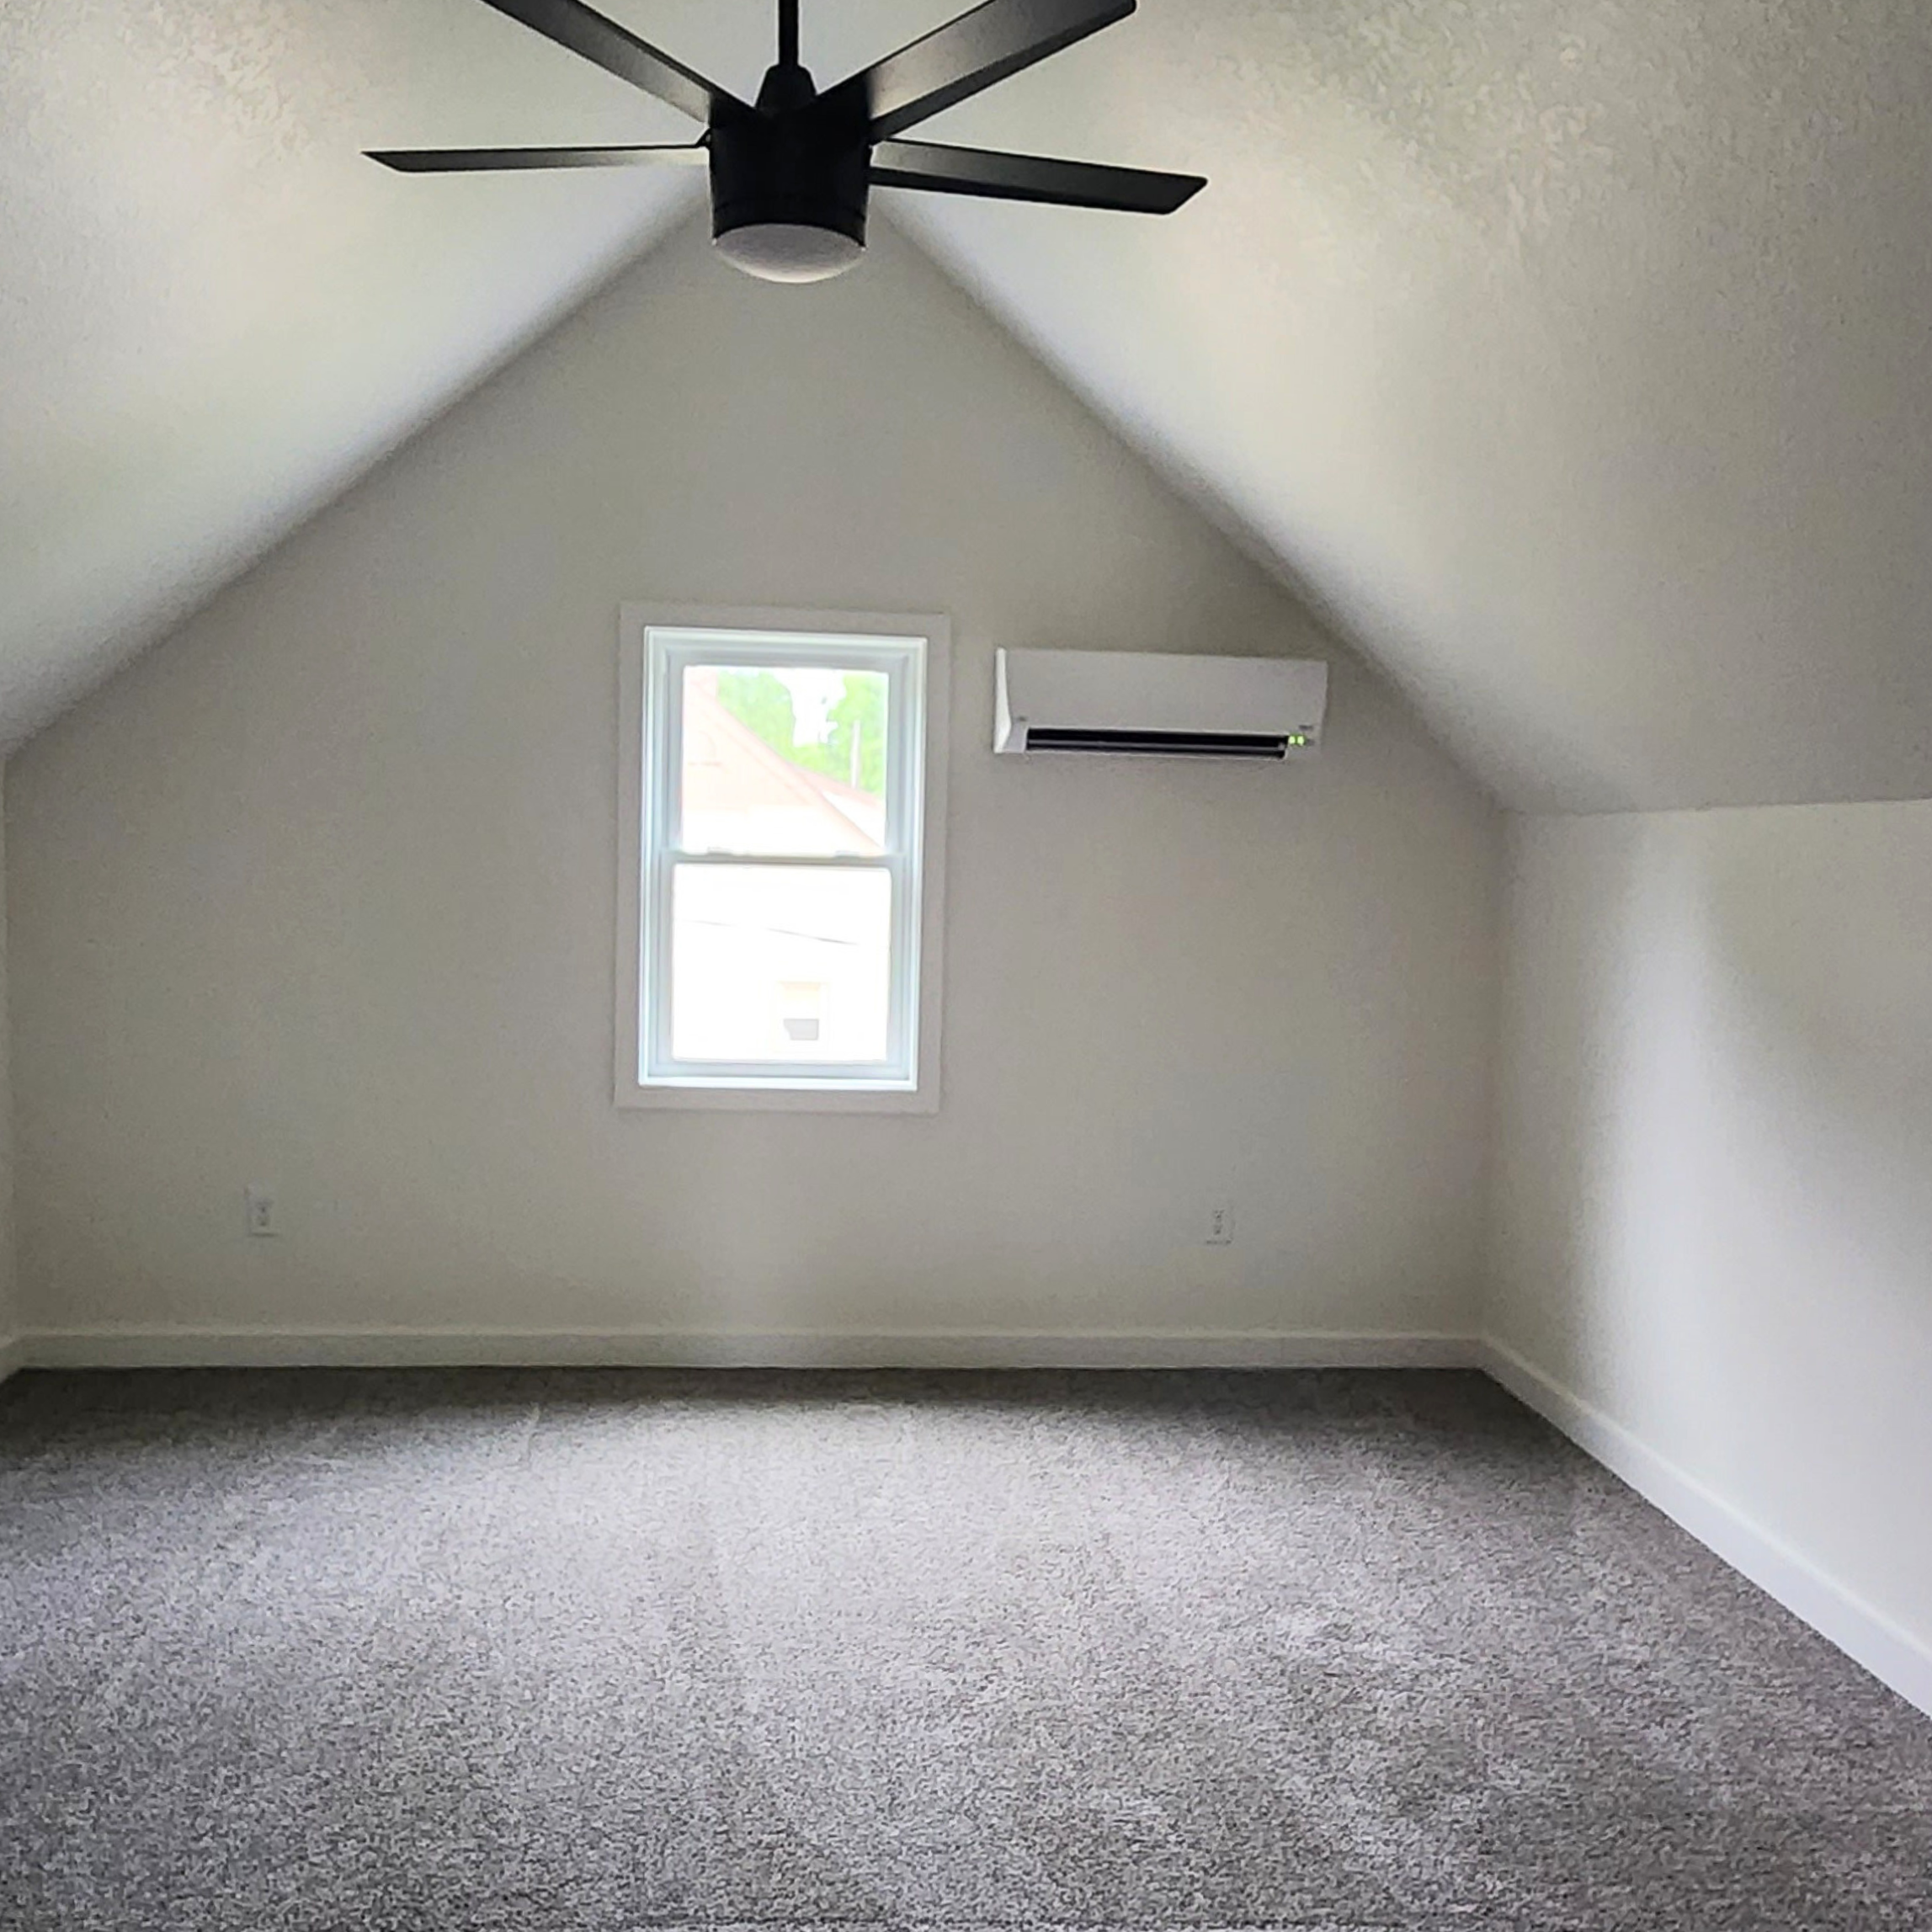
◾ Had a mini split installed because there was only one vent run to the upper level
◾ Painted and installed new millwork
◾ This is the only room with carpet, and we had it done by Heintz Floorcovering
It was really important to me for this room to have a WOW factor and I think we nailed it! The ceiling was already vaulted so we took advantage of the space making the room extra large. This portion included several delays because we had to wait on inspections and other contractors’ schedules. There are so many moving parts and you can’t do one thing before the other. My lesson there is to start the permitting processes much sooner and get on the city’s radar even before closing.
Before
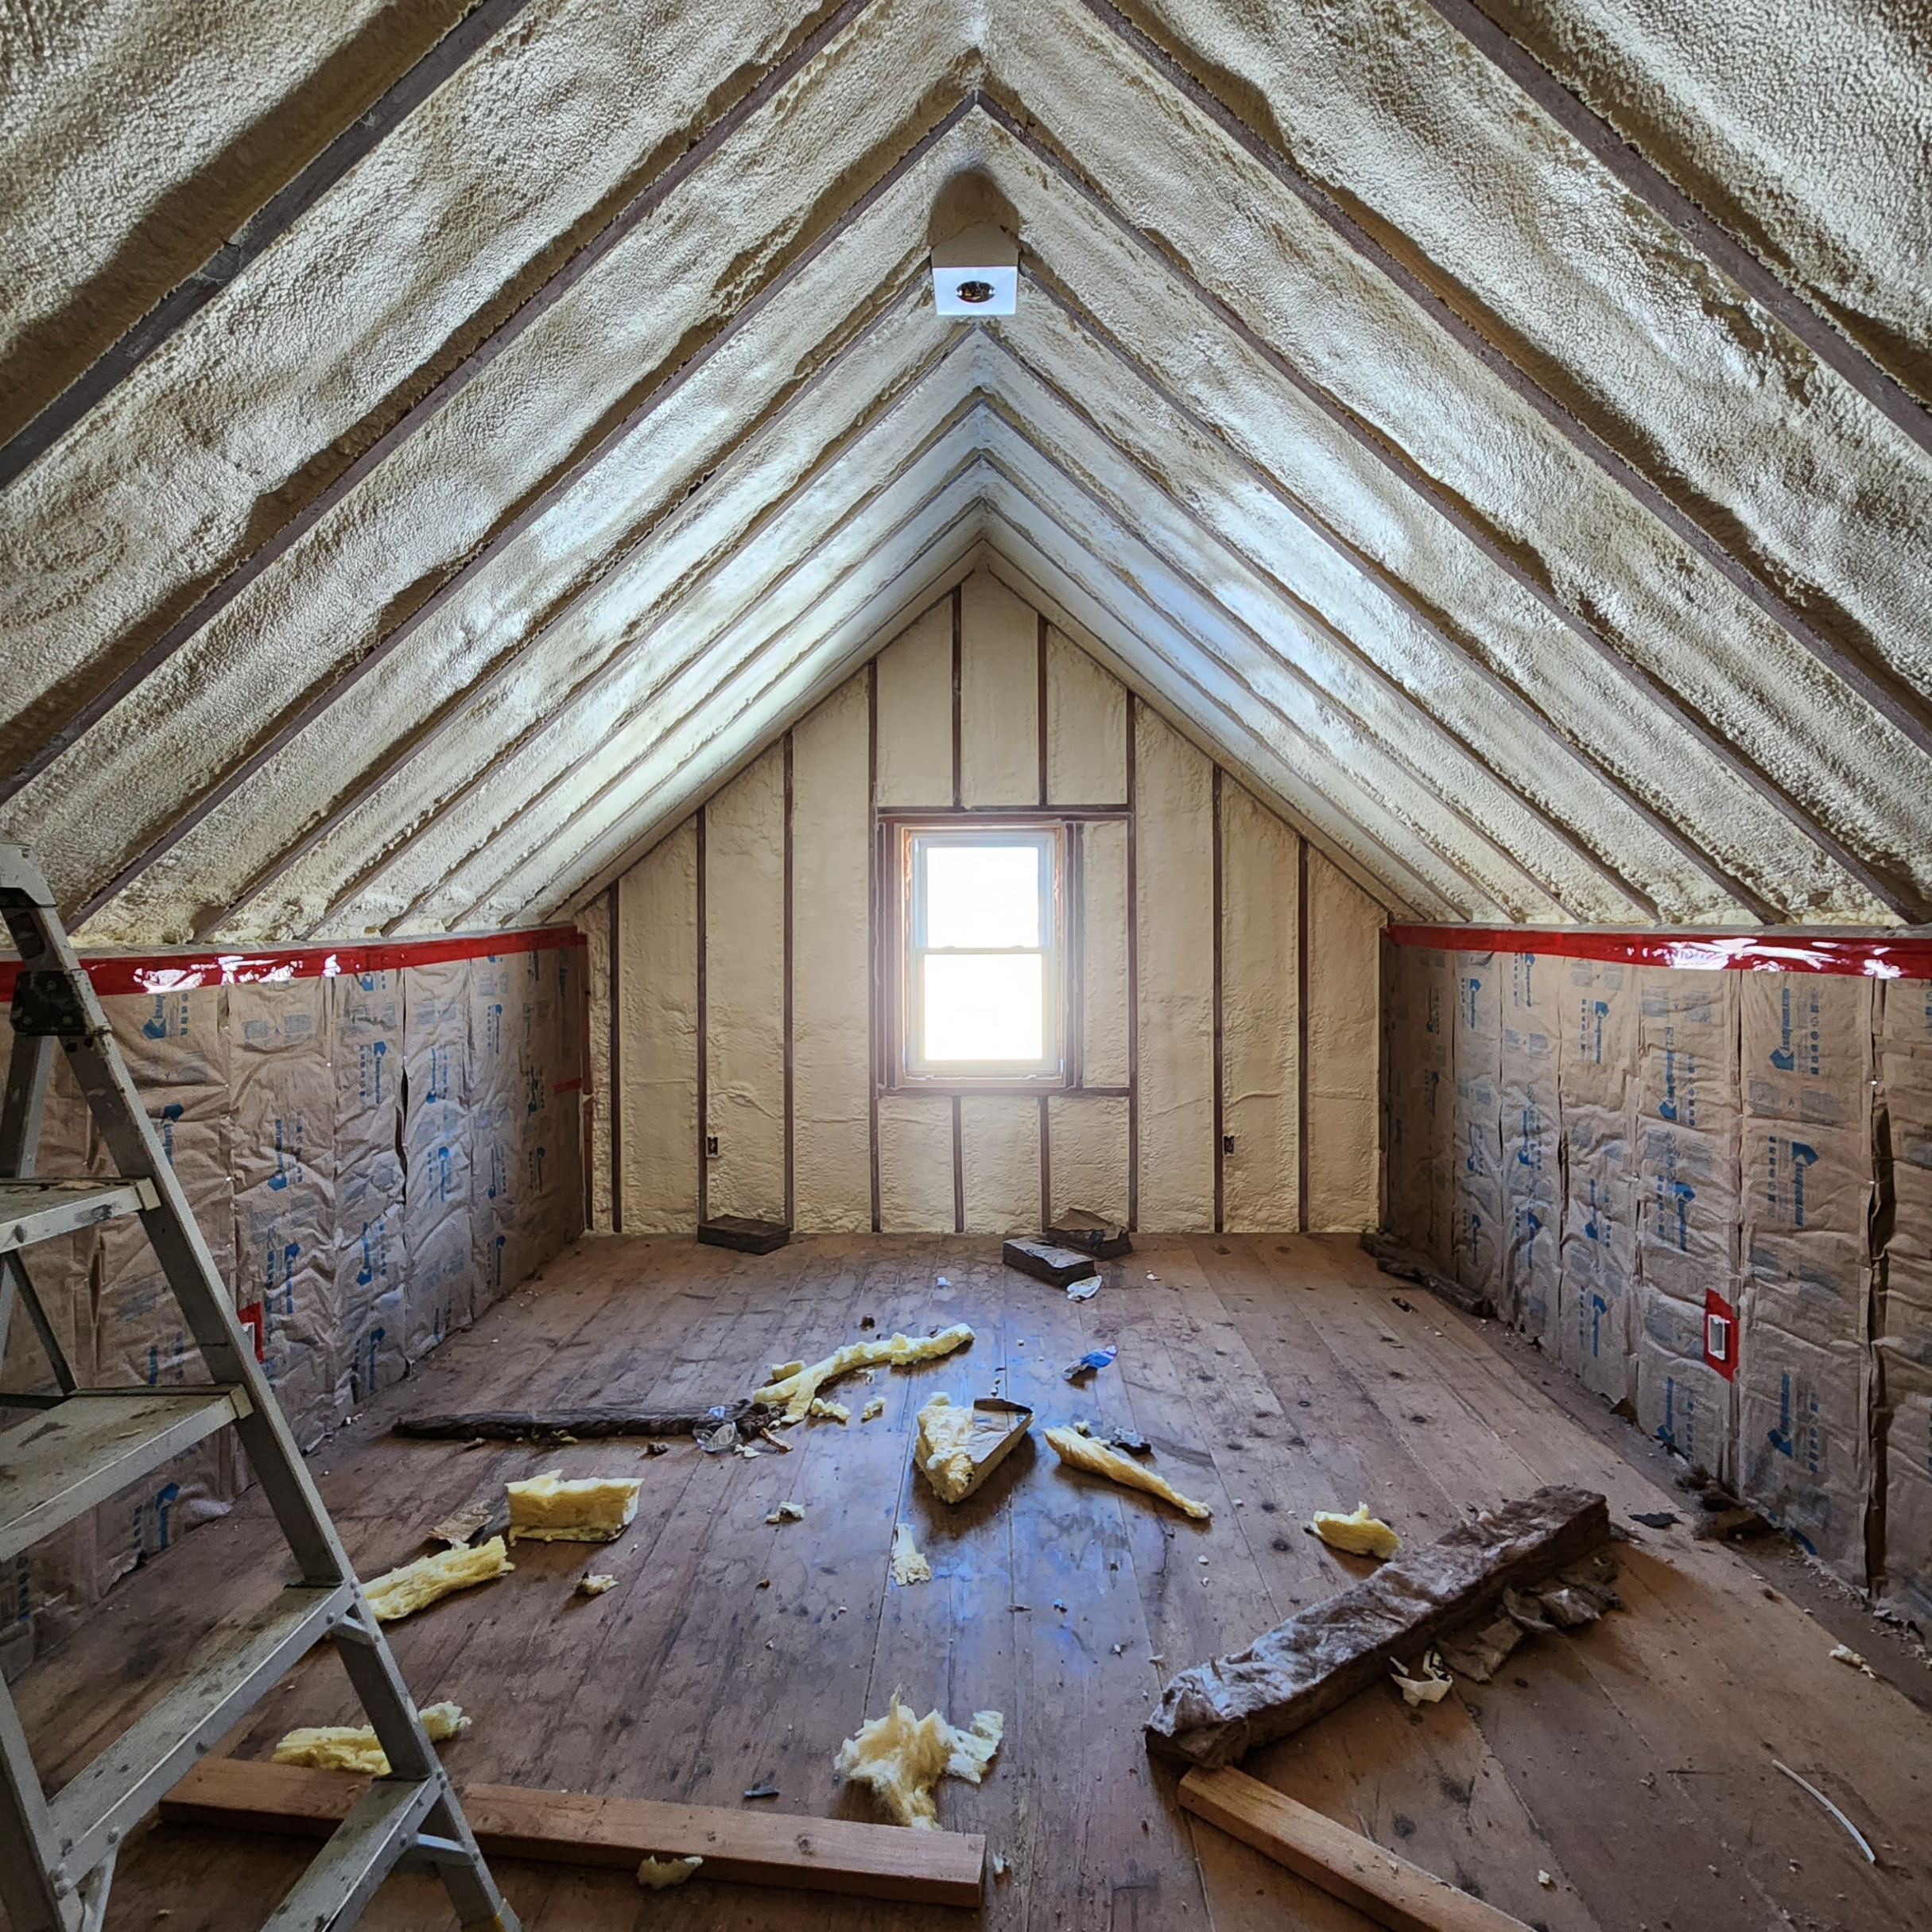
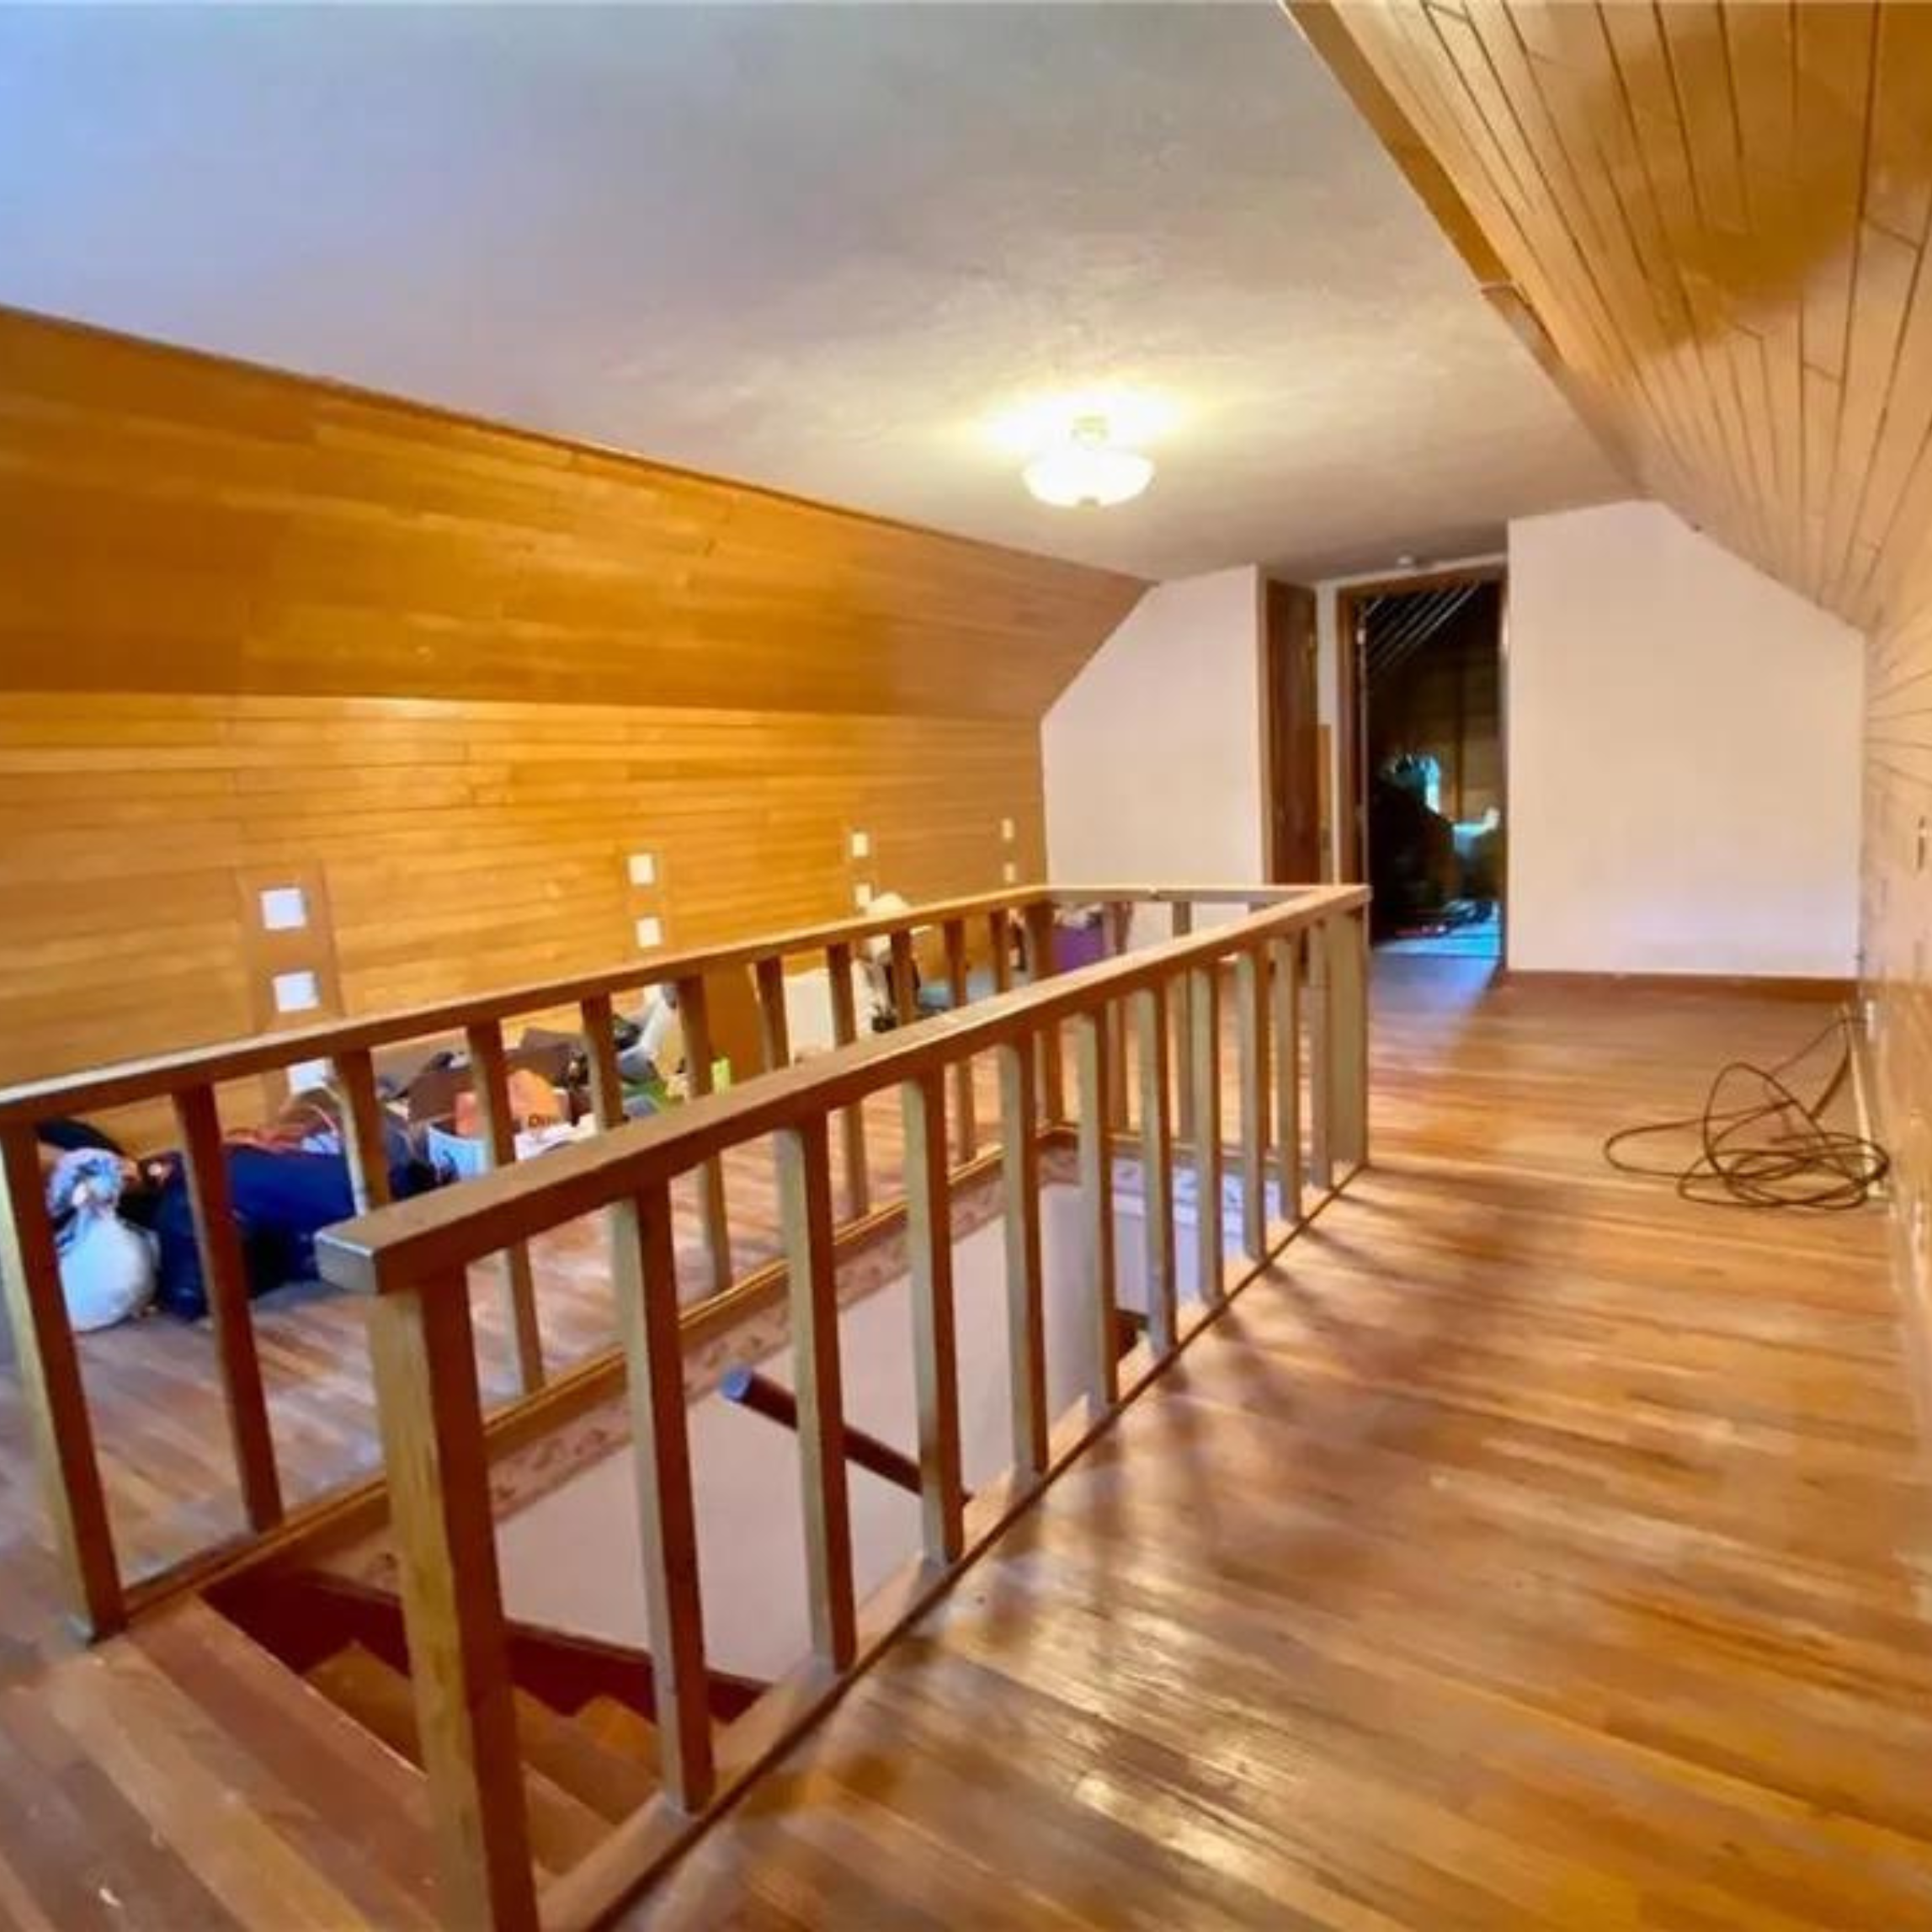
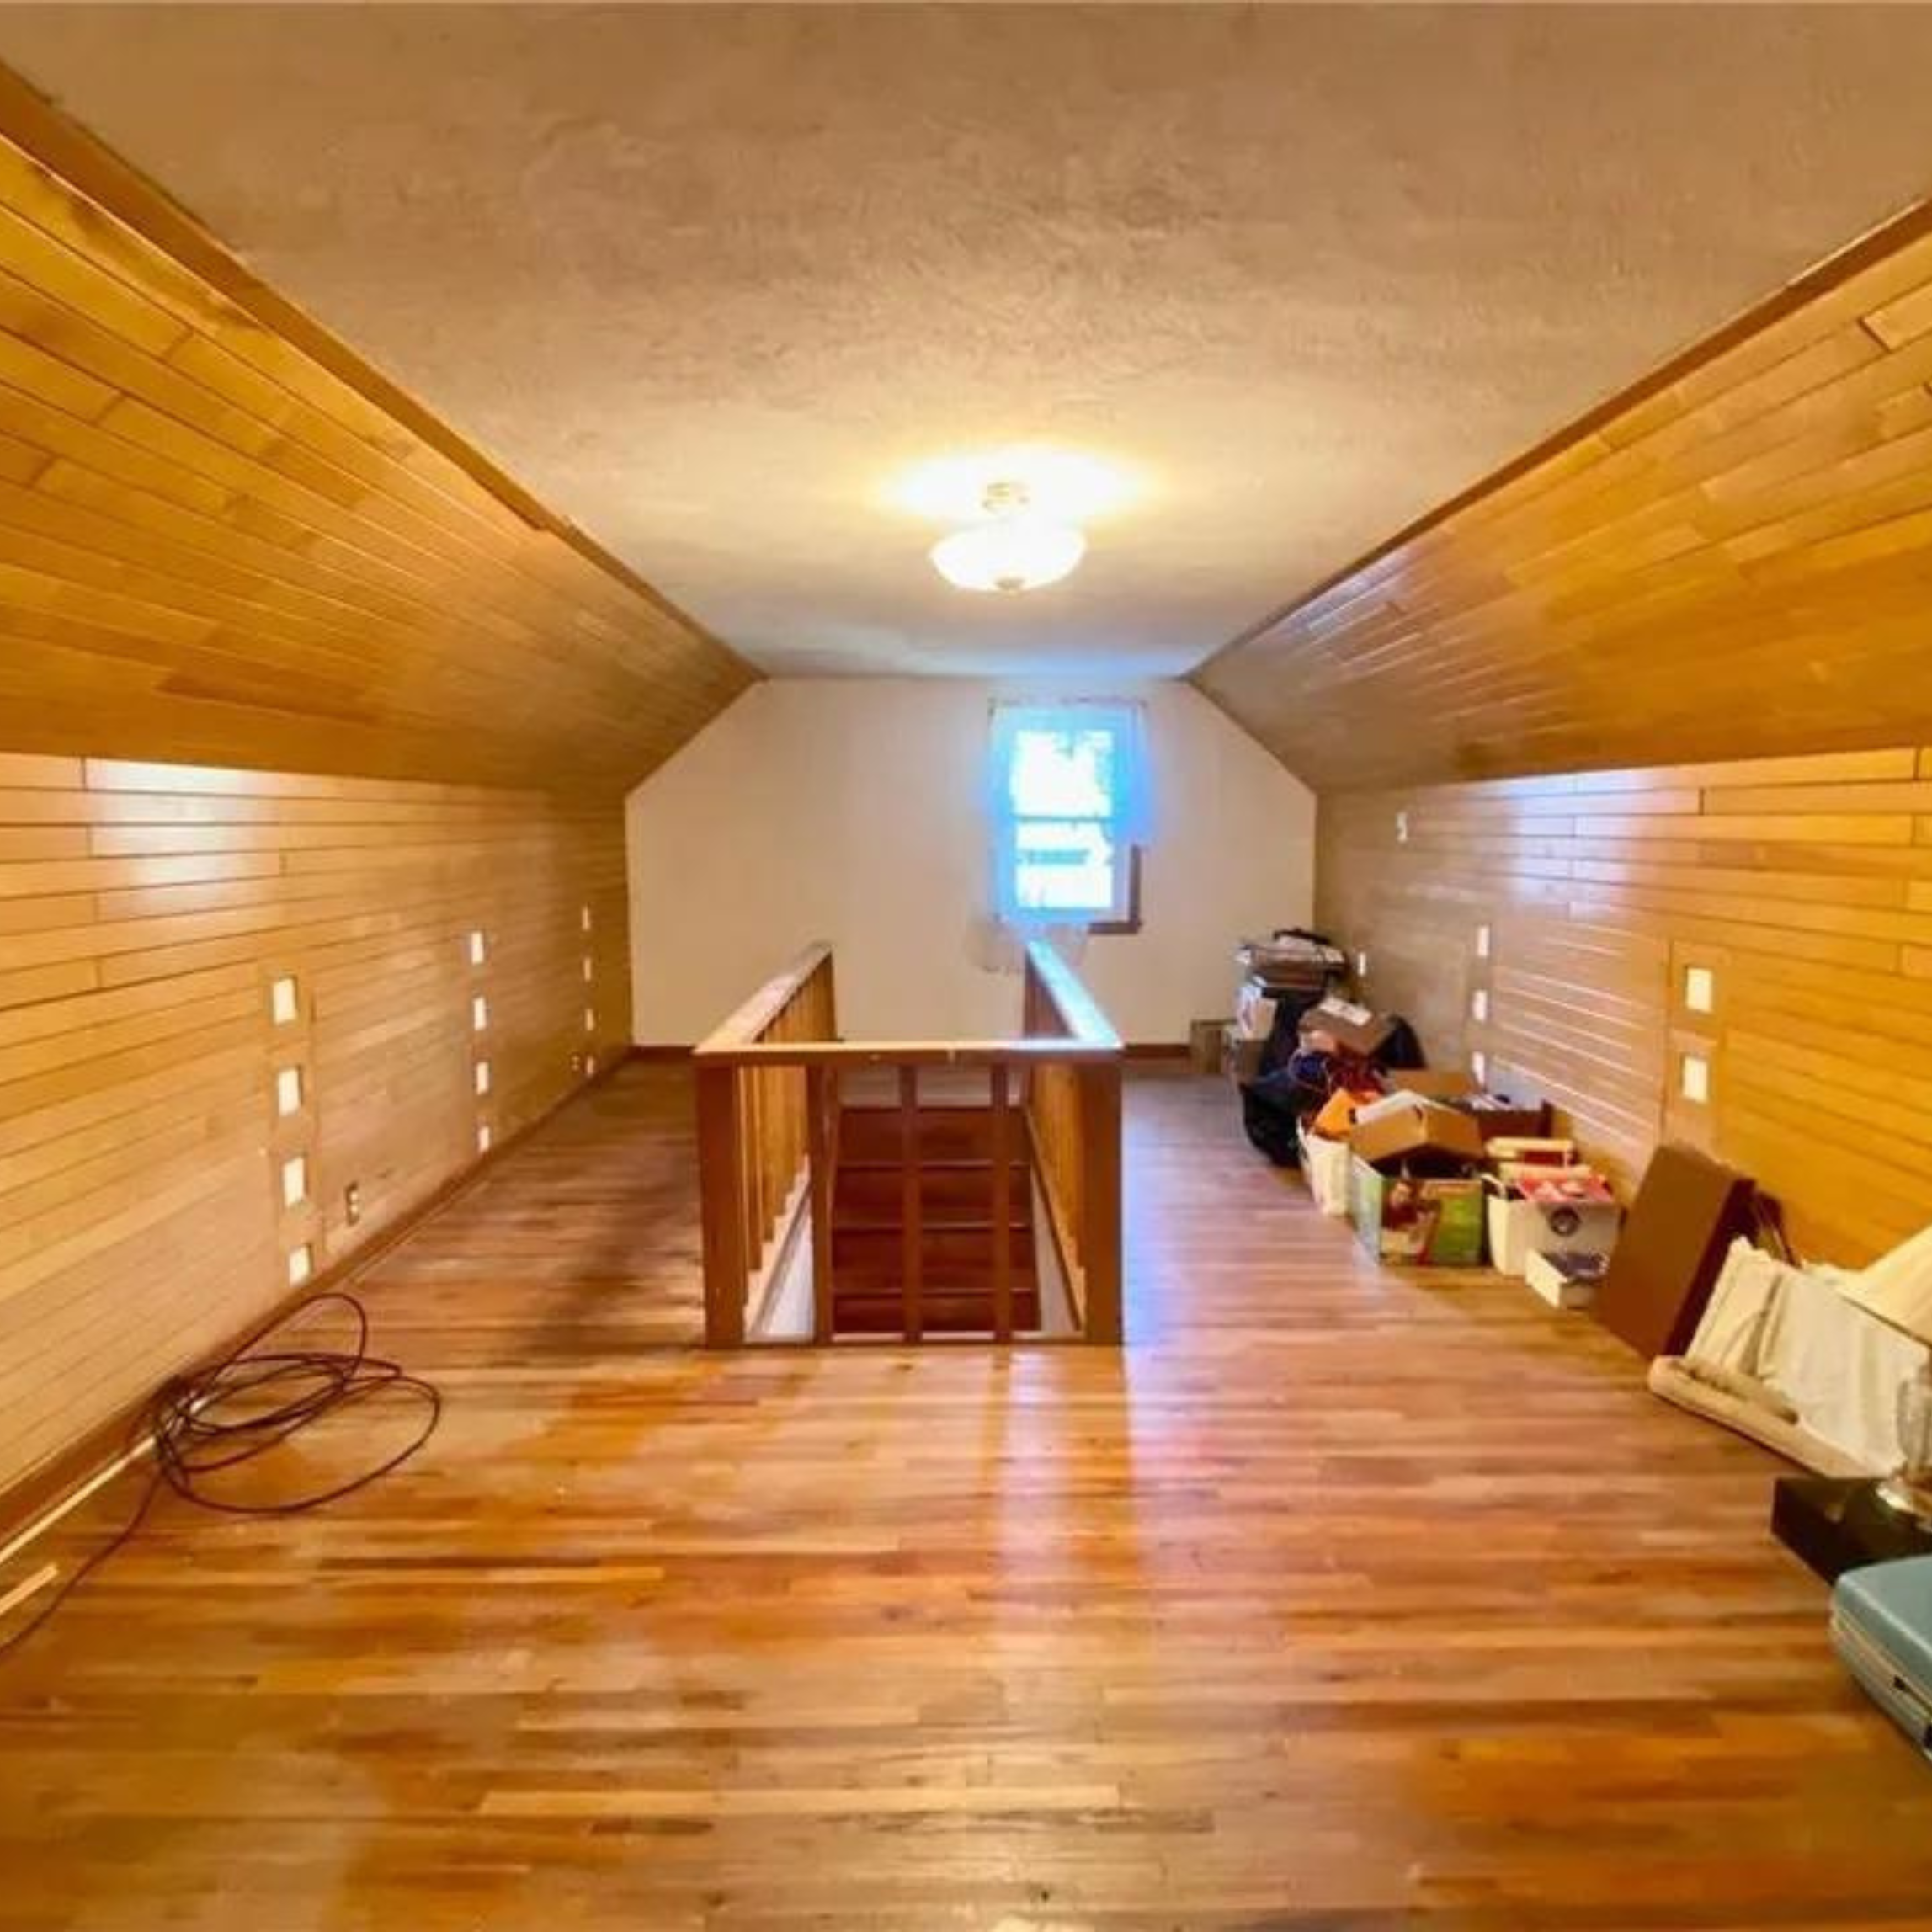
during
after
TOOLS + MATERIALS
COSTS
-
Electrical: $3700 including several other things in the home
-
Insulation: $1,800
-
Drywall: $3,250
-
Mini Split: $3,400
-
Paint: $450
-
Lighting: $150
-
Carpet: $700
COLORS + FINISHES
- Walls: Sherwin-Williams Alabaster
- Millwork: Sherwin-Williams Arcade White
